The Forbidden Forest is the second full dungeon in The Legend of Zelda: The Wind Waker, and it’s where all the bad stuff happens around the Forest Haven. You’ll visit here after Dragon Roost Cavern.
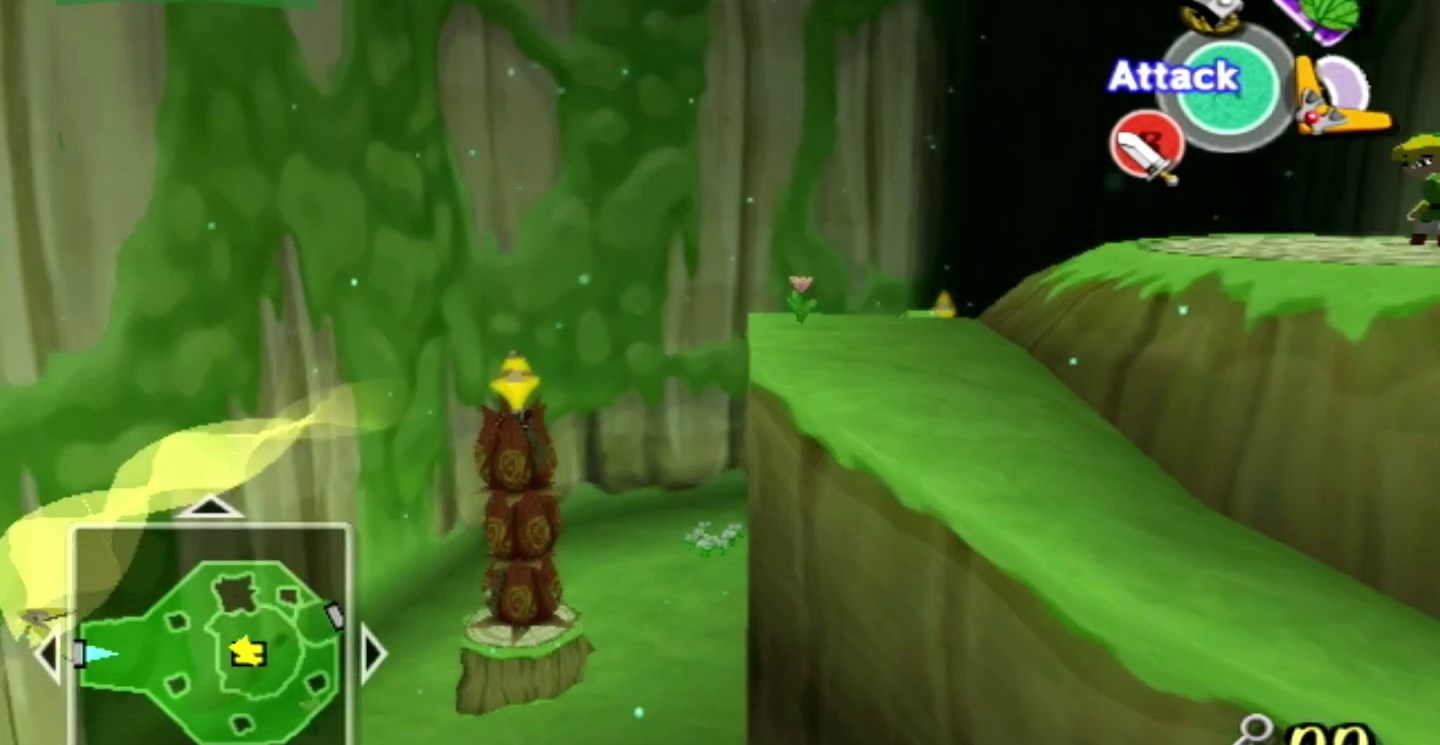
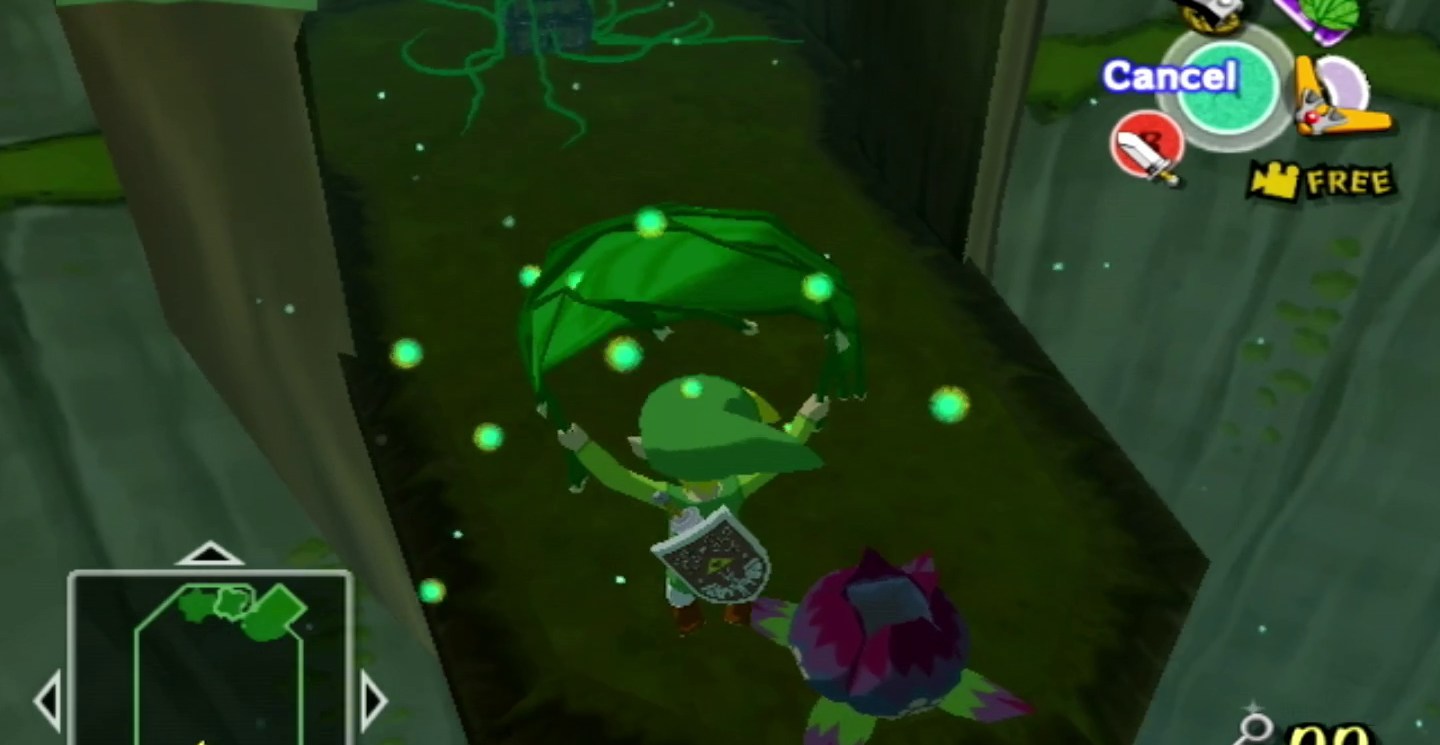
The poor Korok need your help, as they’re about to put on a concert, but their lead musician, Makar, has fallen into the Forbidden Forest (despite the fact that the Great Deku Tree has told him many times not to fly over there). The tree promises to help Link out if he goes to find Makar, which is now the second time Link is being promised a pearl in exchange for help in a situation that does not really involve him, but that’s OK. The tree gives Link a Deku Leaf, which allows him to glide using magic or blast air forward, which is pretty nice.
Once the Korok teach you how to manipulate the wind and glide successfully, you’ll land in the Forbidden Forest, which is filled with unique enemies and an important item: the boomerang.
Below we walk through how to clear the Forbidden Forest in The Wind Waker, grabbing all items and treasure maps along the way.
Note that this walkthrough is for the Nintendo GameCube version of the game, also playable on the Nintendo Switch 2, if you have a Nintendo Switch Online + Expansion Pack membership. While this walkthrough may work for the remastered version (The Legend of Zelda: The Wind Waker HD for the Wii U), there may be differences between the two versions, so keep that in mind if you’re using it for the latter. We wrote this guide using the original GameCube version on the actual GameCube, so if there are differences between this version and the NSO version, we’re working it out — and we’ll update this guide if it needs it.
Part 1: Finding the Forbidden Forest dungeon map and compass
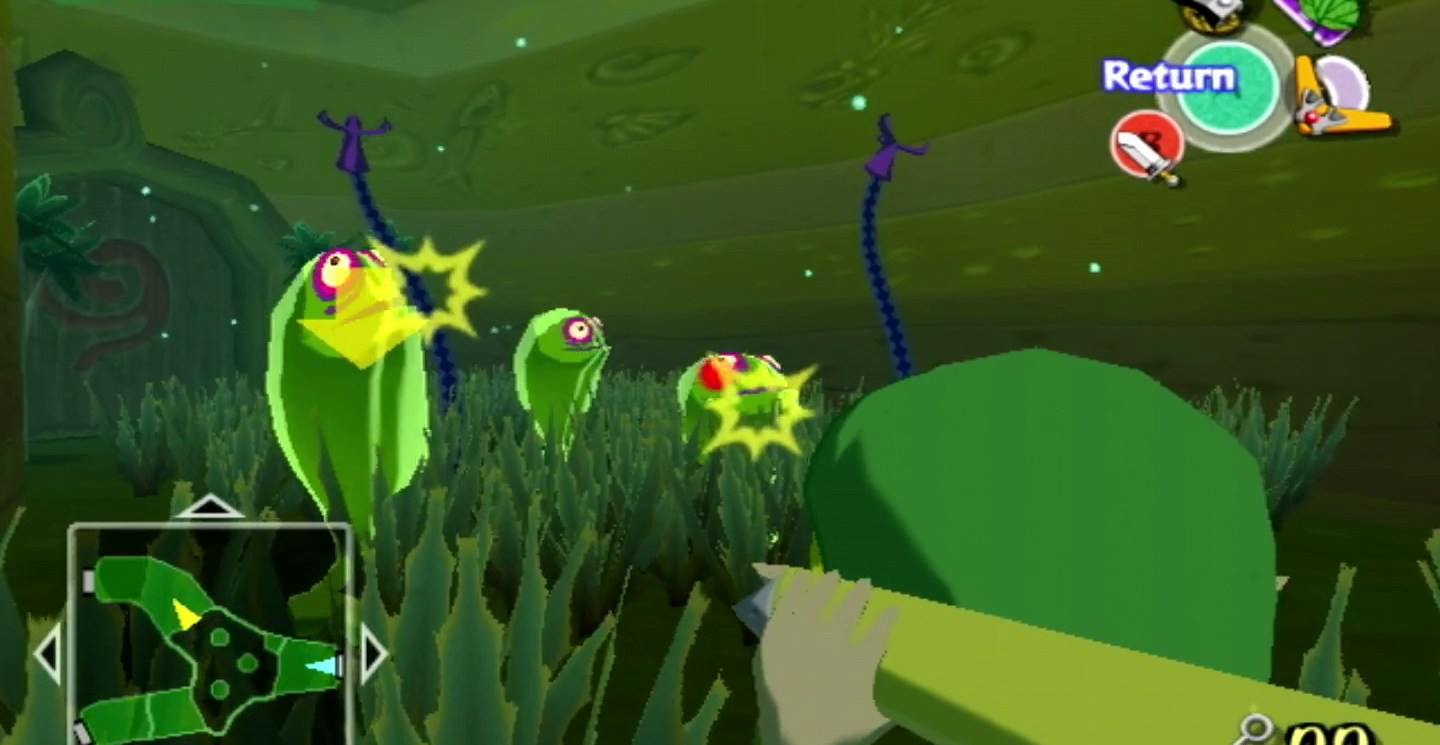
This section is combined because the dungeon map is right in front of you once you actually enter the dungeon. Take out the green chuchu monsters and open the chest between the two braziers on the right to get the Forbidden Forest dungeon map.
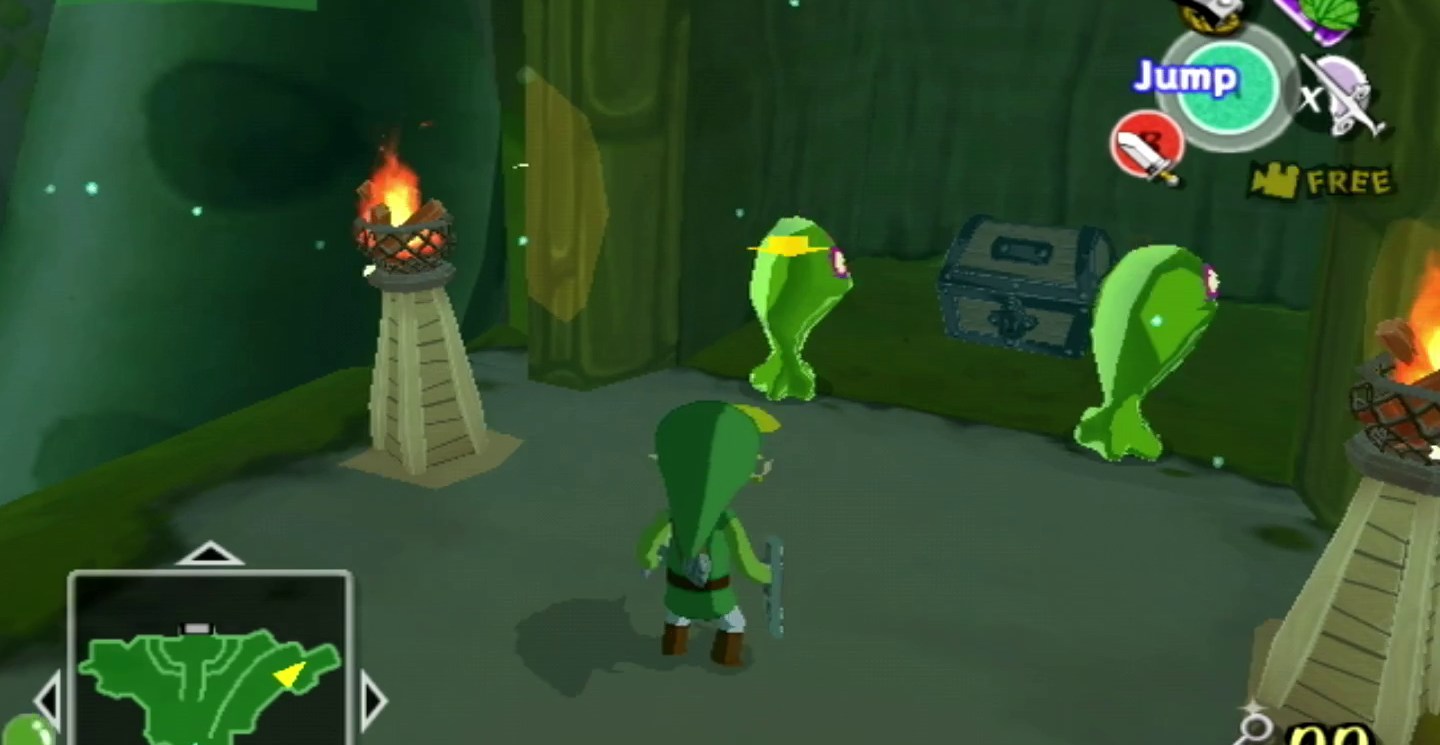
Once you do this, it’s time to learn about the first dungeon gimmick: the blue flowers. These things cannot be attacked when you’re close, as they’ll close their “eyes” and become kind of immune to damage. You’ll need to pick up a boko nut in the grass to the left of the door and then throw the nut at the flower from afar. This will explode the flower and let you freely go through the door.
In the next room, drop down and take out the nearby boko baba (the man-eating flowers that come out of the bulbs). Use one of the sticks dropped by the boko baba and light it on fire using the nearby brazier and then use that to light the plant on top of the chest on fire. You’ll get a Knight’s Crest from the chest.
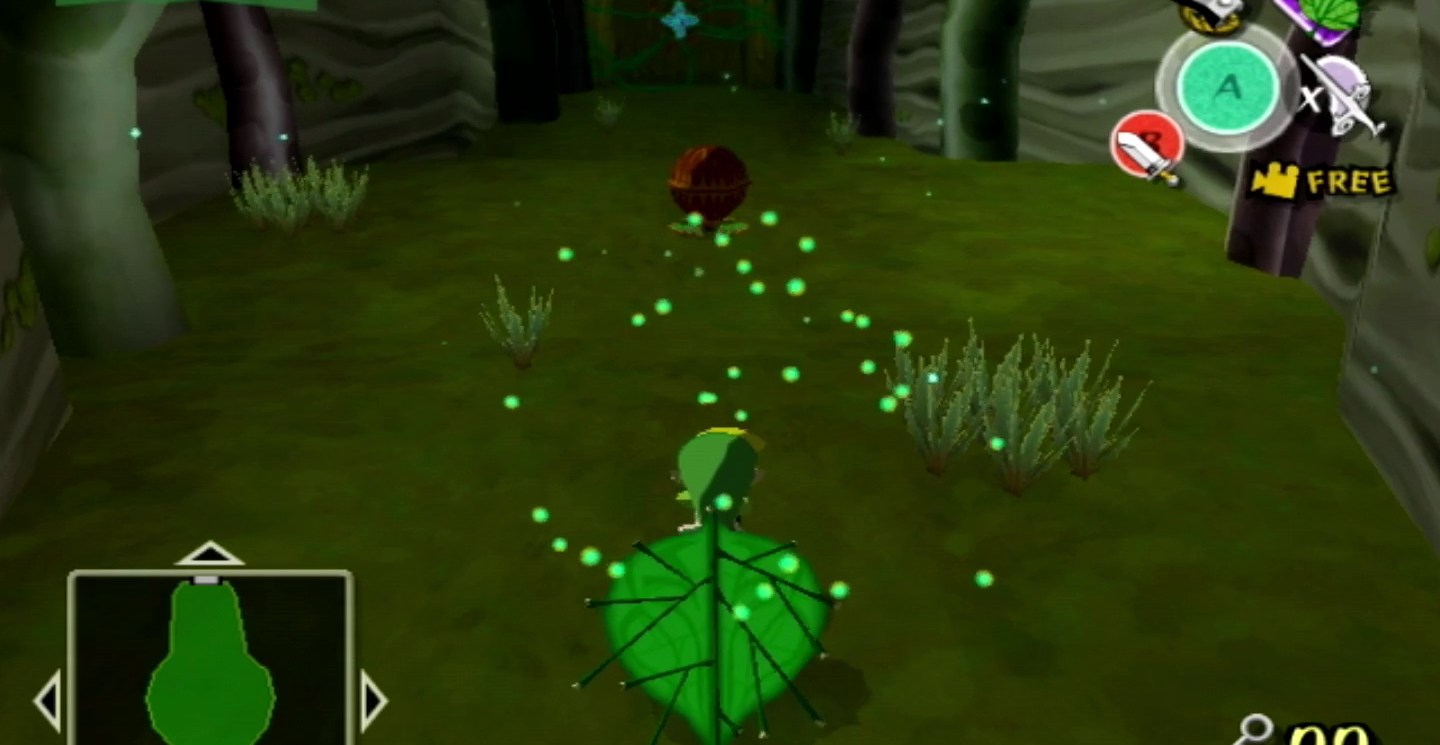
Use the boko bulbs to launch yourself back up and continue launching forward, being careful of the vines. You’ll need to use your Deku Leaf to glide from bulb to bulb after getting launched.
Once you shoot up enough times, there will be a northern door with another blue-eye plant on it. Use the nearby bomb flower on the right to blow up the flower by placing it and walking away before it explodes. Beware of more chuchus that will show up in the tall grass.
Head into the next room and use your Deku Leaf to blow air at the spinner on the left to bring the gondola over to you. Hop on the gondola and use the leaf to blow southward, propelling the gondola forward.
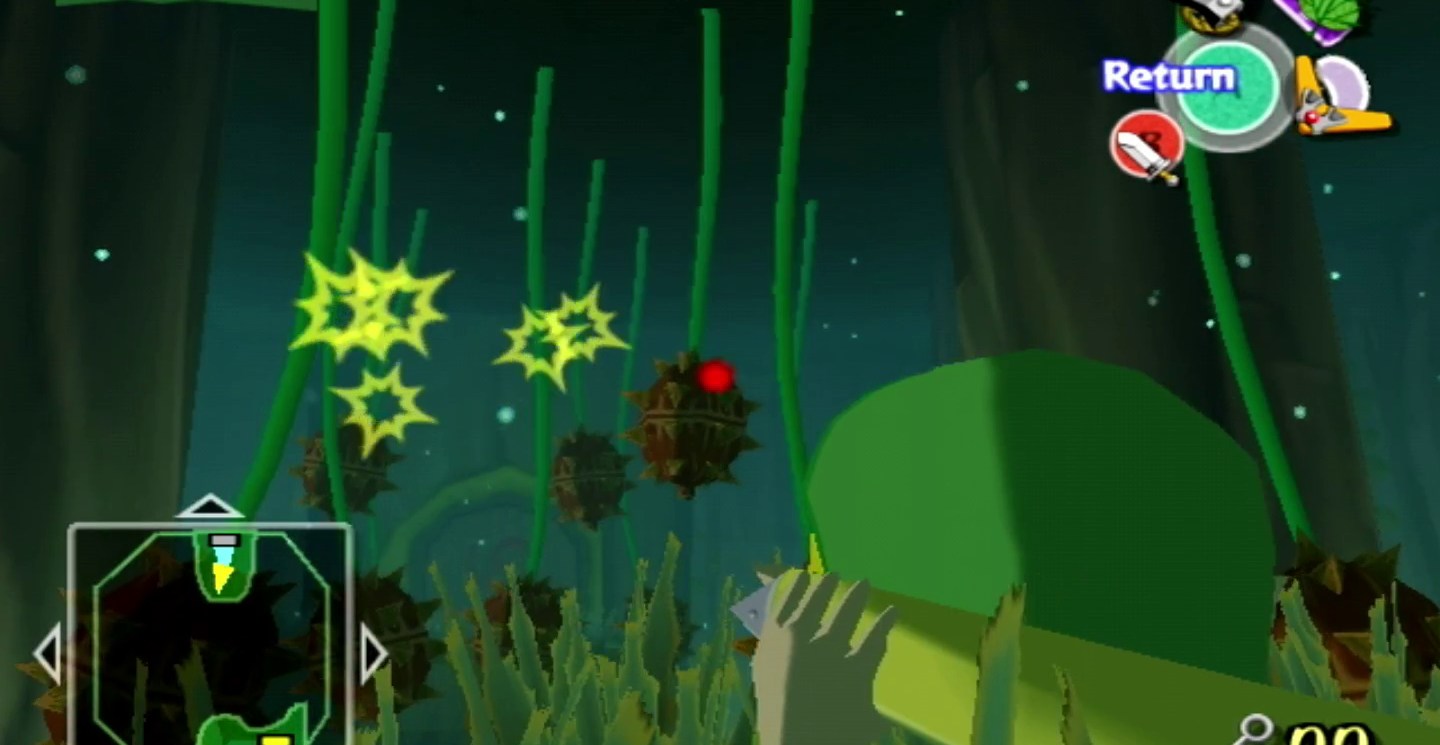
In the next room, there’ll be some peahats (the flying enemies) and more boko babas. Use the Deku Leaf on the peahats to flip their protective propellers up, allowing you to kill them. Continue forward, taking out the boko babas and using the remaining bulb to shoot up.
Once you’re at the top, use the Deku Leaf to bring over another gondola. Ride the gondola using the same method as before over to the other side, put the boko nut on the gondola, and ride it back to the door. Use the nut on the door flower. Before you head into the door, use your Deku Leaf to glide down to find a chest directly under that northern door.
Open that chest for a red rupee (worth 20 rupees). Use the bulbs to head back up and go into the door now.
This next skinny room will have vines that shoot out of the ground when you get too close (and you can’t see them until then), so proceed carefully. Use the Deku Leaf to blow the nut in the center of the room forward when there are no vines around. Use the nut on the door flower and proceed.
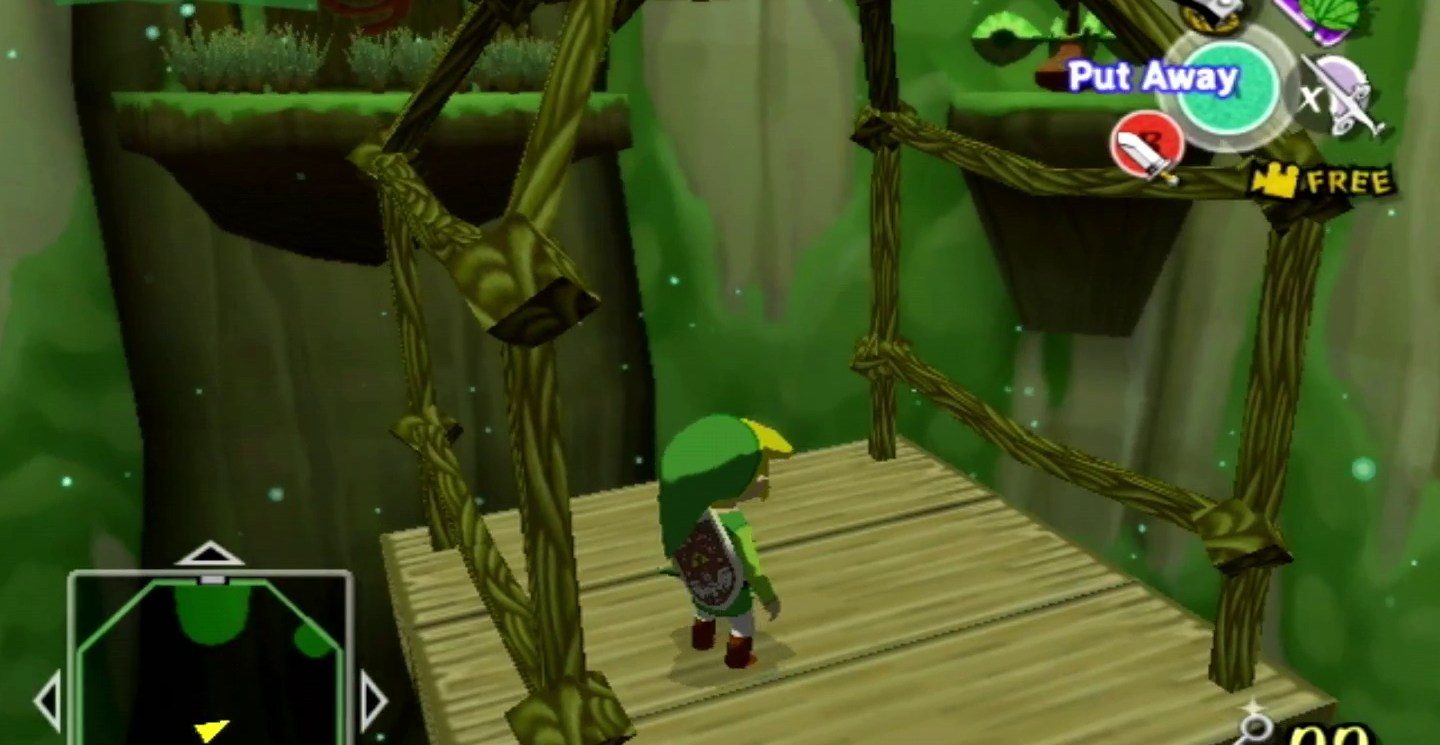
In this huge central room, head right, using your grappling hook to grapple onto a peculiarly shaped branch and onto the next platform. Patiently jump across the moving platforms to the northern ledge. Pick up the boko nut and carry it to the western door by jumping across the huge floating tree in the middle. Use the nut on the door flower.
Before you head inside, jump on the alternating platforms to the south of the western door to head to a high-up ledge. Use the Deku Leaf to blow these leaves away to reveal a warp pot that’ll take you back to the starting area of the dungeon.
Glide back down to that western door and head inside. This room has morths, nasty little sea-urchin like things that will chase Link down and stick to him. Use a spin attack to both fling them off and make quick work of them. The chest in the center of the room has a yellow rupee (worth 10 rupees) as well as more morths. Once you’re done in here, just keep heading forward.
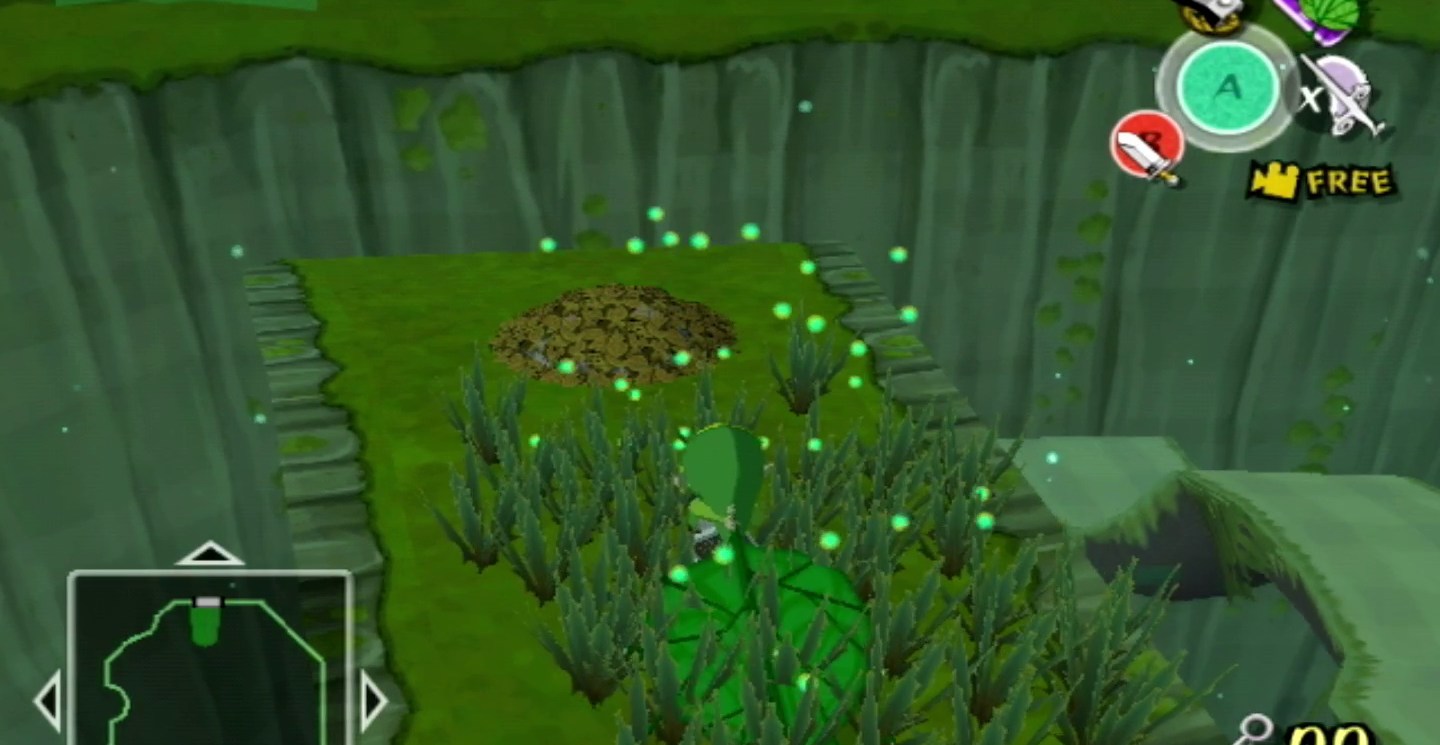
This next room can be tricky to follow, as again, there are vines that will shoot up out of the ground, blocking your path and more or less creating an invisible maze. Walk ahead slowly and carefully to avoid taking damage from the vines.
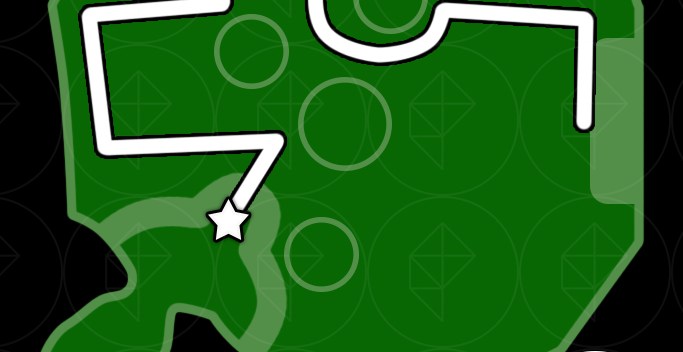
First, you’ll want to head to the south of the room to access a bomb flower. You can carefully follow the path how we laid out on our little janky map:

Once you follow this, you should be at the bomb flower safely. Pick it up and use it to blow up the blocked-off entryway to access the chest with the compass.
Use that same bomb flower (which will respawn) and huck it on to the platform in the southwest corner of the room. This may take a few tries to get right, as you’ll need to be just far enough from the vines to not have them get in the way, but close enough that the bomb will land and blow up the wooden planks. Once those are blown up, backtrack to the front entrance of the room.
Now to get the chest you just unveiled, you’ll need to go this way:
Open the chest for a small key and then use the nearby bulb to fling yourself up, gliding over the vines just back to the entrance to this room. You can break the pots nearby for some rupees and a Joy Pendant, too.
Part 2: Unlocking the boomerang
Head back to the room with the big dangling tree in the middle and enter the northern door using your newly obtained small key. Get rid of the peahats and then use the gondola to cross.
The next room will have some dangling nuts, boko babas, and a mothula — a disgusting enemy that shoots morths out of its butt. Take them down with your sword (no need for any fancy methods). Use the boko bulbs to climb up the layers of foliage.
At the top, use the grappling hook on a point next to the northernmost door and climb the rope all the way up so that you end up standing on top of the hook point.

Then grapple on to the next point and drop down on the platform below. Climb up the alternating platforms and cut down the small trees to reveal a chest with a Joy Pendant inside.
Glide back down and enter the northern door that was near the grappling points.
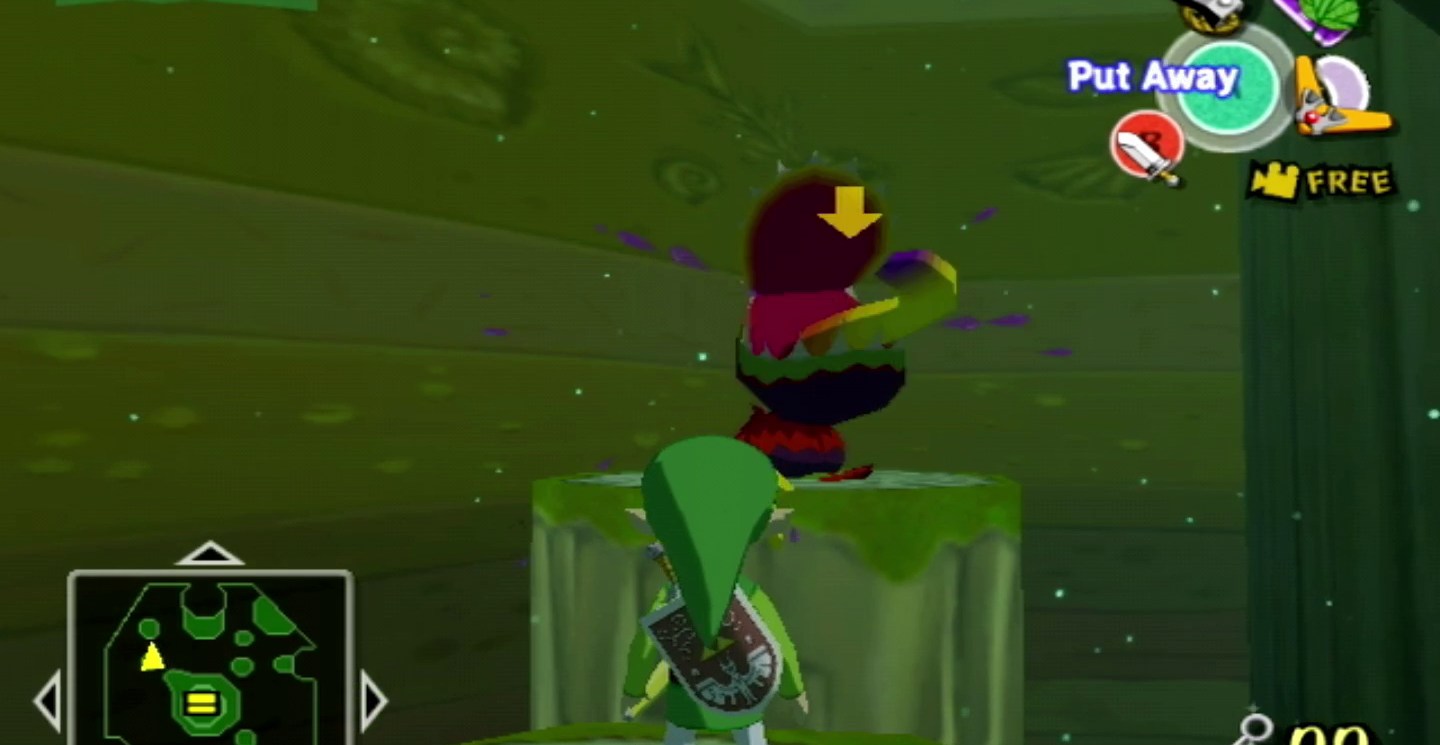
Inside is the disgusting (again) mothula, this time with wings and all. Use your Deku Leaf to blast it with air, temporarily stunning it, and then unleash a flurry of attacks. Repeat this until the boss is dead, being mindful of its swooping attacks and morths.
Once its dead, you’ll get access to a big chest with the boomerang inside! Hell yeah, now we’re cookin’ with gas.
As mentioned in-game, the boomerang can lock on to multiple targets, hitting them before returning to Link. Get some practice in by hitting the two crystals above the room entrance in one swoop.
With the boomerang, you can now get rid of peahats pretty quickly, opting to boomerang them to death rather than wasting your time with the Deku Leaf. You can also lock on to enemies using the L-trigger for quick kills. With all that in mind, head back into the previous room (the one with all the layers of leaves).
Part 3: Getting the Forbidden Forest boss key
Take out that peahat with your new trusty boomerang and then approach the door with two flowers on it. Use your boomerang from a distance to kill them both simultaneously and head into the door.
Use your boomerang to slice all those dangling boko nuts off their vines so you can glide across safely. Consider using this time to practice using the boomerang quickly — you will need it.
Once you’ve glided across, open the chest on the left for a Joy Pendant and head into the door. At the top here, you’ll want to slide those five blue vines using the same method you used for the boko nuts, but you’ll want to make sure to get all five of them in one go. Again, this is more good practice for the future.
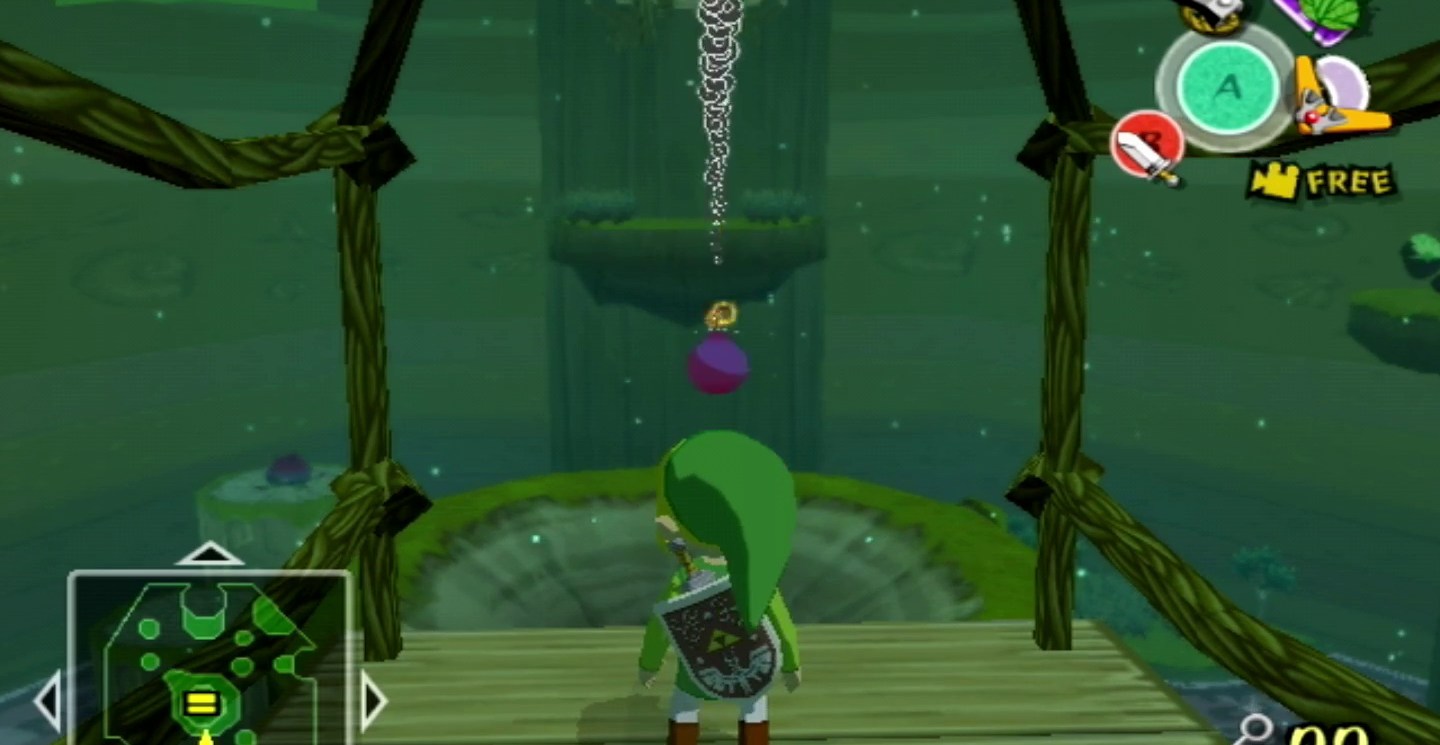
Once you do this, that enormous tree that was in the middle of that one room will fall down, opening a new path. Fall or glide into that hole and enter the single door in that room.
In the next room, use your boomerang on both the peahats and morths and then proceed on the right path. Continue on, taking out any chuchus that block your way but be mindful of the dexivines, the blue grabby tentacles coming out of the ground. They won’t hurt you, but they will suck away your magic, which still sucks. They also don’t really die, as they grow back, so mostly just dodge and ignore them.
Jump across the flower platform to get a yellow rupee from the chest and then use your boomerang to cut the flower down.
Optional: Grab Treasure Chart #15 (Piece of Heart)
Before you continue on, use the bomb flower to open the blocked off path to the north, and then head into that door. Take out any peahats that are giving you an issue and then jump up the platforms in the northwest, taking out the morths and deku baba.
Jump into the bulb that appears and glide on to the platform in the north. Use your Deku Leaf on the nearby propeller to summon the gondola and ride across. Pick up the bomb flower and throw it into the hole in front of where the gondola now sits.
You should hear it blow up and the “you solved a puzzle” jingle will play. Open the chest inside to get Treasure Chart #15 — which will eventually lead you to a Piece of Heart.
Crawl through the hole in the back of this giant tree and then head back to the aforementioned giant floating flower.
If you stopped to get the chart above, you’ll need to climb back up and re-cut the flower down. Once you do, use your shield to deflect the projectile from the nearby octorok. Then you’ll need to use your Deku Leaf to fire off air behind the flower, pushing it forward in the water.

At the 90-degree angle, you should see two more octoroks. Block their projectiles back at them and then continue on your floating journey and enter the doorway.
Now you should be in the boss key room. Climb up the stump in the center and use your boomerang to activate all five white crystals consecutively. You’ll either need to go counterclockwise starting from the northwestern crystal or clockwise from the northeastern crystal, as the tree in the north will block your boomerang if you try to connect those.
Once you do this, the gate to the boss key will open, so head down and grab that. After this, two moblins will get dropped into the arena and you’ll need to beat them before you can leave. You can use your boomerang to stun them, making this fight a bit easier than it used to be.
With those out of the way, climb back up the stump and use the grappling hook on the point above towards the northeast. Jump to the doorway and head inside. You’ll be back at the room with the water and the morths, so just continue to the eastern exit.
In the room with the flower in the water, activate the propeller with your Deku Leaf and then use the bulb to the west to help you glide back up.
On this floor, use your boomerang to get rid of those two door flowers to the east and head inside. You’ll be in a thin room with two more mothulas. Take them out and open the chest that appears to get a Joy Pendant.
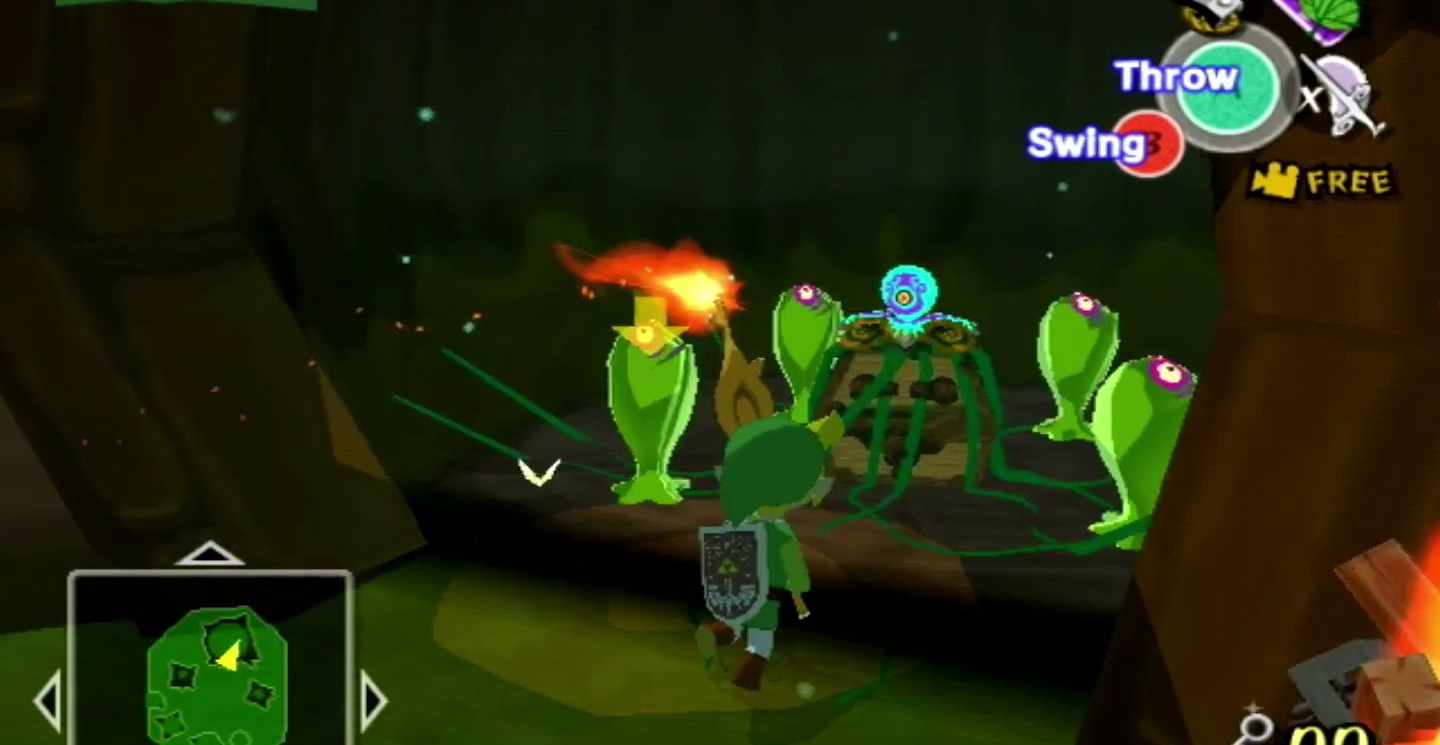
Continue on and you’ll now be in the boss room. Break open the jar of sticks, light a stick on fire using the braziers, and light the wooden lid on top of the pot above to the left of the boss door. This will let you warp between the two other pots we’ve seen so far.
Optional: Grab Treasure Chart #1 (200 rupees)
Head into the warp pot so that it sends you back to the beginning of the dungeon. Enter the doorway and use the bulbs to climb upwards. Rather than entering the door near the bomb flower, keep entering the bulbs to keep gliding higher up in the room, making sure to avoid the wiggling vines.
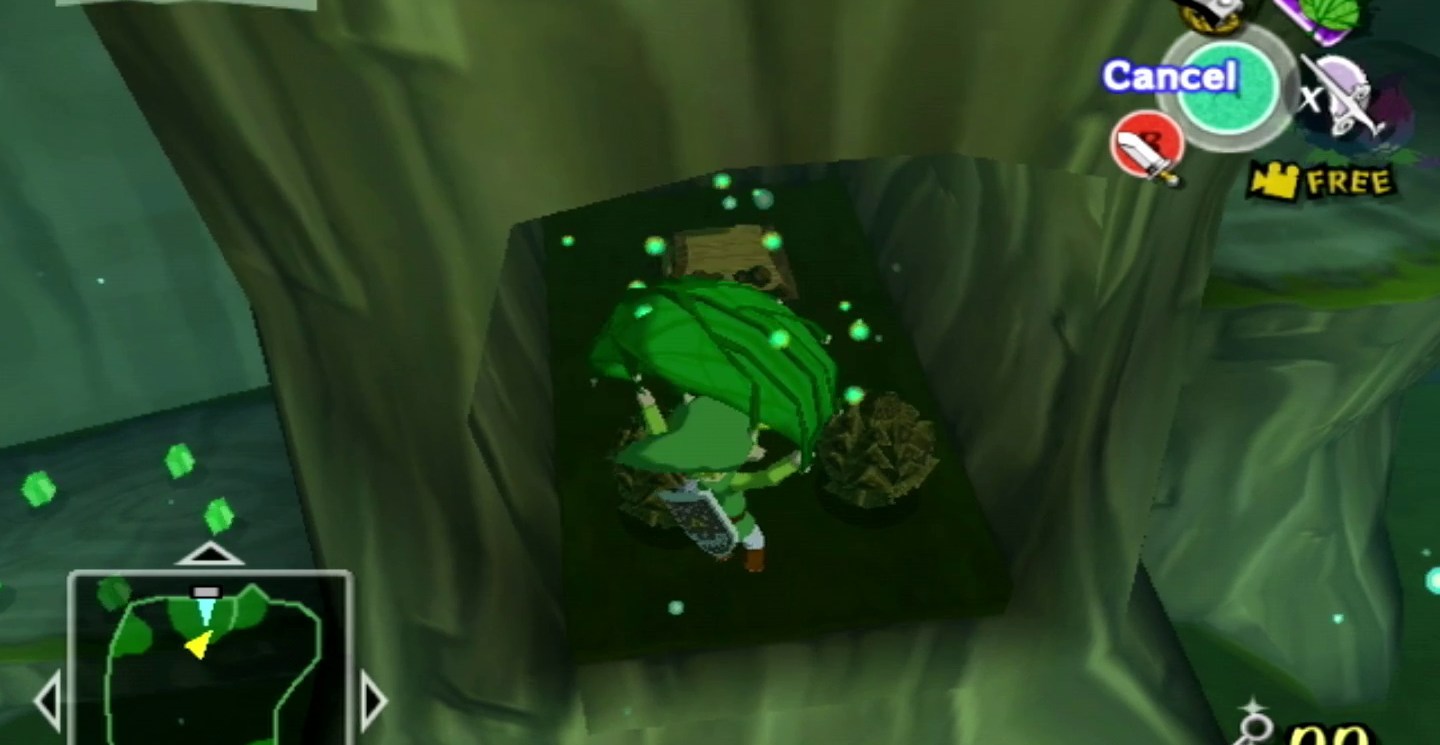
Keep launching up and gliding to the next available bulb until you eventually see this chest in the southwest corner. Use your boomerang to break the flower off the chest and open it for Treasure Chart #1 — which will eventually lead you to 200 rupees.
Head back to the entrance of the dungeon and enter the pot, which will take you to the middle of the dungeon. Enter it again to go back to the boss room.
Part 4: How to beat Kalle Demos
Inside the room ahead of the boss you can break open these pinecone nuts for magic pots, rupees, hearts, and if you’re unlucky, morths. Just make sure you’re ready for the boss before heading into the boss room.
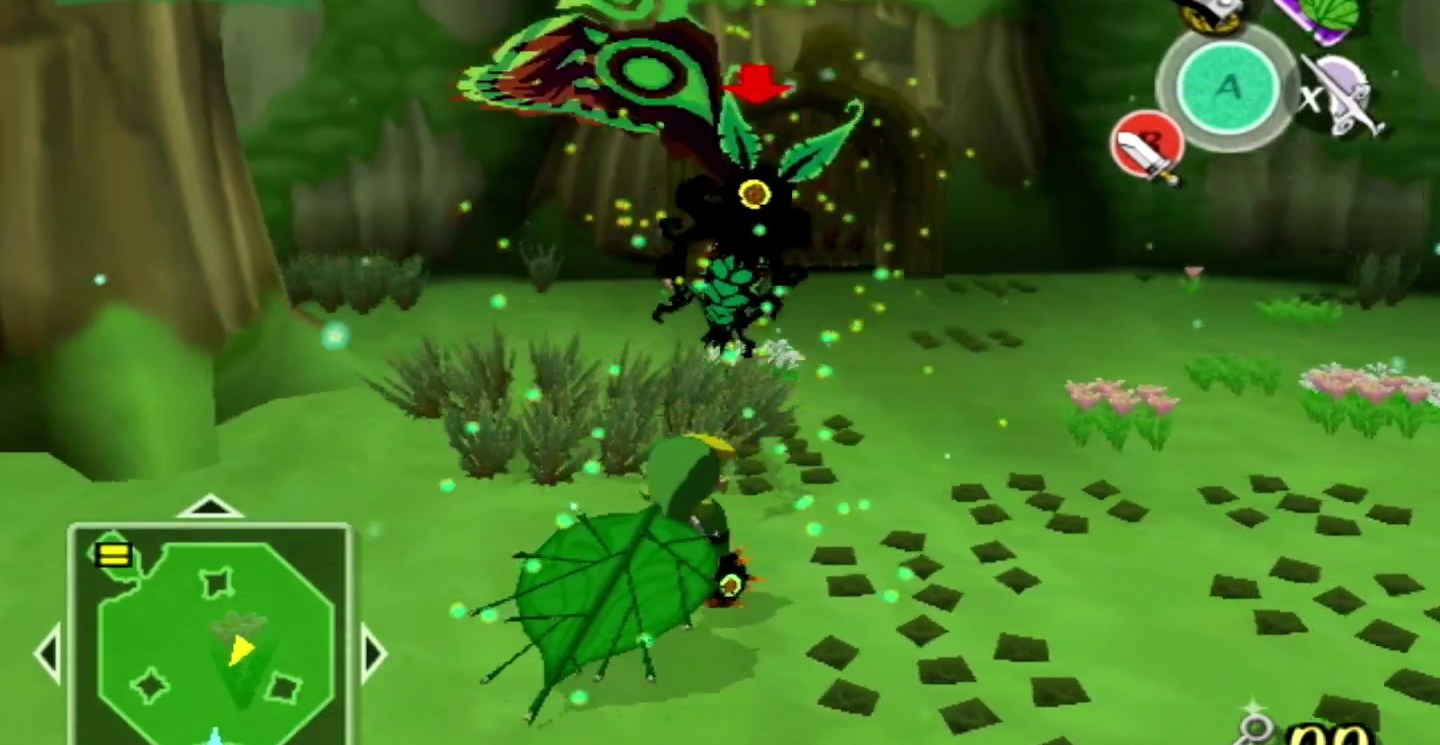
Once you head inside, you’ll see Makar, but he’ll get gobbled up by a big disgusting vine-y plant.

Right away during that little cutscene that plays out, you may have gotten an idea of what you need to do — and why I kept insisting that you need to practice flinging that boomerang quickly.
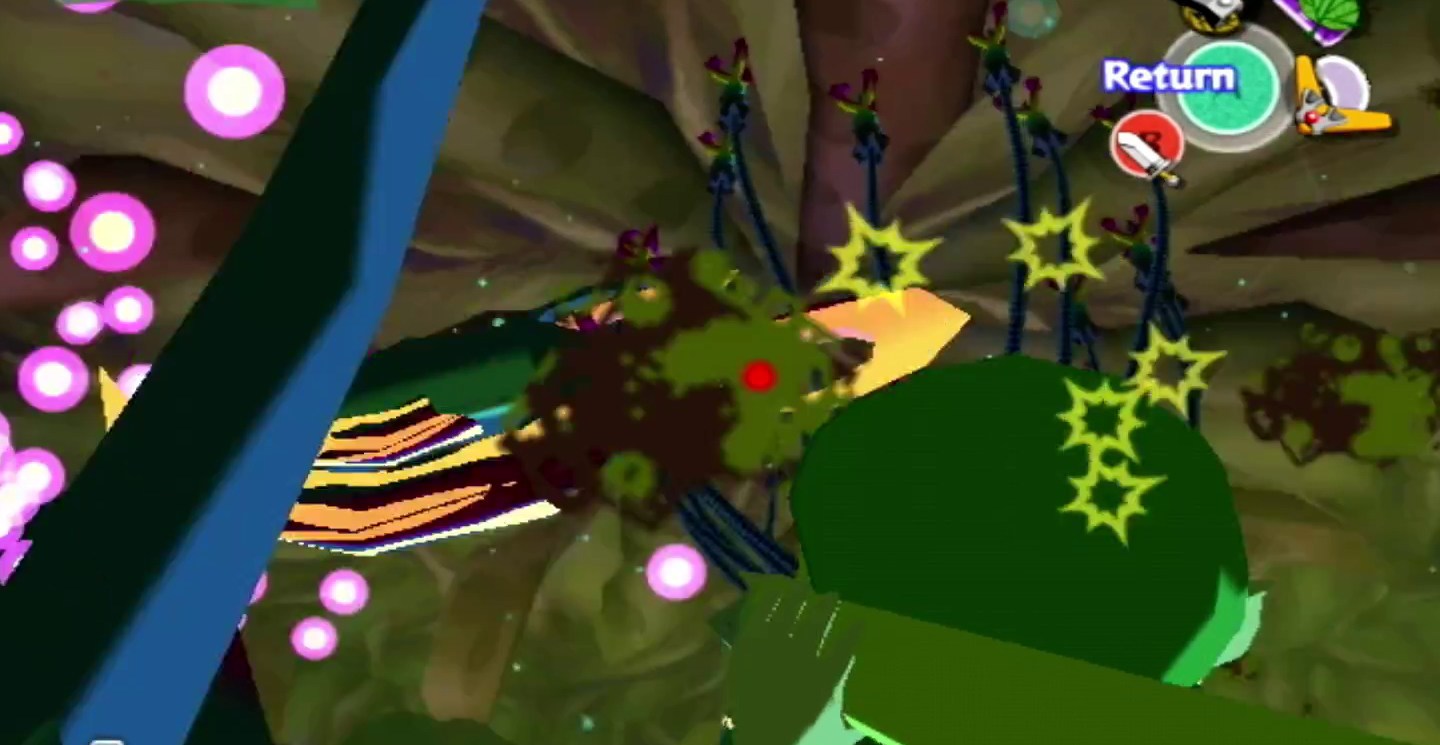
The strategy here is to use the boomerang to break all the vines at the top of the enemy so that it drops to the ground. You will not be able to break them all in one throw, so you’ll need to dodge its claw-like vines while you try to get the top vines down. The claw-vines will glow before they drop down on Link. Whew.
Once you do so, you’ll be able to attack the center of the flower. If you stay inside the flower attacking too long, Link will get chewed up and spit out a bit once the flower re-closes — but in my opinion, the greed for damage was worth the HP loss. It only took two instances of de-vining the boss for me to defeat Kalle Demos.
If you’re struggling, keep running and rolling in circles around the boss to avoid the claw-tentacles. You’ll notice that if you take too long to get all the top vines down, they will grow back, so speed is the key here.
Once you do enough damage to it, it’ll start buying its attack-vines into the ground, forcing them to pop up and chase you down, somewhat similarly to how the vines in the rest of the dungeon popped out. Keep running and dodging, making sure to throw that boomerang at every chance you can get.
After you defeat Kalle Demos, Makar will be free. You can talk to him, collect the Heart Container, and take that whirlwind that spawned out and back to the Deku Tree to claim your reward: Farore’s Pearl.
With all those cutscenes over, you can head back to the King of the Red Lions and he’ll talk about your next destination: Greatfish Isle. However, at this point you can freely explore the ocean without your boat yelling at you, which means you can start cracking open treasure maps and exploring other islands.
That said, a lot of the game’s content may be walled off by items and upgrades you unlock in the future, so don’t be surprised if your ventures are cut a little short.
The post Forbidden Forest walkthrough in Zelda: The Wind Waker appeared first on Polygon.