In Doom: The Dark Ages, you have a long list of weapons at your disposal, each gun with its own flavor. But regardless of whether we are talking about the Combat Shotgun or the Chainshot, you will always need ammo upgrades for them.
Right after your Health and Shield capacity, ammo is one of the most important resources in Doom: The Dark Ages. It’s also one of the scarcest. Since you can’t store thousands of bullets for all the weapons you have in the game, any chance of recovering ammo or increasing the amount you can keep with you is always welcome.
This guide helps you understand how to get ammo upgrades in Doom: The Dark Ages plus shows you where to find all ammo upgrades.
How to upgrade ammo in Doom: The Dark Ages
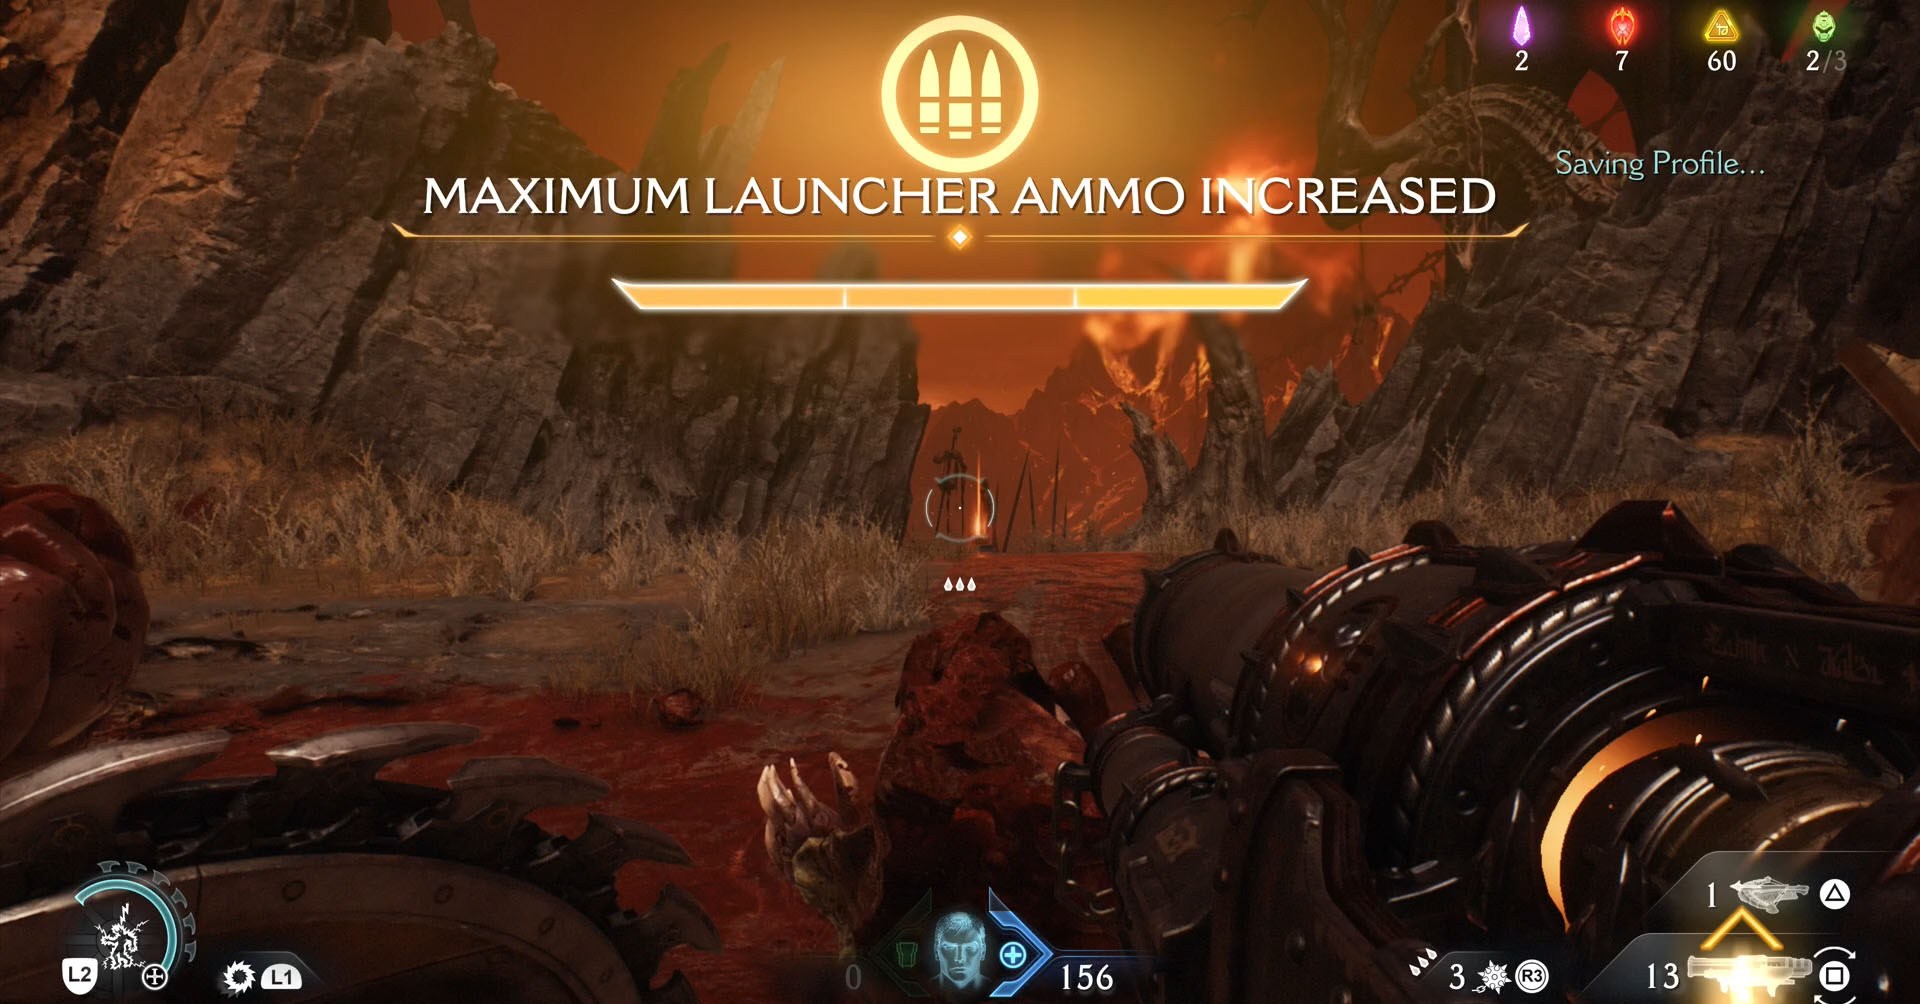
To upgrade your ammo capacity, you need to collect the Demonic Essence of specific leaders — and to do so, you must find and defeat them first. When you find leaders from whom you can collect Demonic Essence, a yellow icon showing three bullets appears above their heads.
Unlike the other two types of upgrades, Health and Shield, when you defeat a leader, they will give you an upgrade for one of the three kinds of ammo in the game: Shells, Cells, Spikers, Skulls, Reaver, and Launcher.
These upgrades are permanent, so you don’t need to worry about having to chase leaders in every chapter.
Below, you find all the chapters in which there are leaders who give you ammo upgrades in Doom: The Dark Ages.
The Holy City of Aratum (Chapter 5)
The fifth chapter of Doom: The Dark Ages is the first time you have access to your cyberdragon to explore the areas and look for its secret landing zones. This is a lengthy chapter, but there’s only one ammo (Shell) upgrade to get.
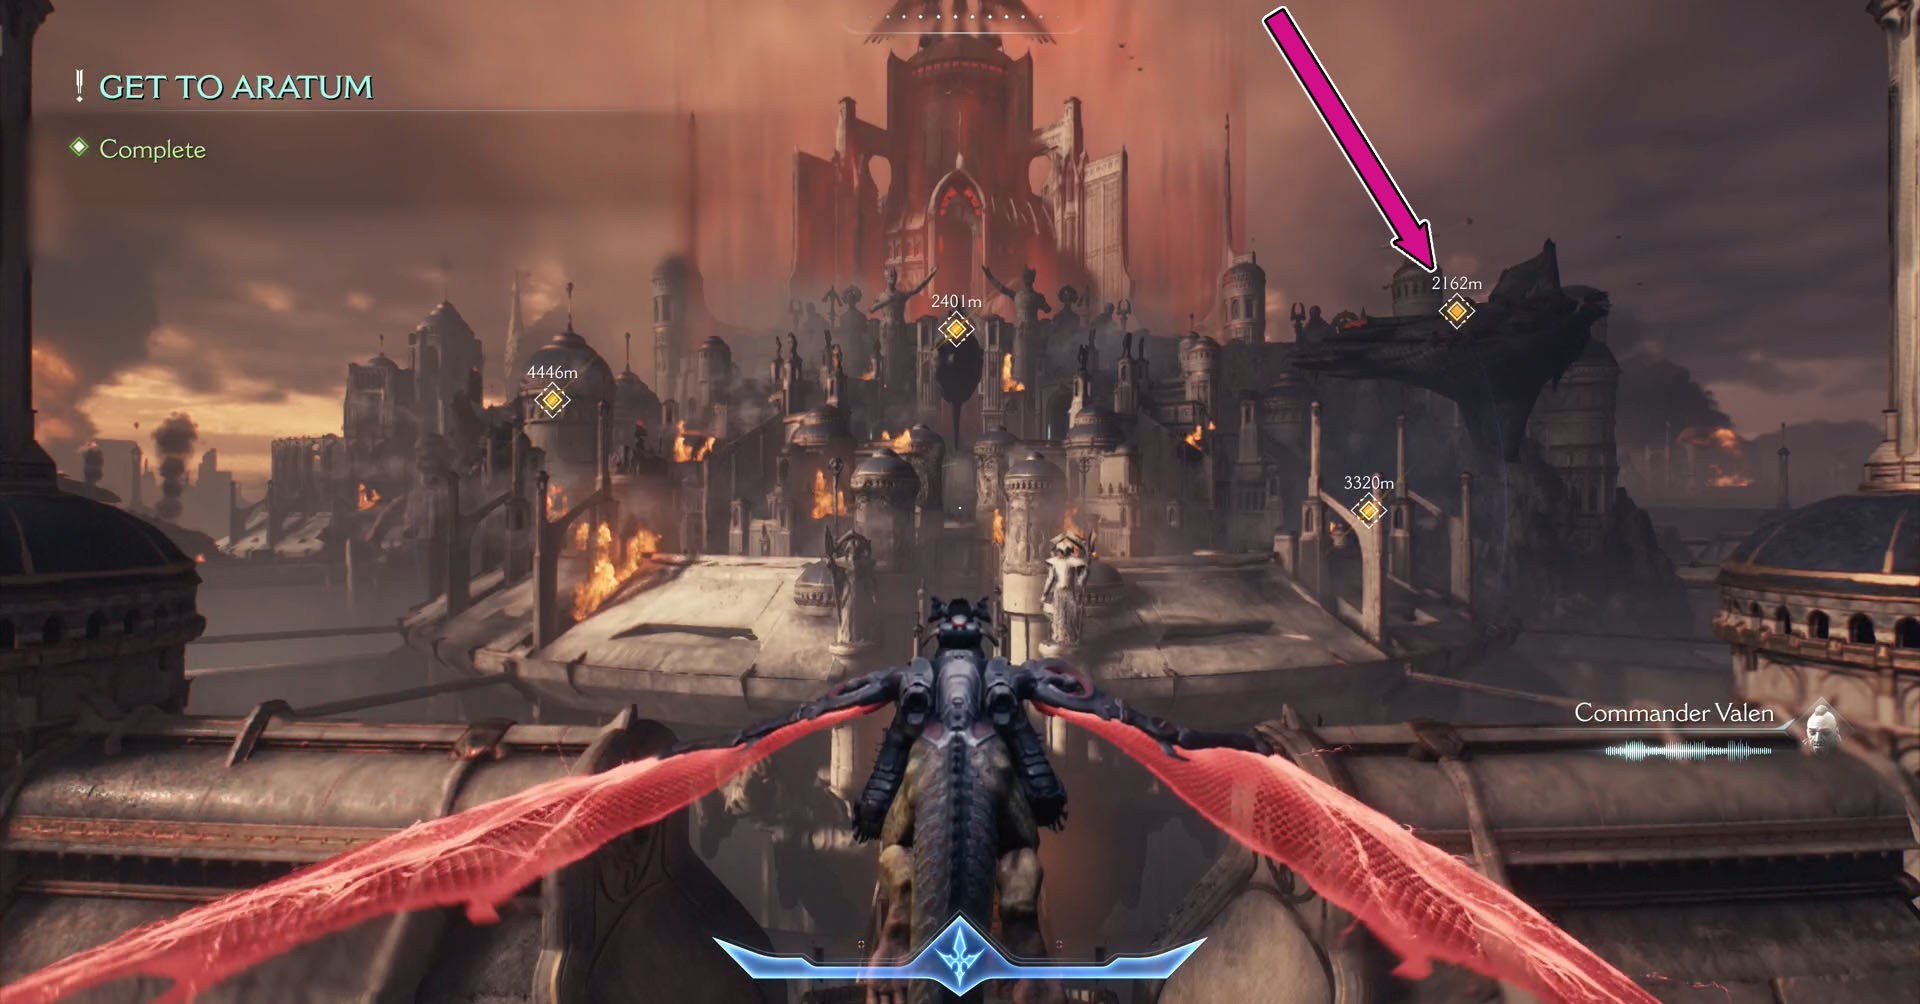
To find the leader, after you’re done with the tutorial, fly with your dragon to the first ship to your right. You will need to destroy all its canons for the landing spot to appear. Once you’re in, there isn’t much secret. Just keep following the path available to you until you reach the last room.
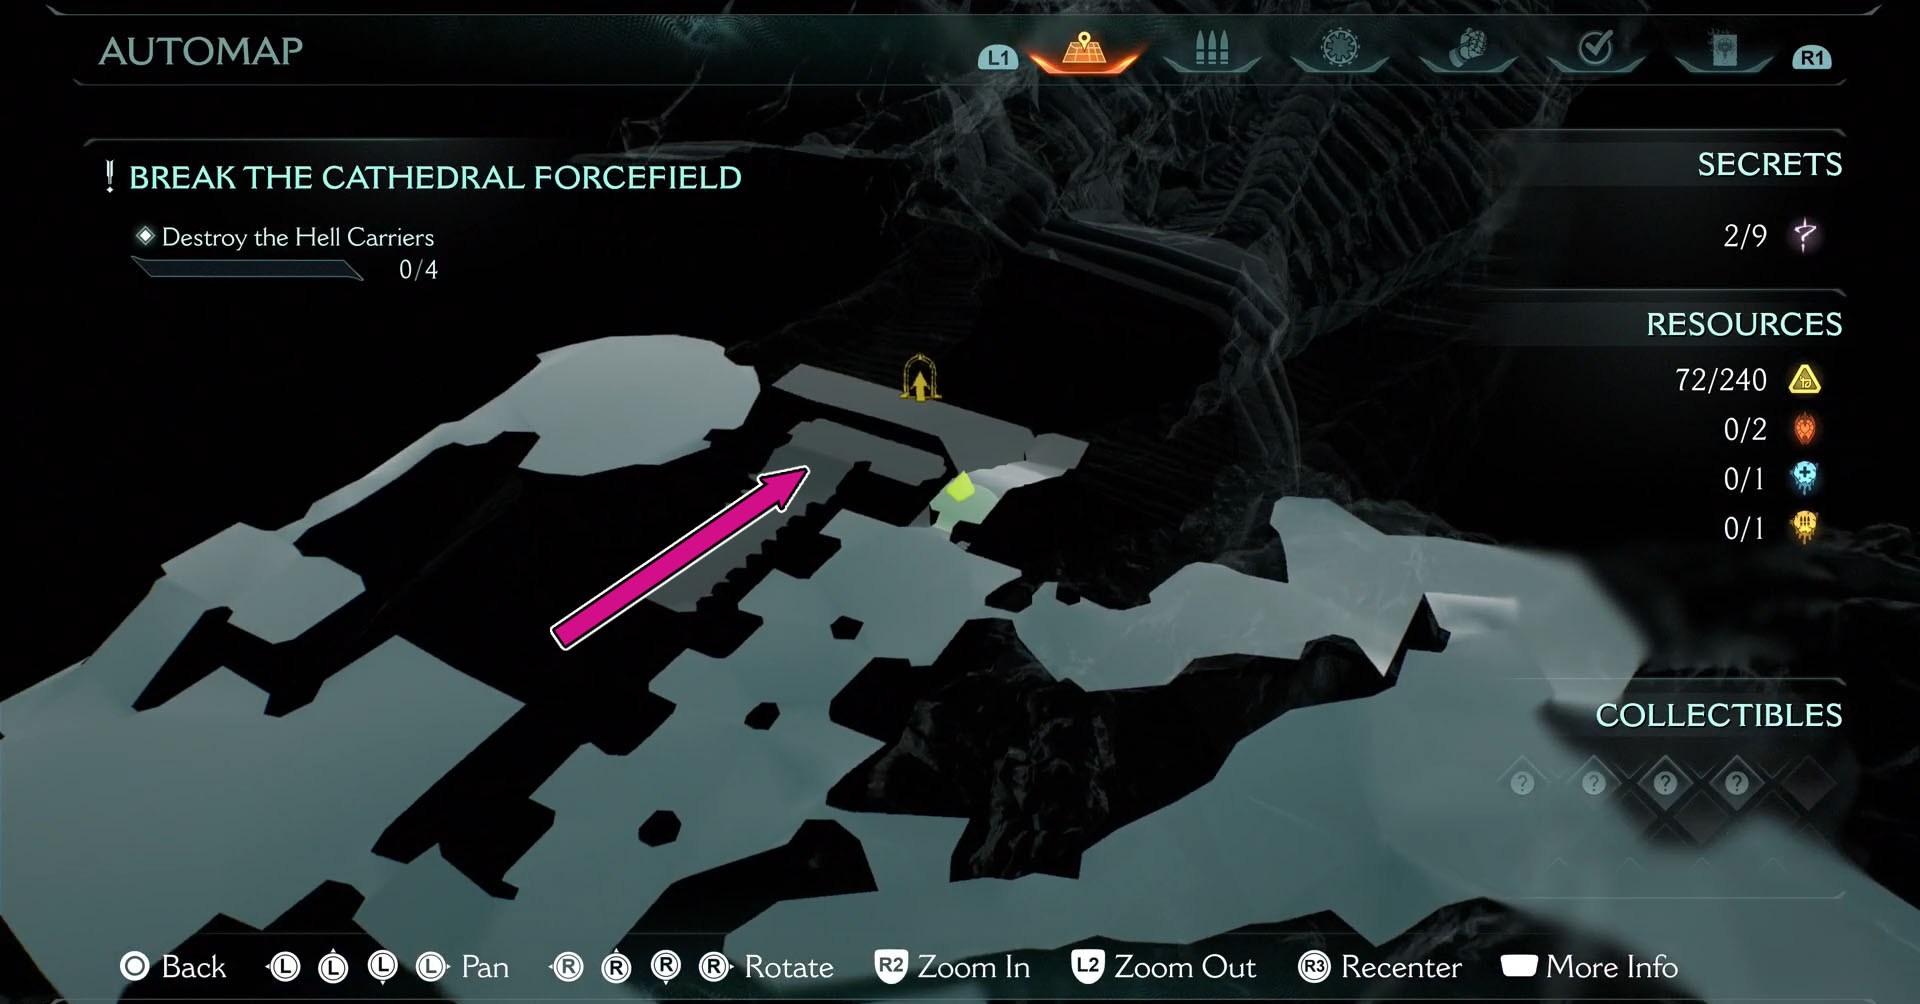
The objective sign will take you to the lowest platform in front of a red energy gate which you must destroy dashing with your shield. However, before you can even try, the leader will appear.
Your first ammo upgrade leader is an armored Hell Knight. This enemy uses the jumping Hell Surge attacks which the regular version you’ve already faced does. They will also throw Hell Surge axes at you, so stay alert to parry them.
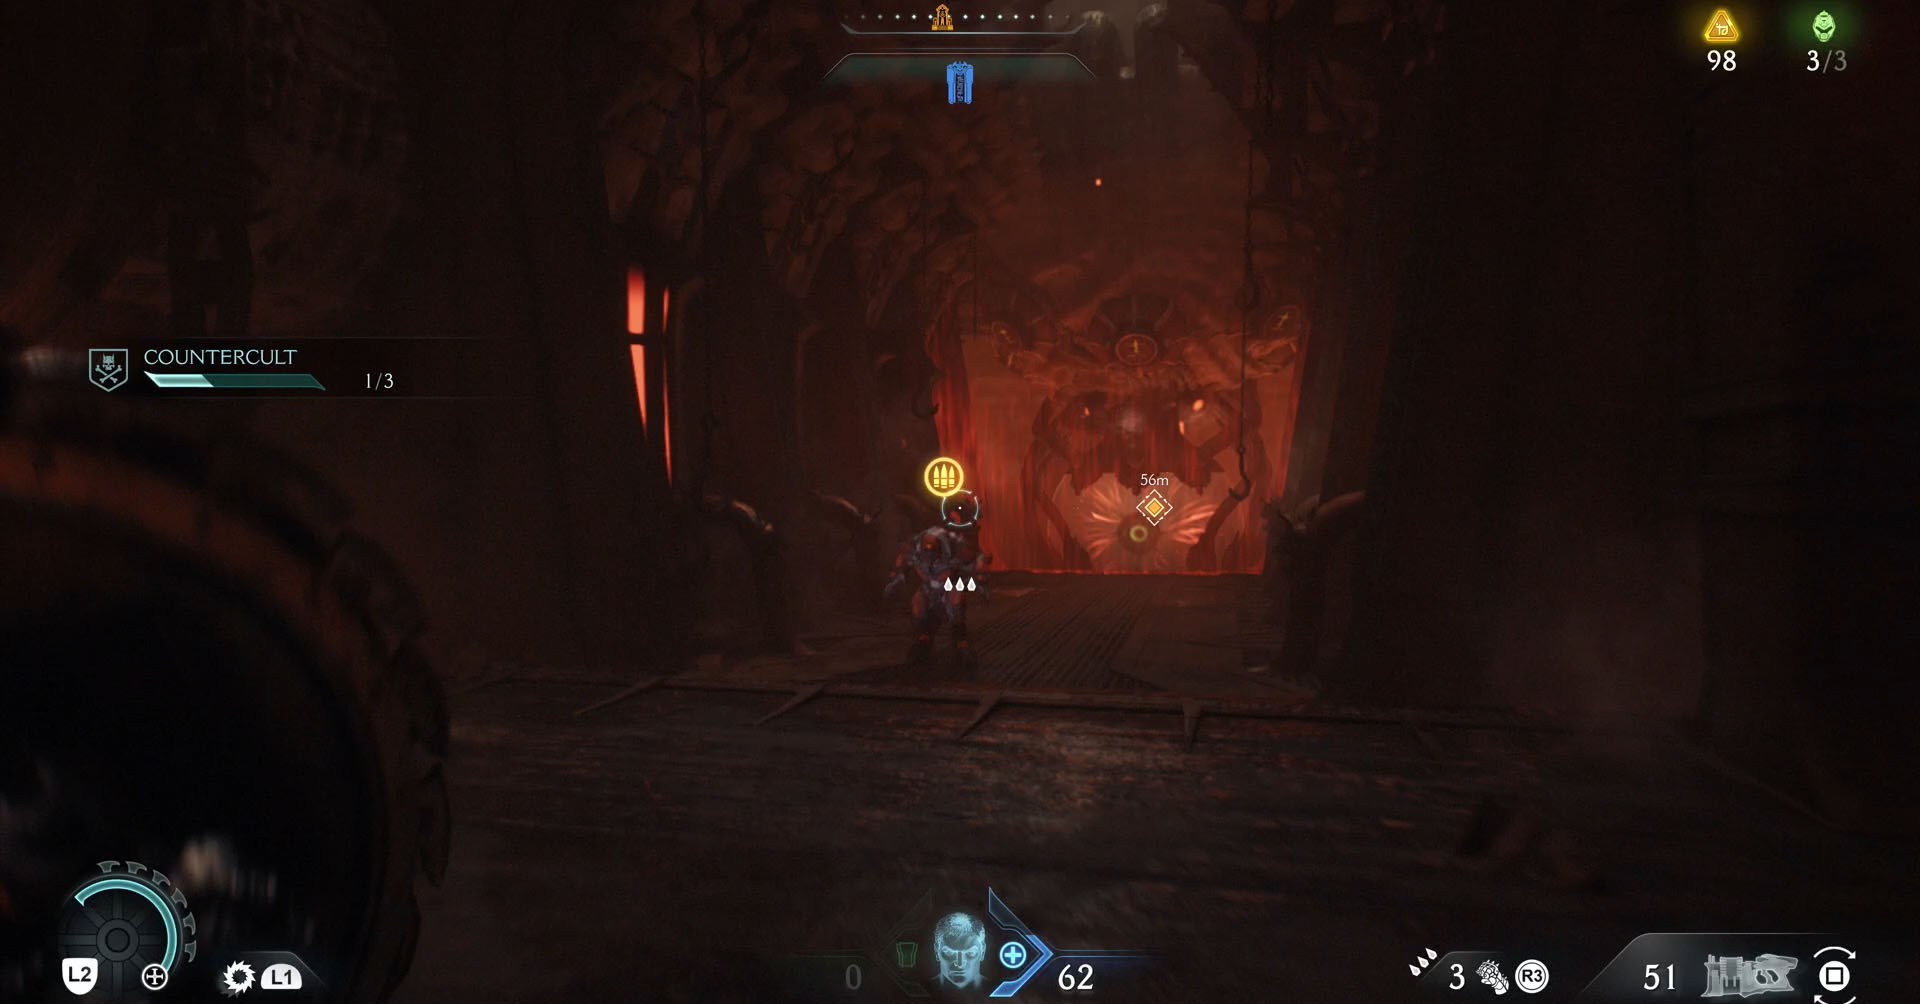
The challenge in this fight is to fight this aggressive enemy in a tiny corridor. Focus on using the Accelerator to break their armor faster and don’t let them corner you.
The Siege – Part 1 (Chapter 6)
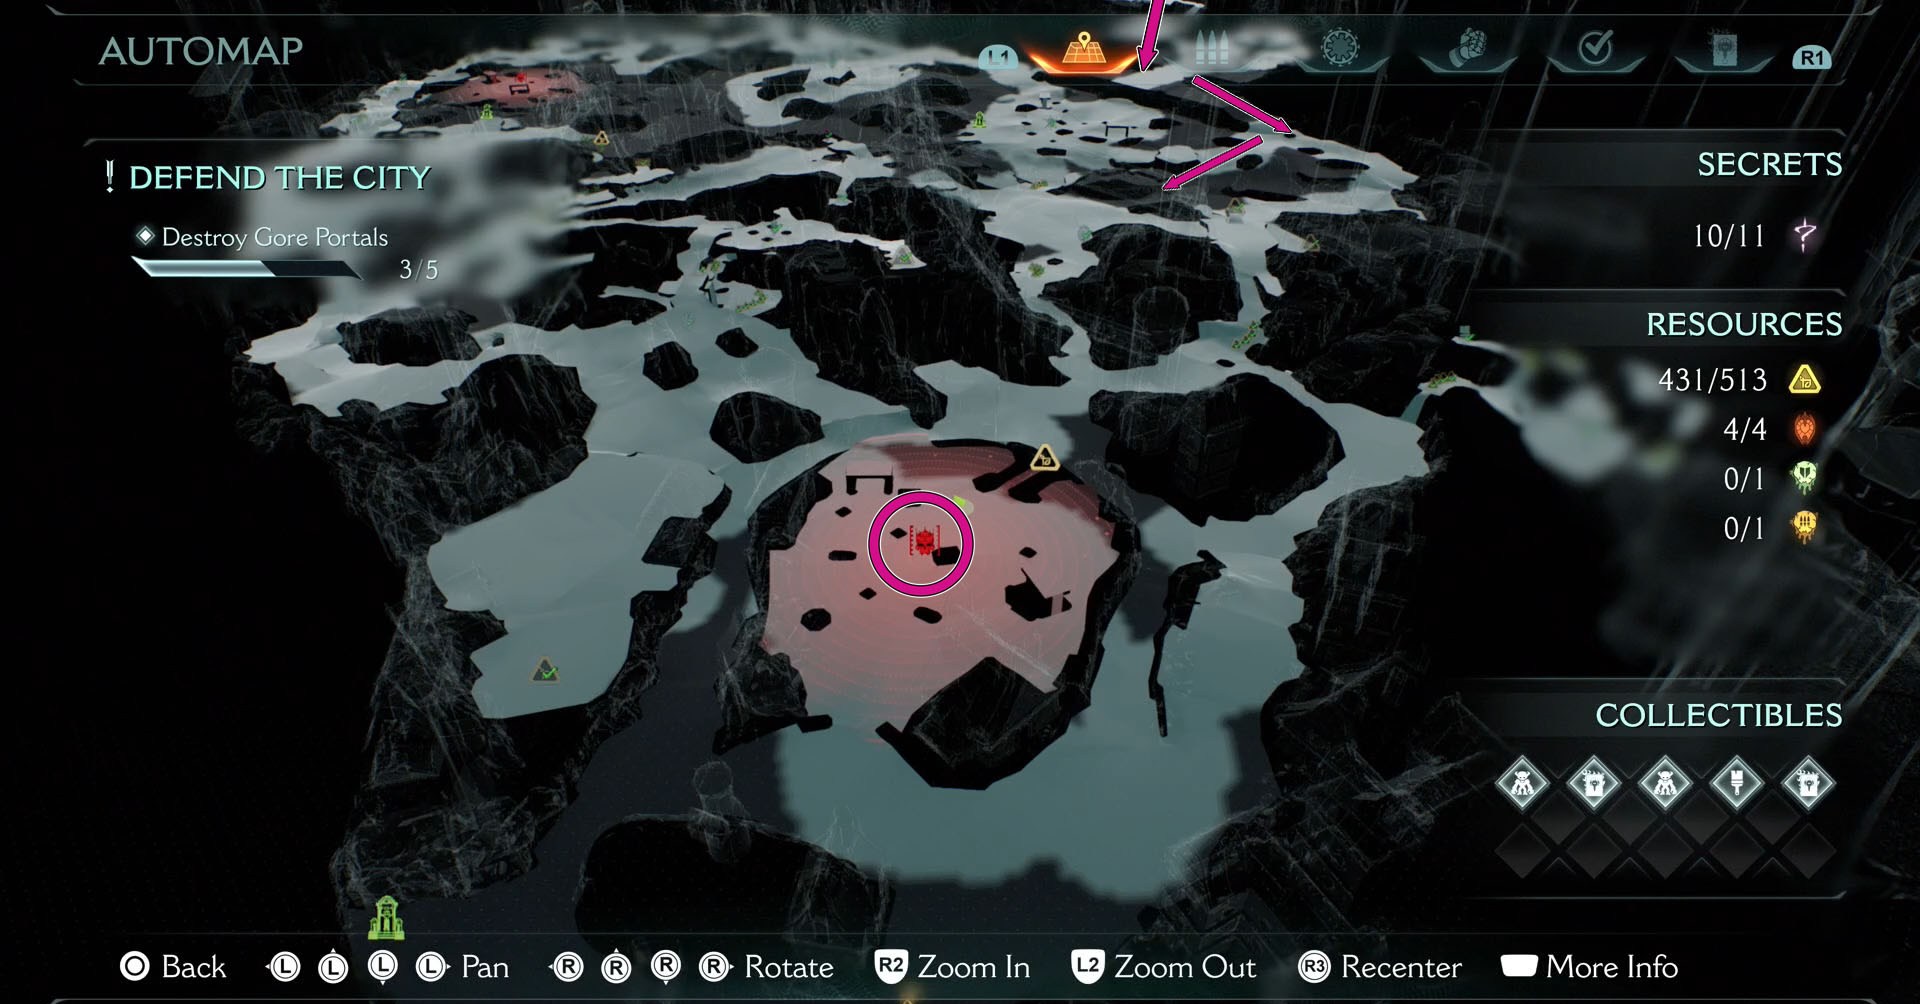
Doom: The Dark Ages’s Chapter 6 will force you to traverse a long and a little bit confusing map. To find the leader who will give you an ammo (Spiker) upgrade, you want to visit the area to the left corner of the map from the starting gate. The place is marked by a red skull icon on your map.
This fight is the first involving the morale system, which means that, before you can actually fight the leader — who will be attacking as soon as they spot you — you need to kill the other demons in the area to deplete its morale bar.
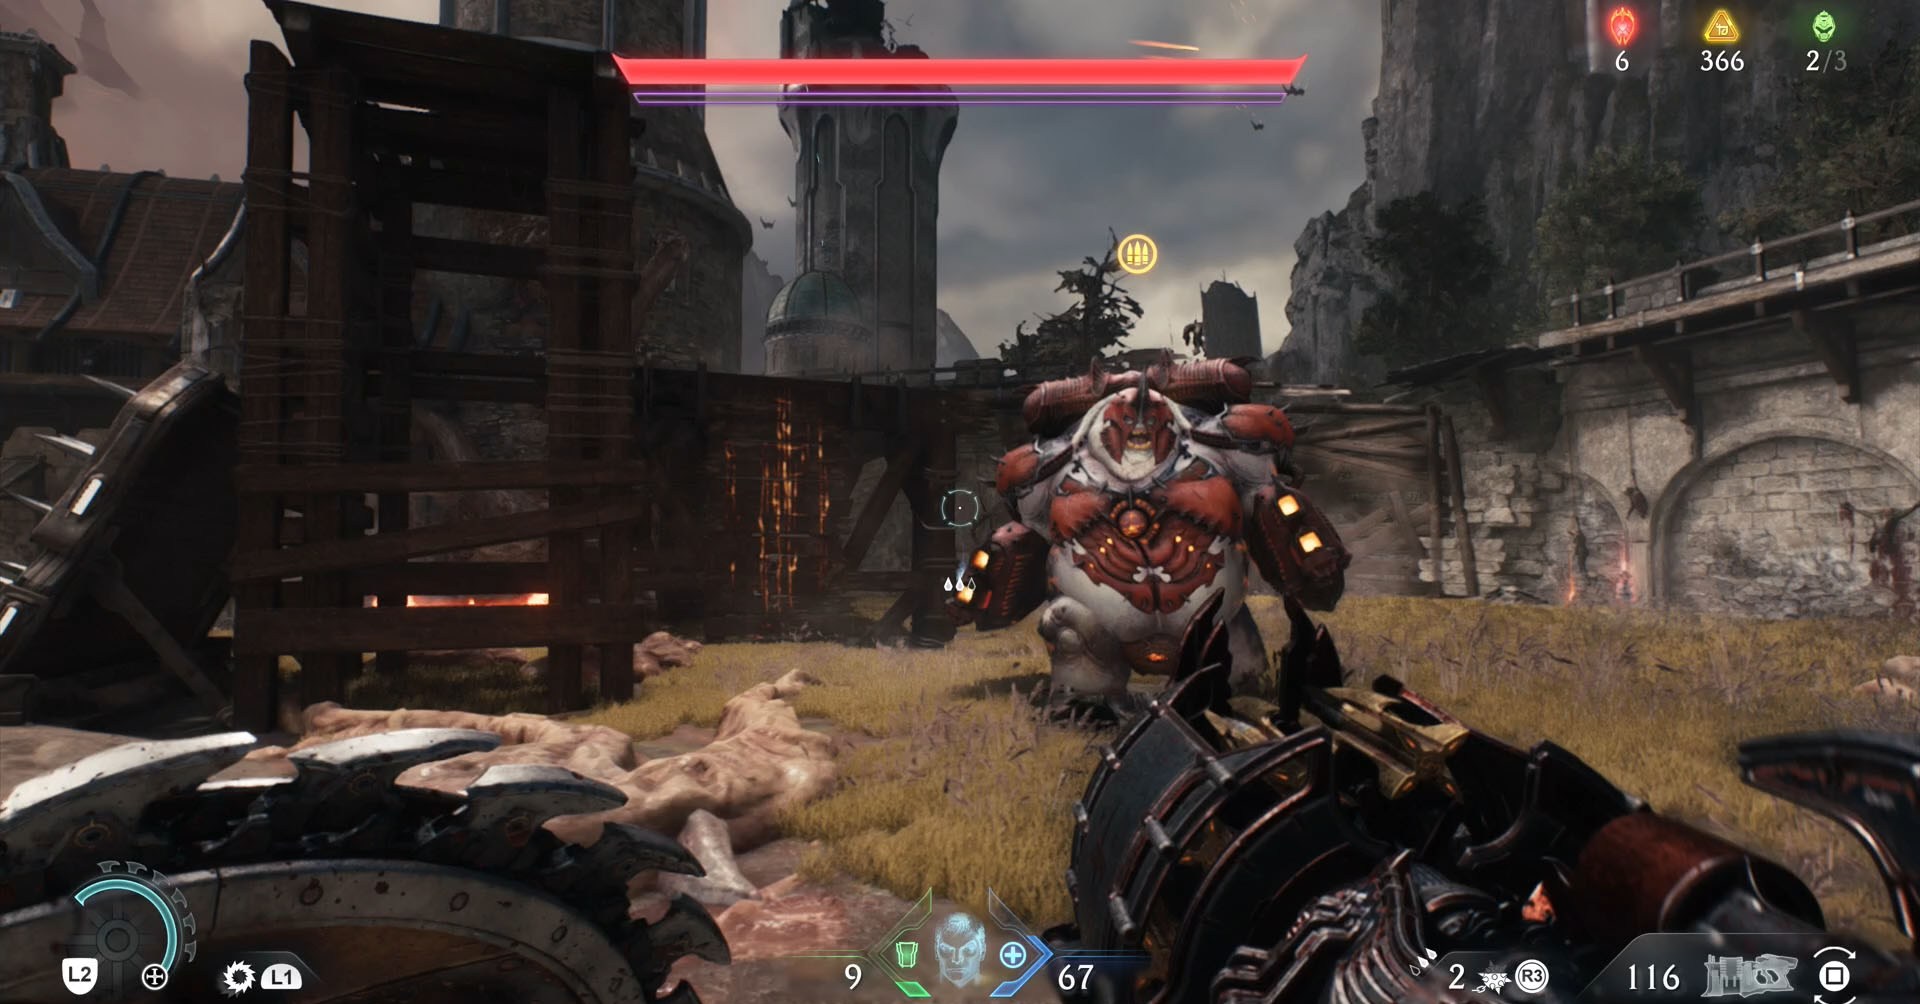
Once you have killed enough demons and a message appears saying “Leader Shield Disabled!,” it’s time to shoot. The leader this time is an armored Mancubus and as you might have expected your top priority is to destroy their armor.
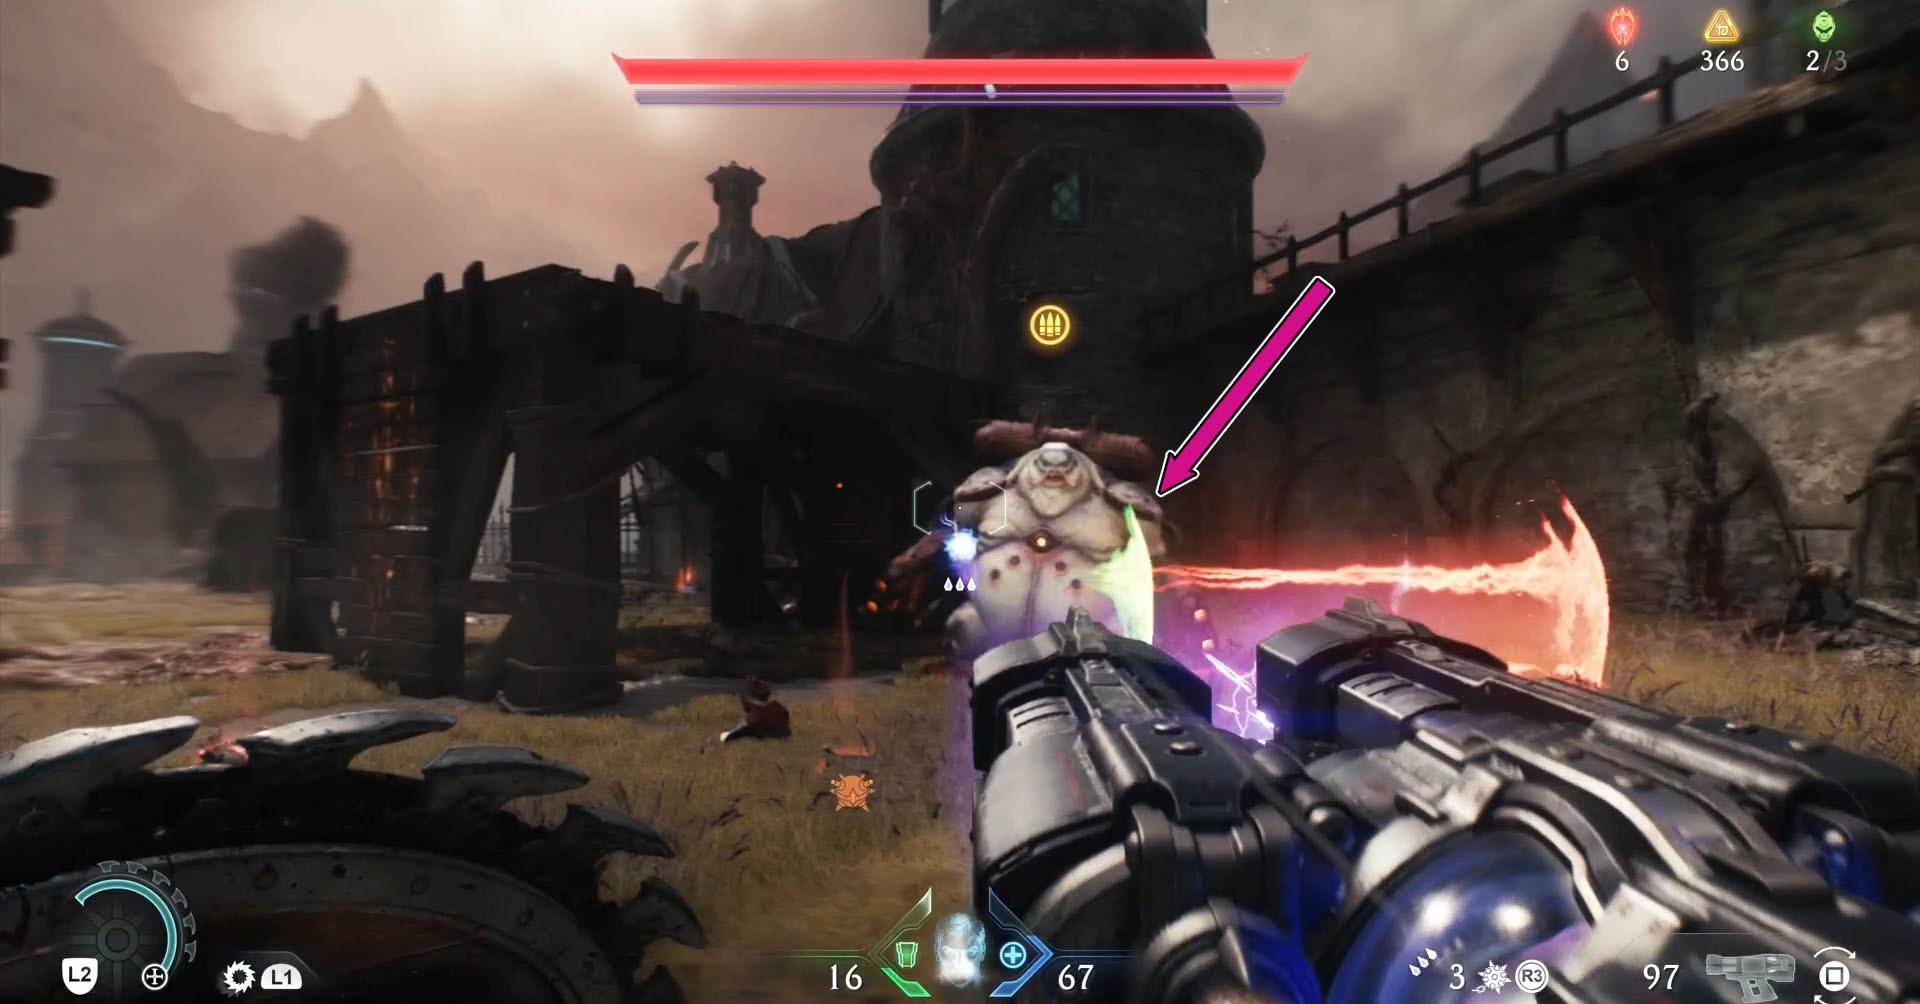
Keep a safe distance from them since the Mancubus will pop their flamethrowers at you if you get too close. You can play it safe and look for their signature attack, a wall of energy that always has one side which you can parry.
Ancestral Forge (Chapter 9)
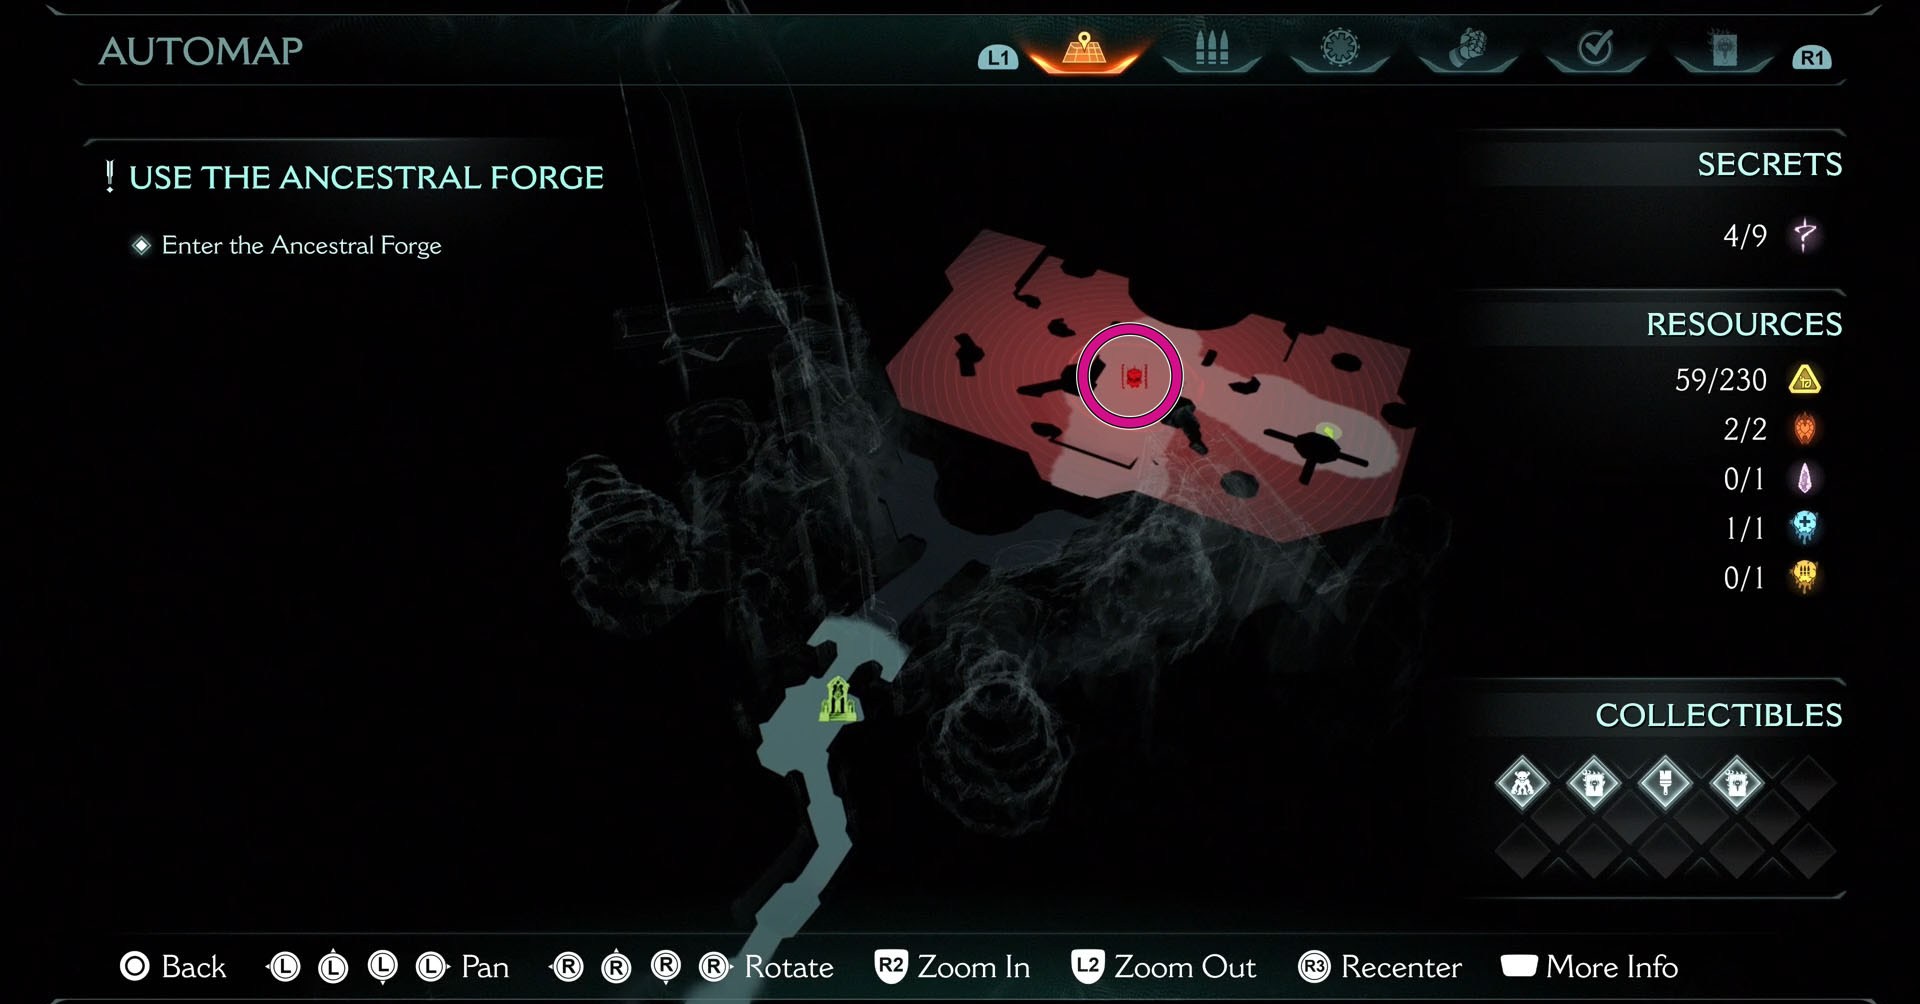
Finding the leader in Chapter 9 who gives you an ammo (Cell) upgrade is just a matter of reaching the end of the level. You will need to face another armored Mancubus. Take advantage of the Shield Rune you unlock in this chapter and parry all their attacks.
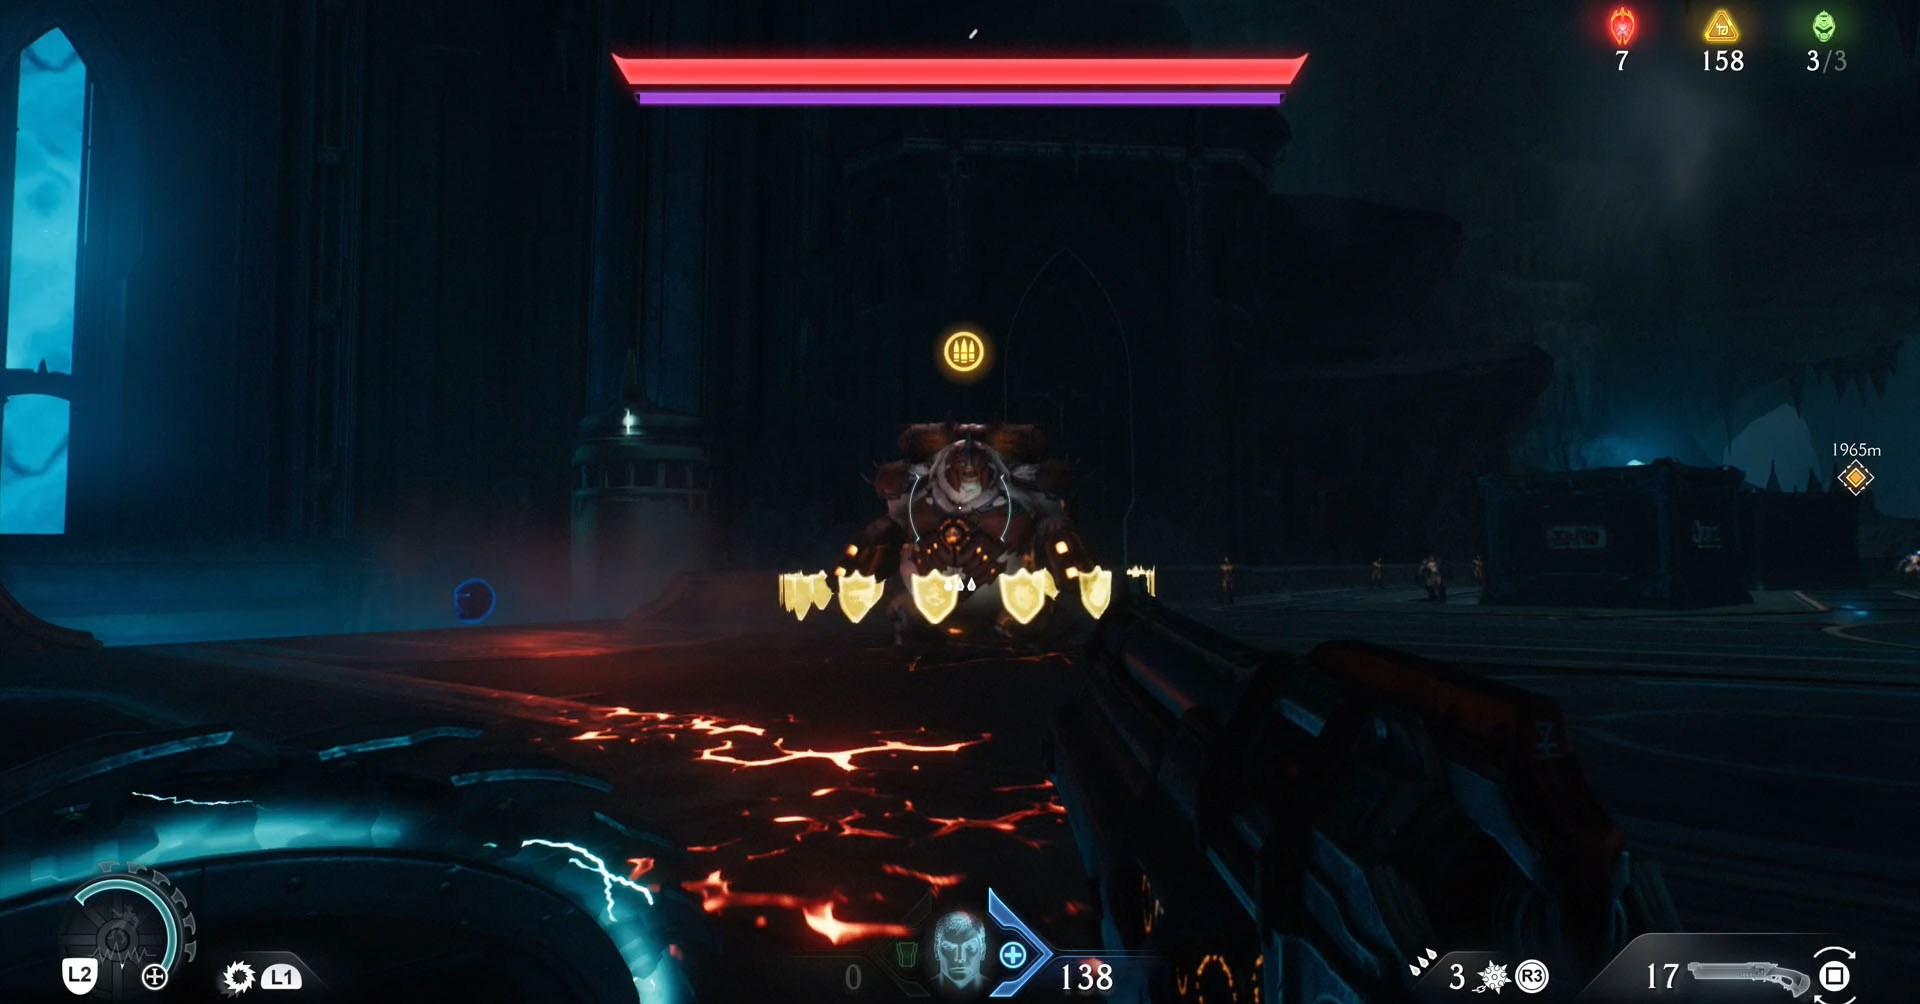
Be careful with the regular enemies around you as you fight the Mancubus. The fight is easier than the previous one, so you don’t need to worry too much. You should, however, deal with the Pinky Rider who is in the arena as soon as possible to make your life easier.
The Forsaken Plains (Chapter 10)
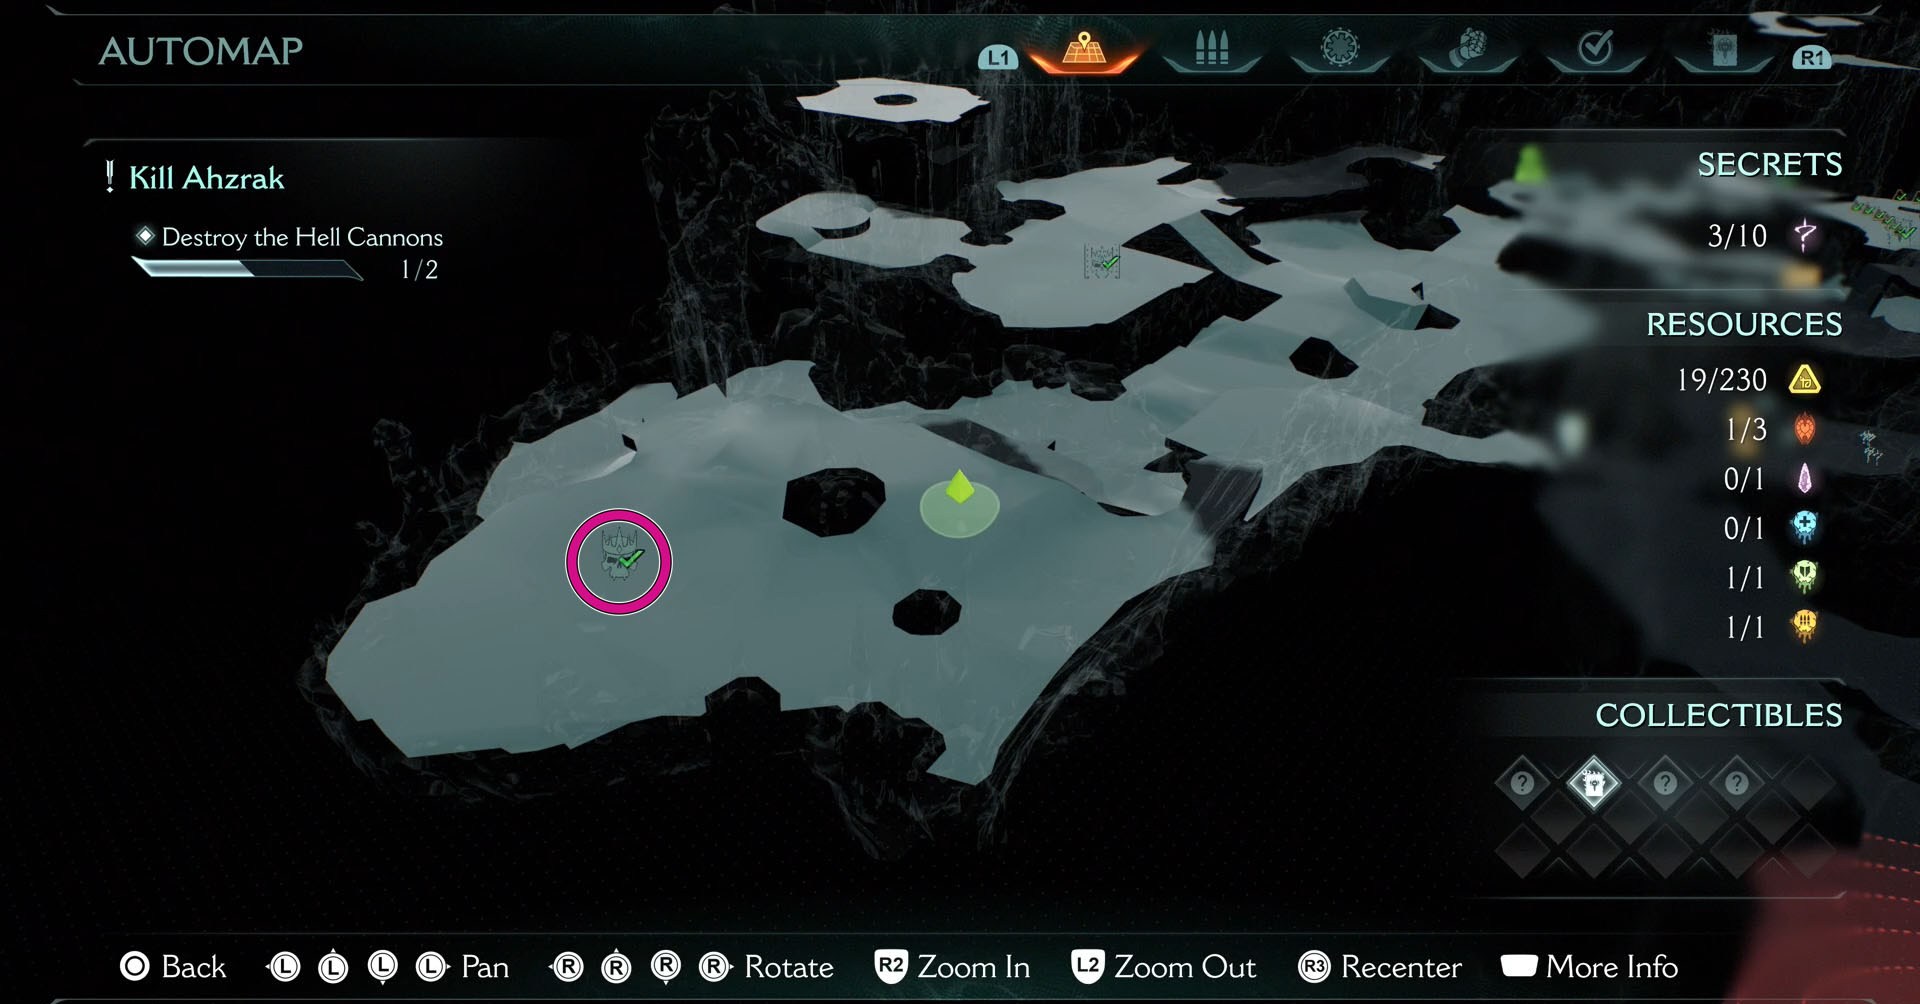
Your main goal in Chapter 10 is to destroy the two Hell Cannons in the Forsaken Plains. By going to the one on the right side of the map, you will be closer to the leader you want to fight to unlock an ammo (Skull) upgrade. They are indicated by an icon of a crowned skull in a higher segment of the region.
When you reach the place, all you find is a tree. Destroy it with your shield to summon some waves of enemies. After defeating them, the leader will appear. This time you need to fight a Revenant, but they don’t have a morale bar, making the encounter less demanding.
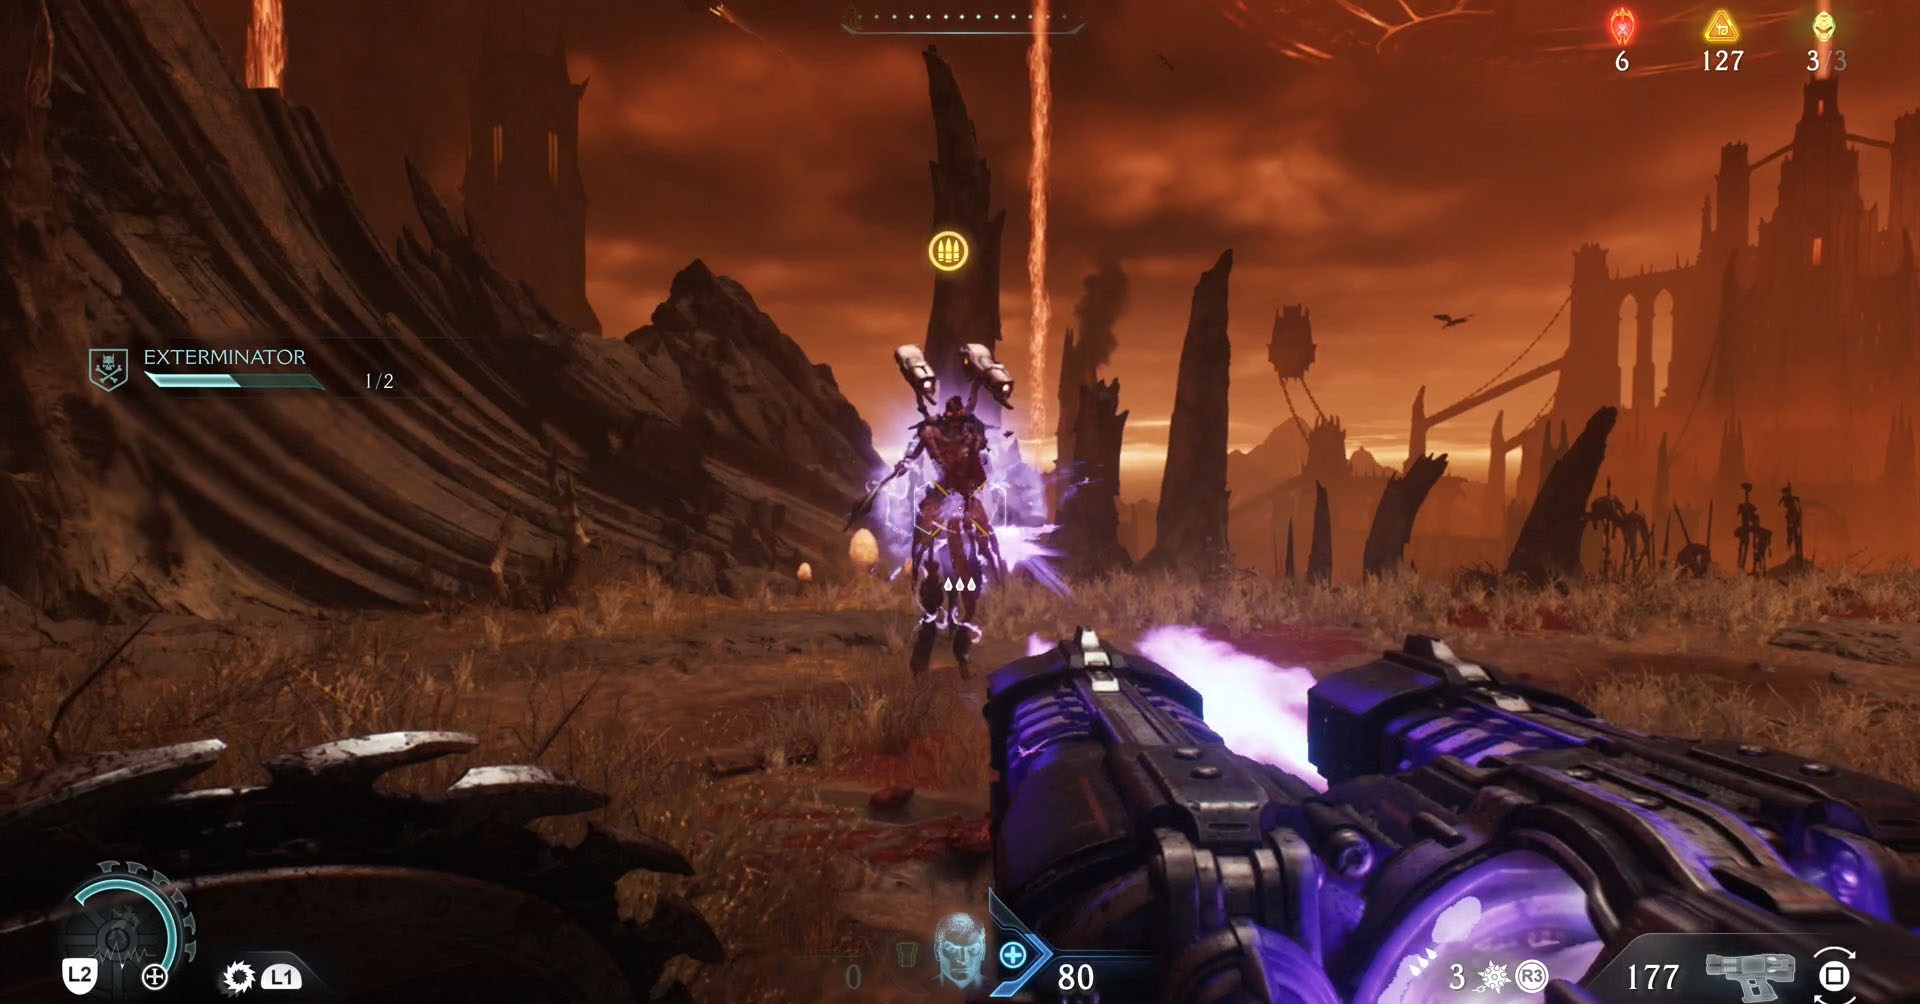
Revenants are pretty agile so try your best to get closer to them before taking a shot. They usually shoot Hell Purge projectiles and skulls. You know the drill, go parry them.
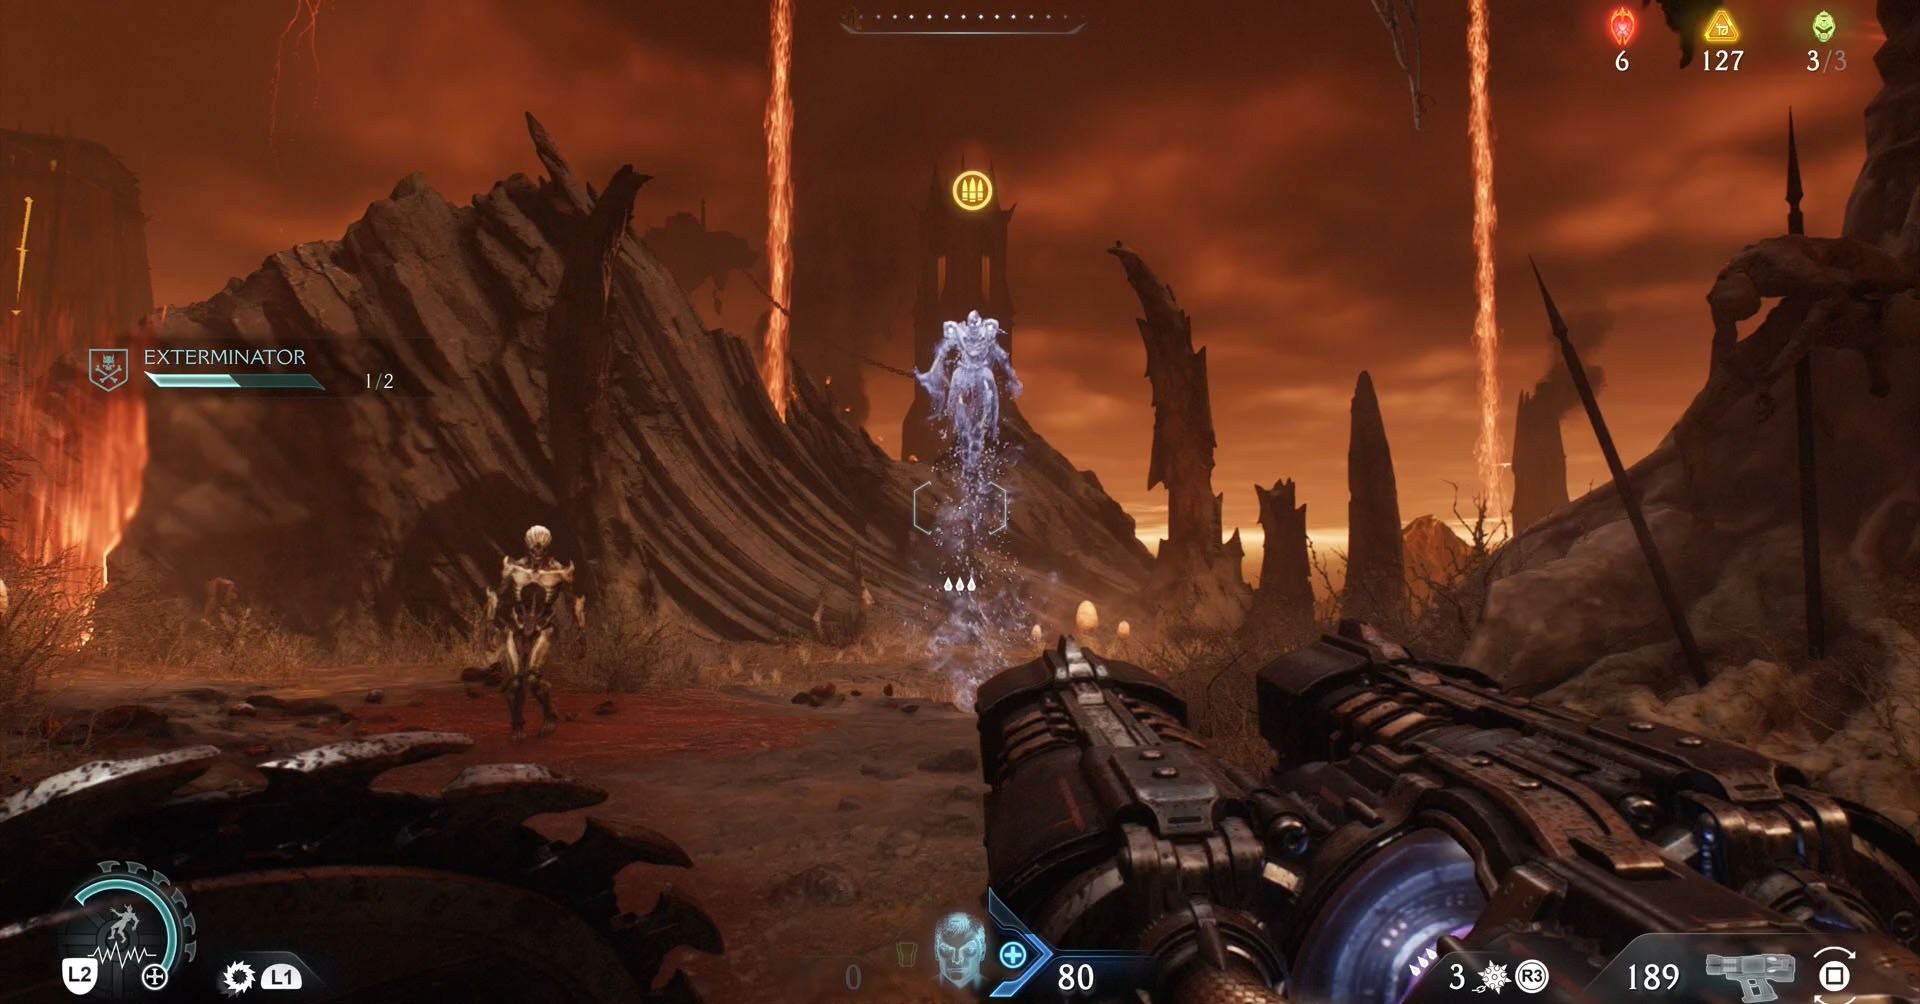
If you see them becoming all white, don’t waste your bullets. The Revenant doesn’t take damage while frozen in this state. It is worth parrying the projectiles they will shoot though since they seem to break their ice skin.
From Beyond (Chapter 13)
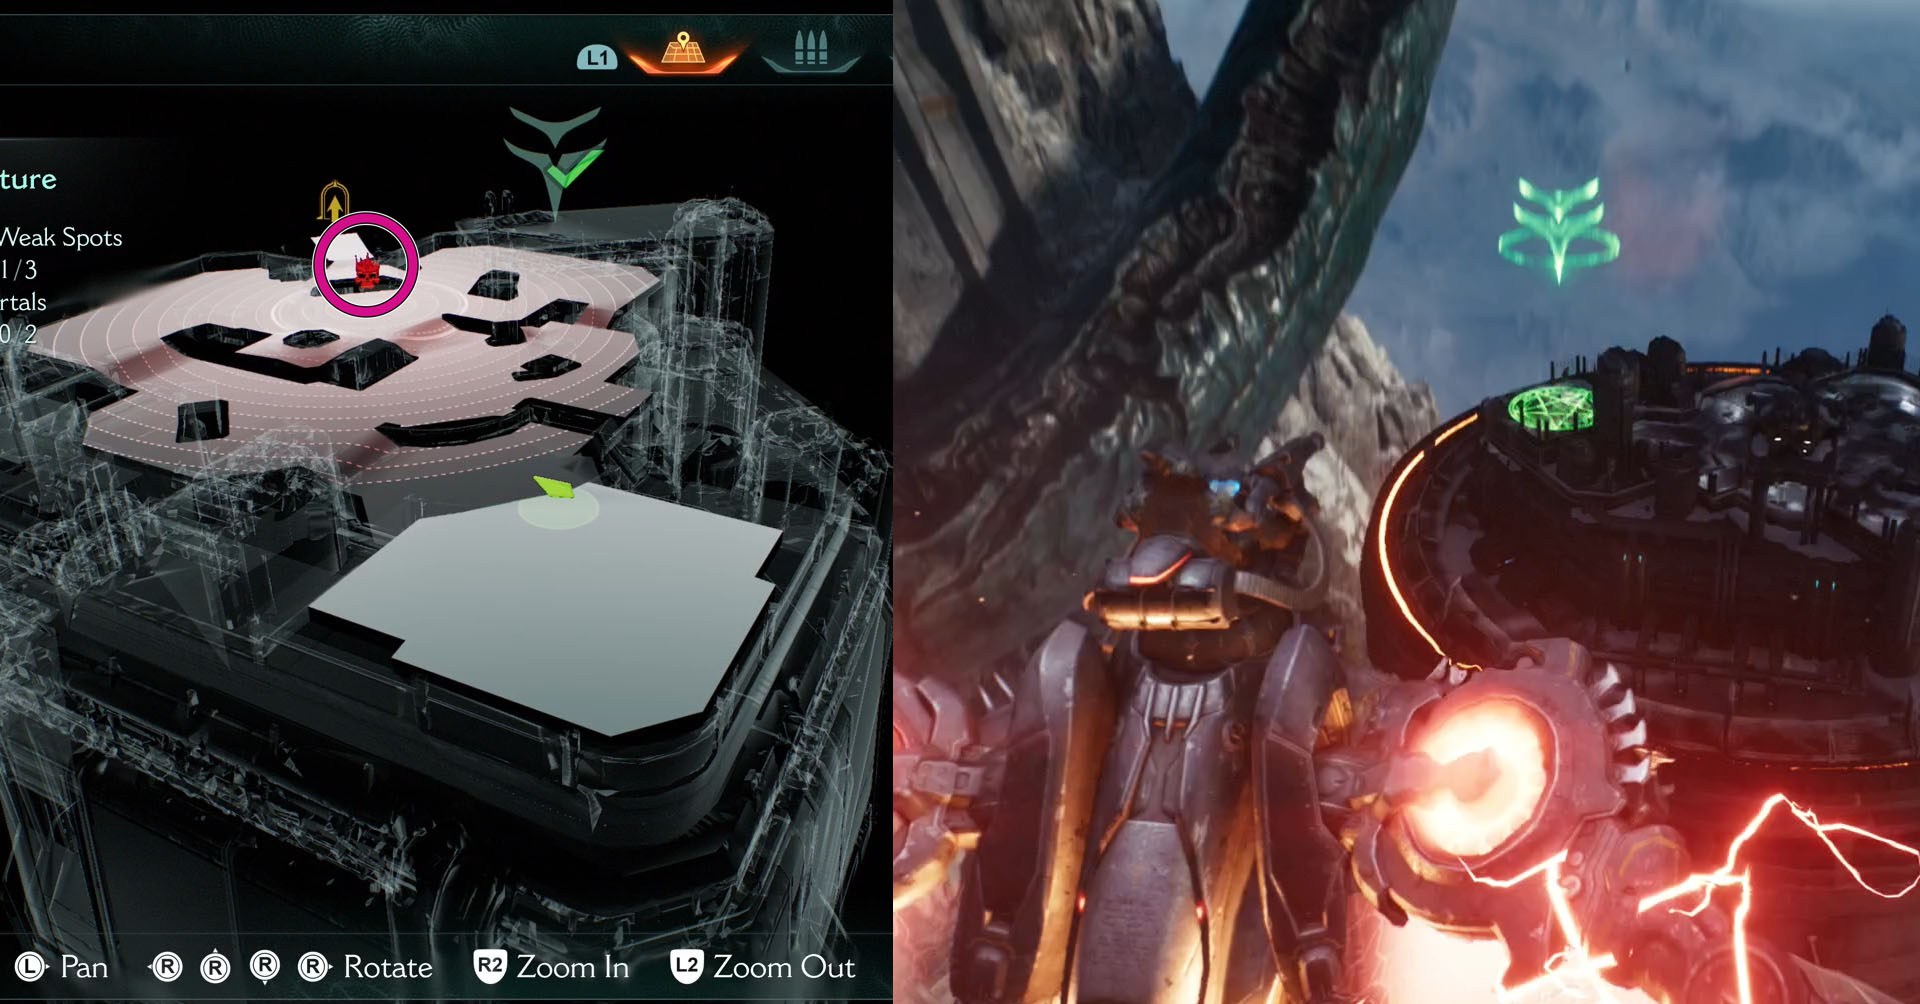
In Chapter 13, you’ll again fly around with your cyberdragon, destroying ships and dealing with tentacles from another dimension. Usual stuff. During this chapter, there is also an ammo (Reaver) upgrade for you to gain.
By following the main mission of this chapter, you will eventually get to the first landing spot on the map. It’s a tower that you access after destroying a ship. Once you land, the battle against an armored Mancubus will start.
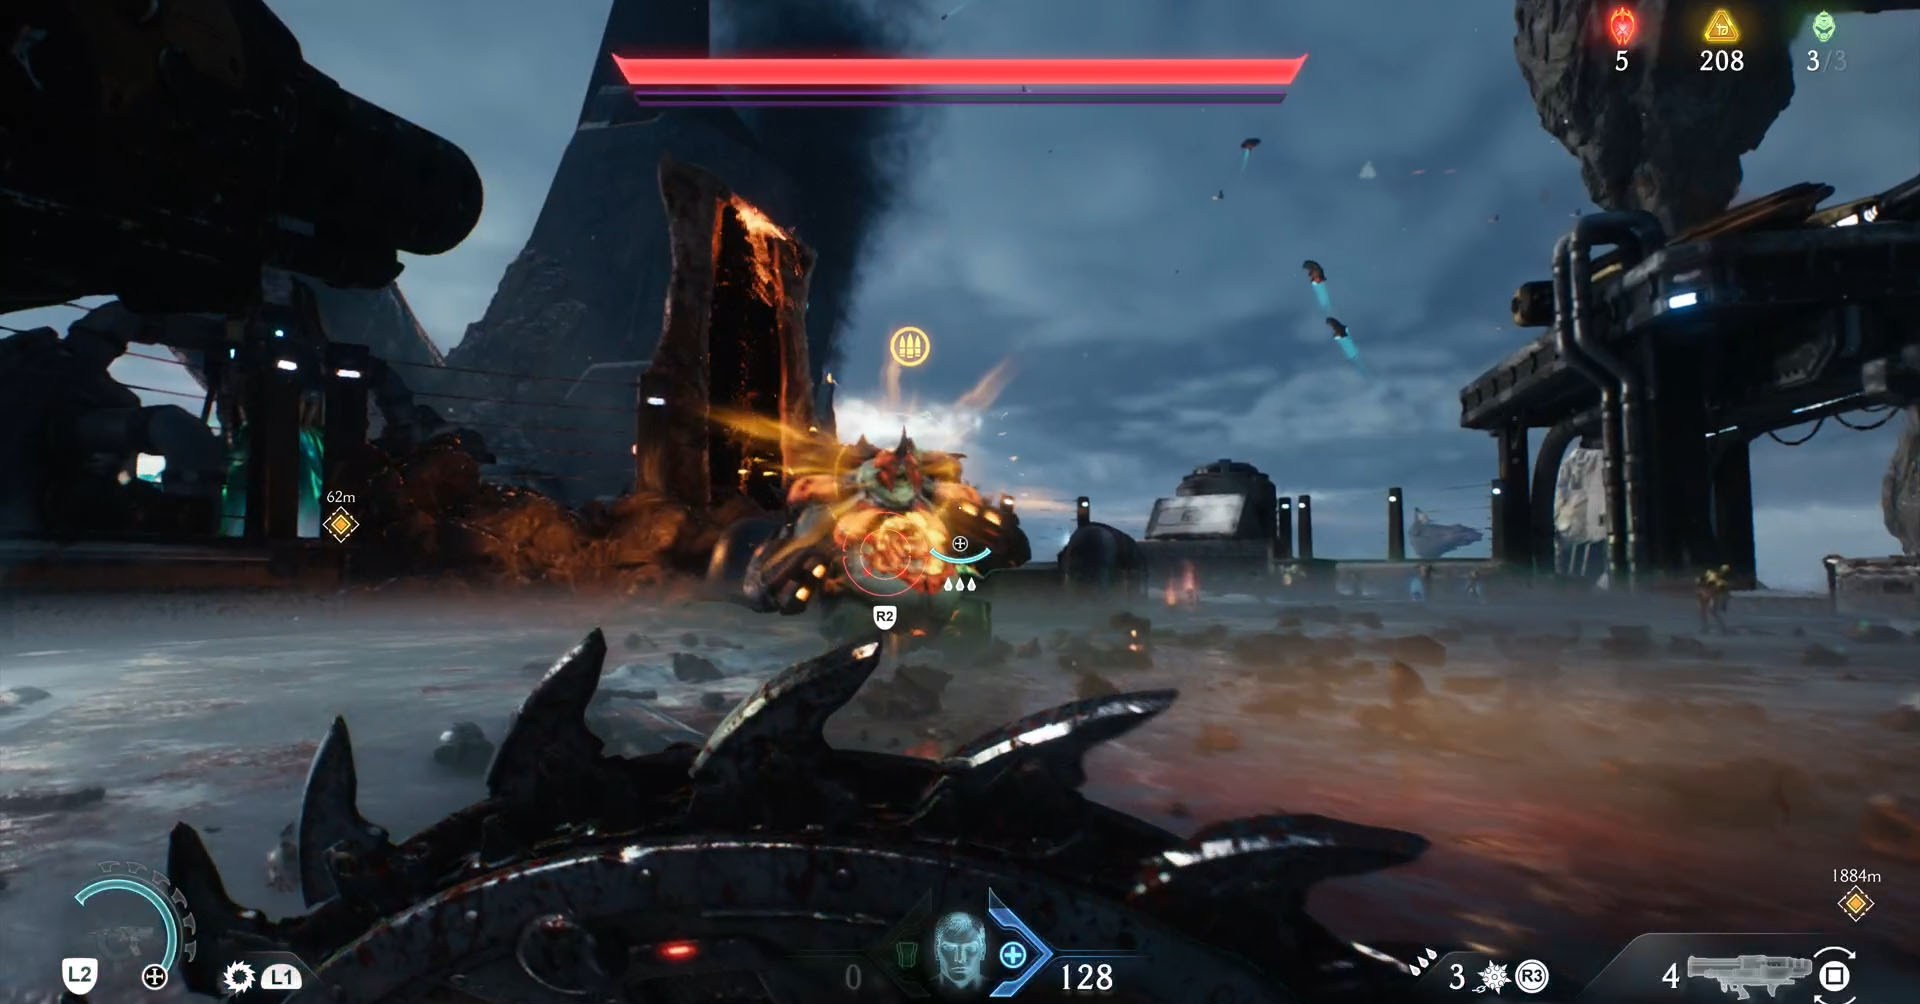
Although the strategy won’t change when fighting them directly, you must first clean the area to deplete its morale bar. Always try to look for the larger enemies since killing the smaller ones doesn’t affect the bar.
Spire of Nerathul (Chapter 14)
Spire of Nerathul takes you to a region you haven’t explored yet but don’t fret. The dangers are still the same ones. As you progress in the main mission of Chapter 14, you will destroy a statue of the Old One and drop into a hole that takes you to an arena.
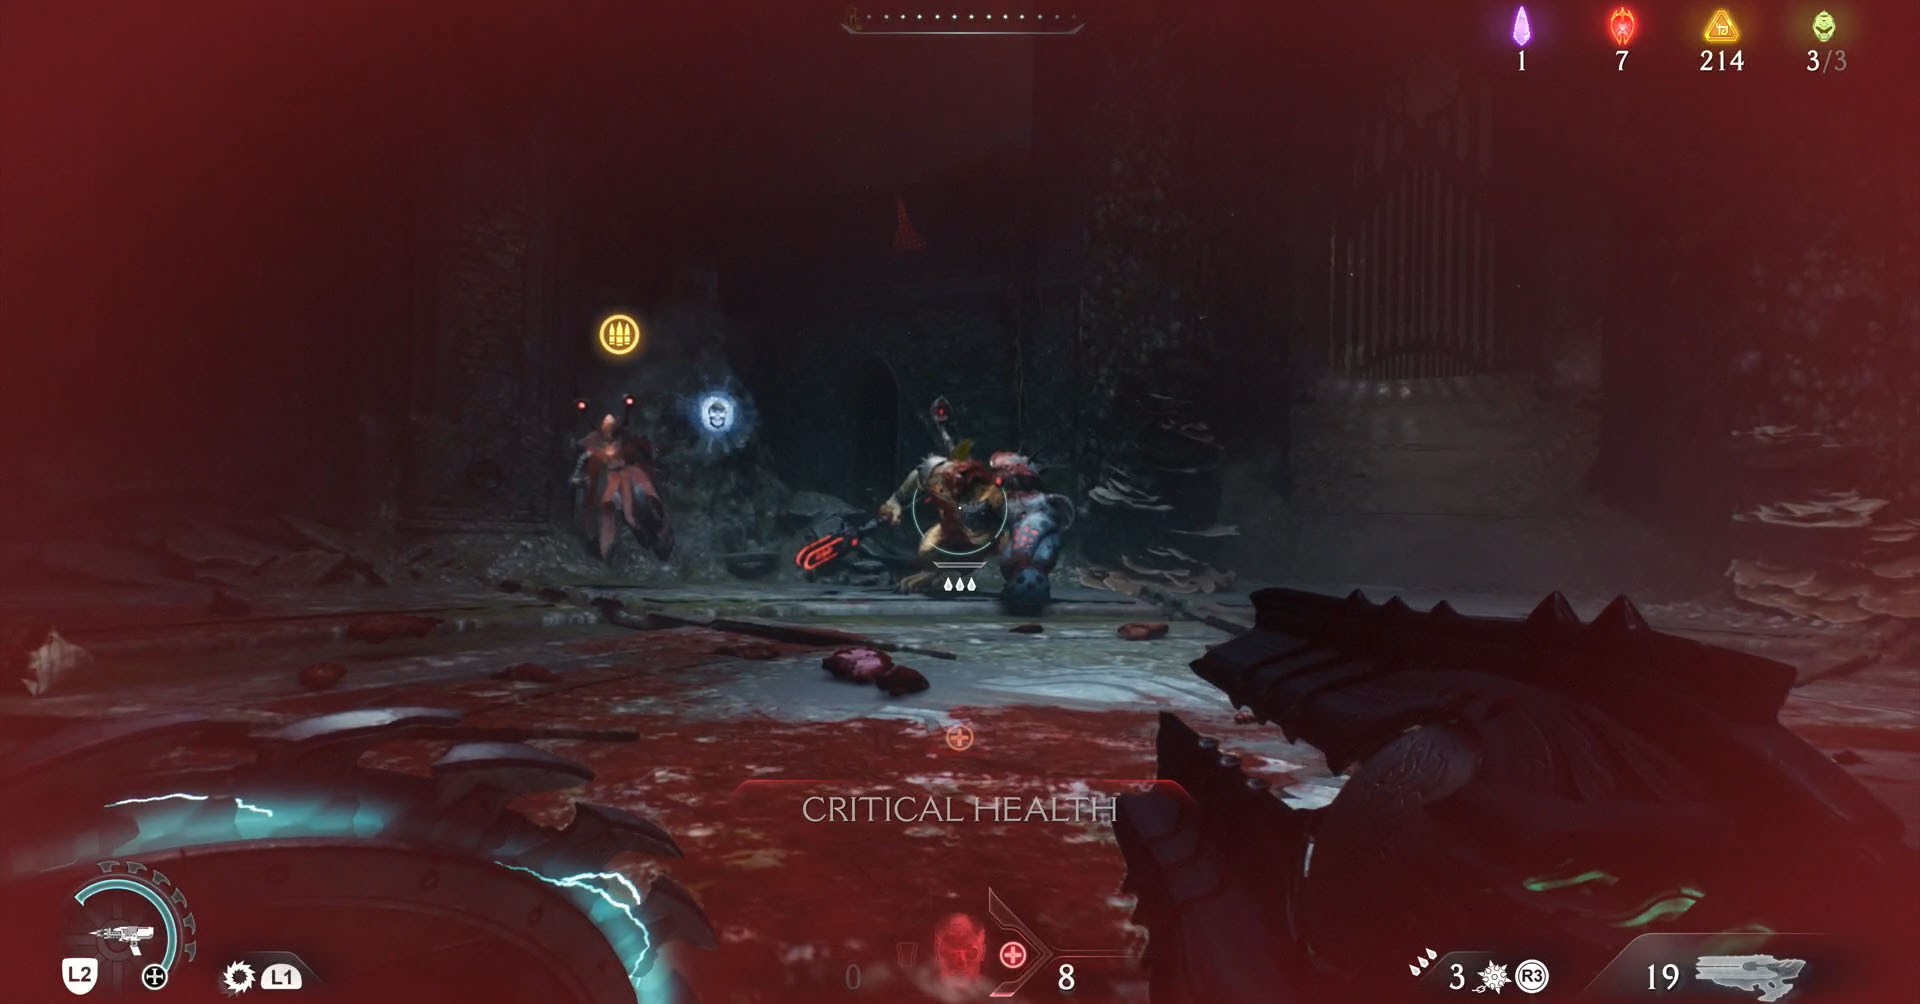
Enemies will spawn and after defeating some of them, Chapter 14’s ammo (Launcher) upgrade leader will appear, a Revenant. Follow the same strategy suggested for Chapter 10’s leader. Just be careful because a Komodo, a large behemoth of Hell will fight alongside the leader.
The Kar’Thul Marshes (Chapter 16)
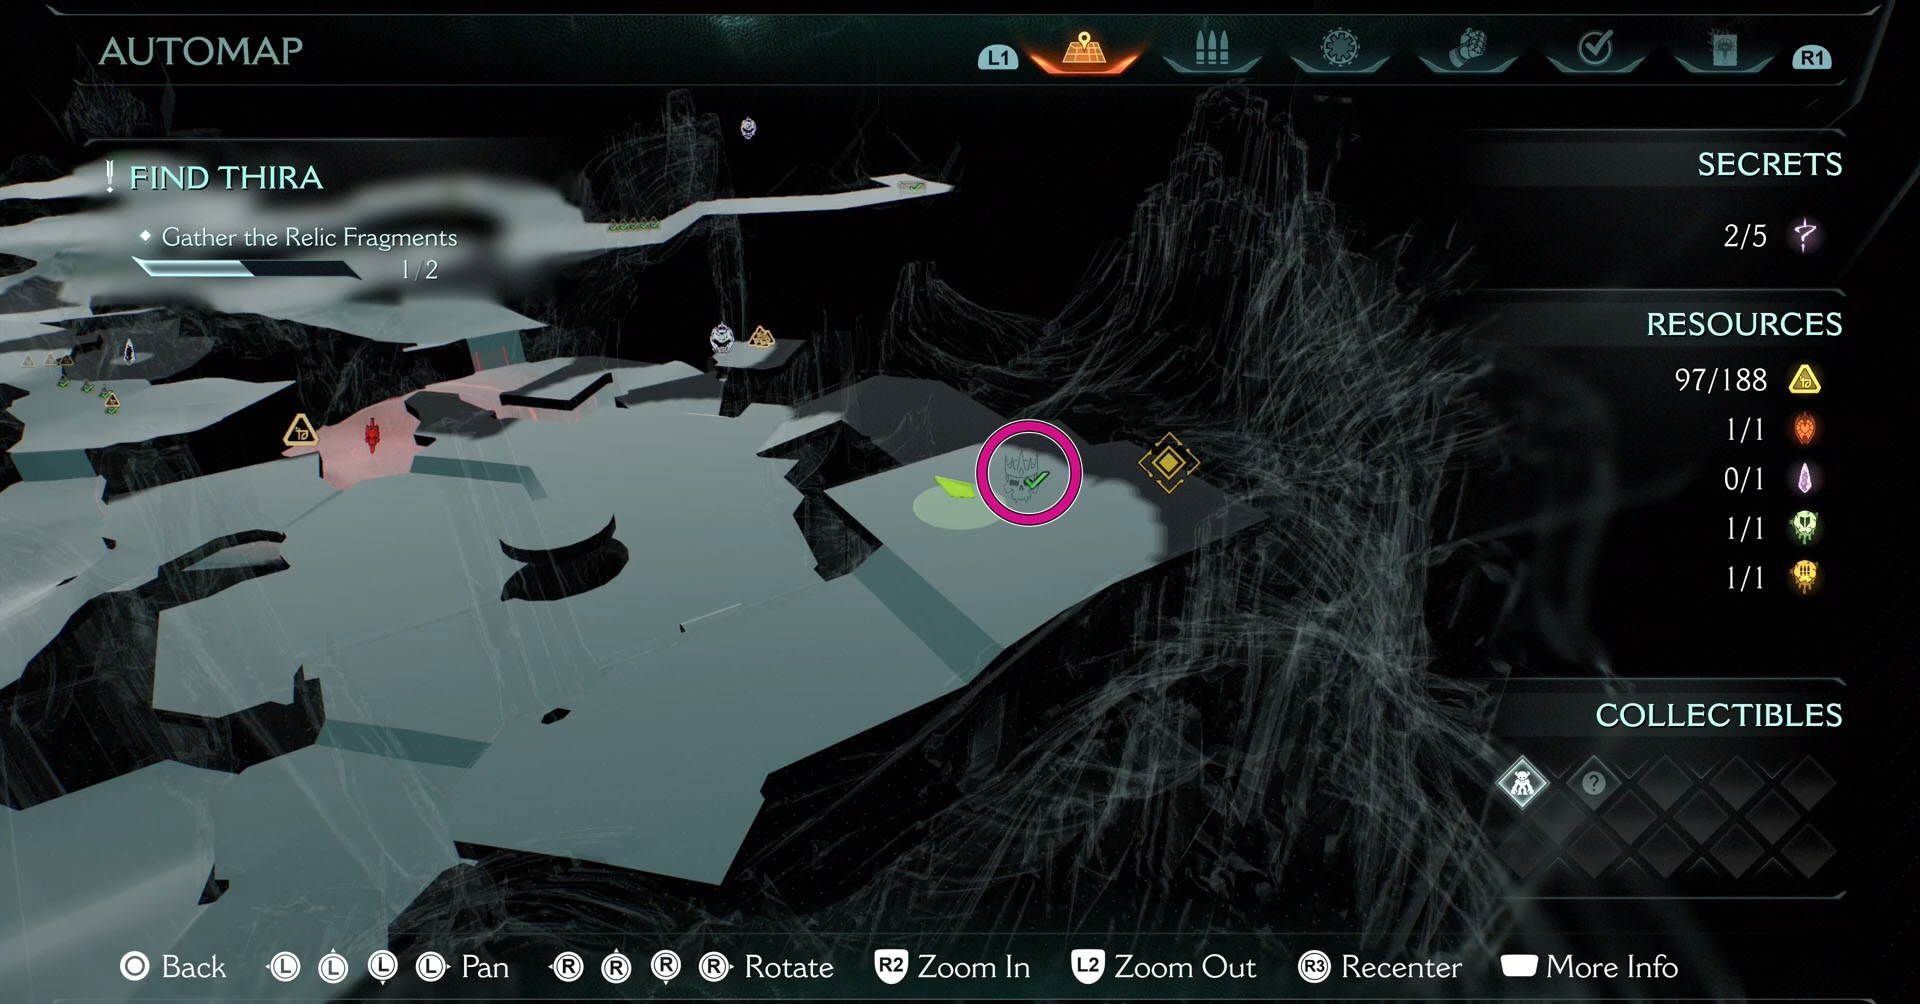
There is one leader that will give you an ammo (Shell) upgrade in Chapter 16 and you can find them by just following the main mission. As you make your way to gather the second Relic Fragment, you will find an arena where the leader is.
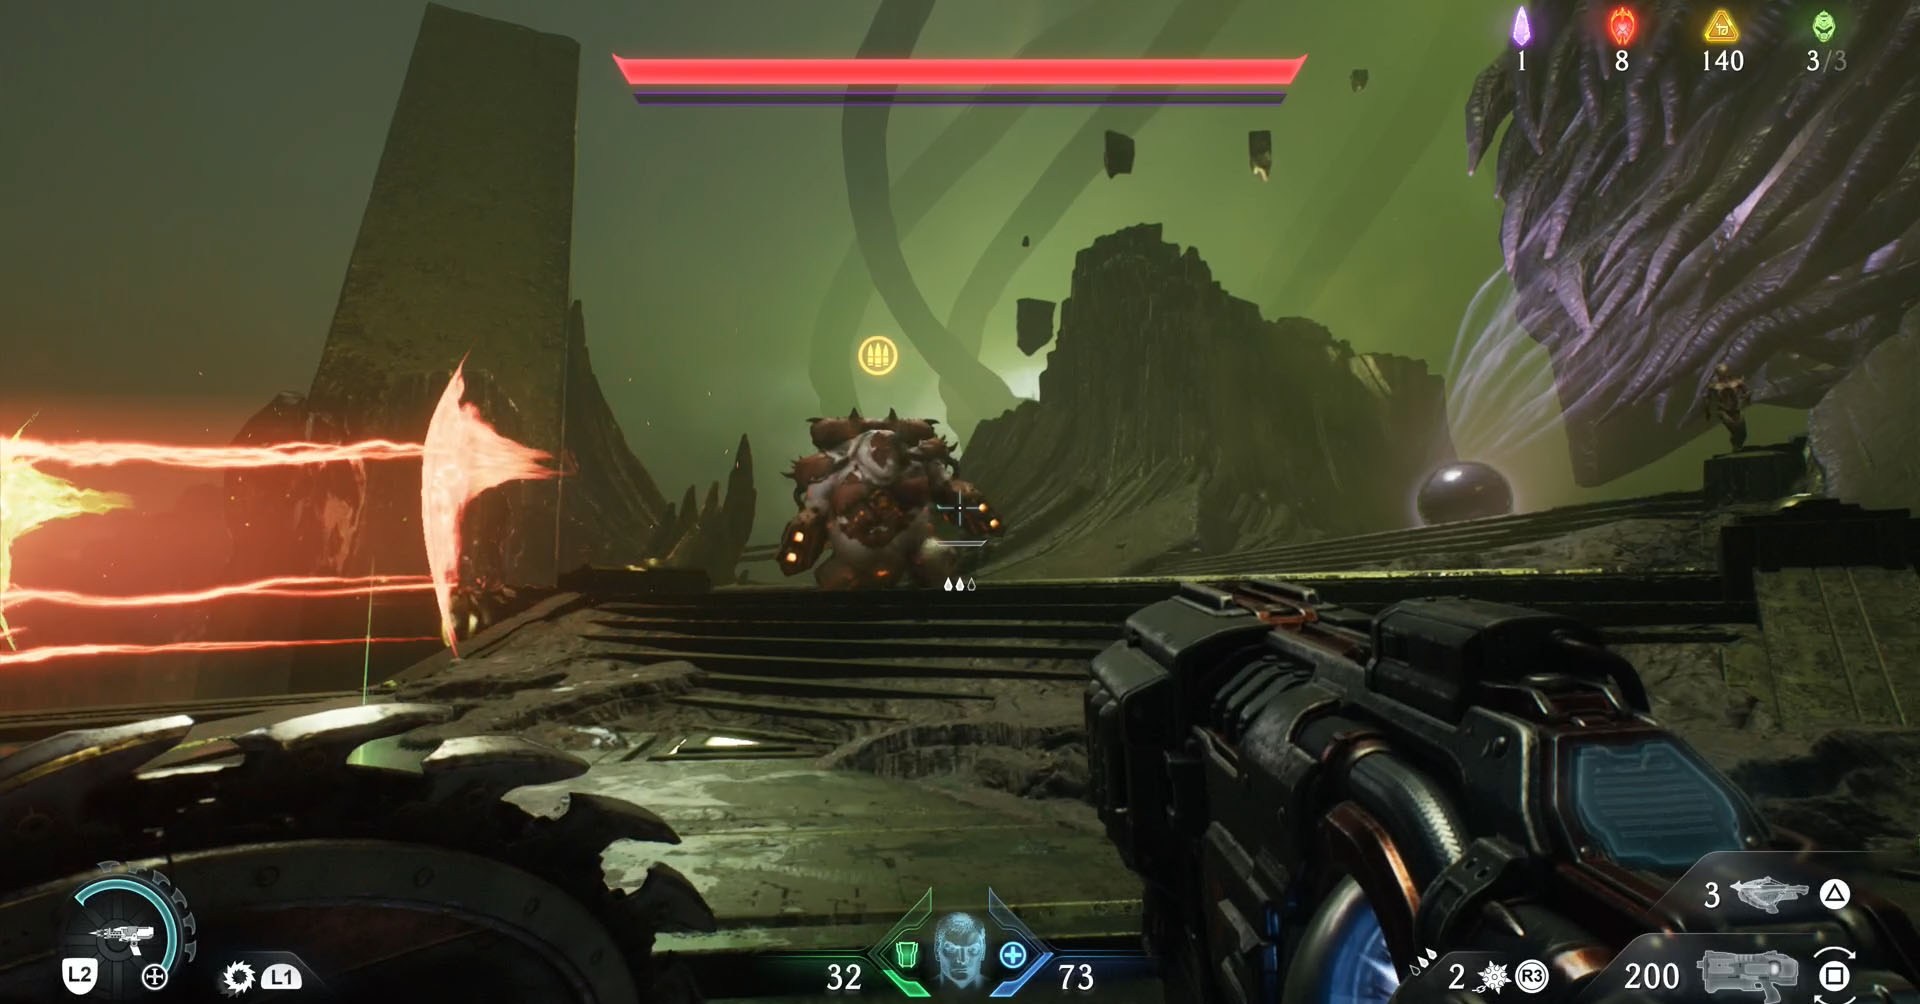
You will be facing an armored Mancubus again to get your hands on this upgrade. The real challenge in this fight is to handle the Pinky Rider, the Cyberdemon, and the Cosmic Baron who are also in the arena. Kill them all to disable the leader’s shield.
Temple of Lomarith (Chapter 17)
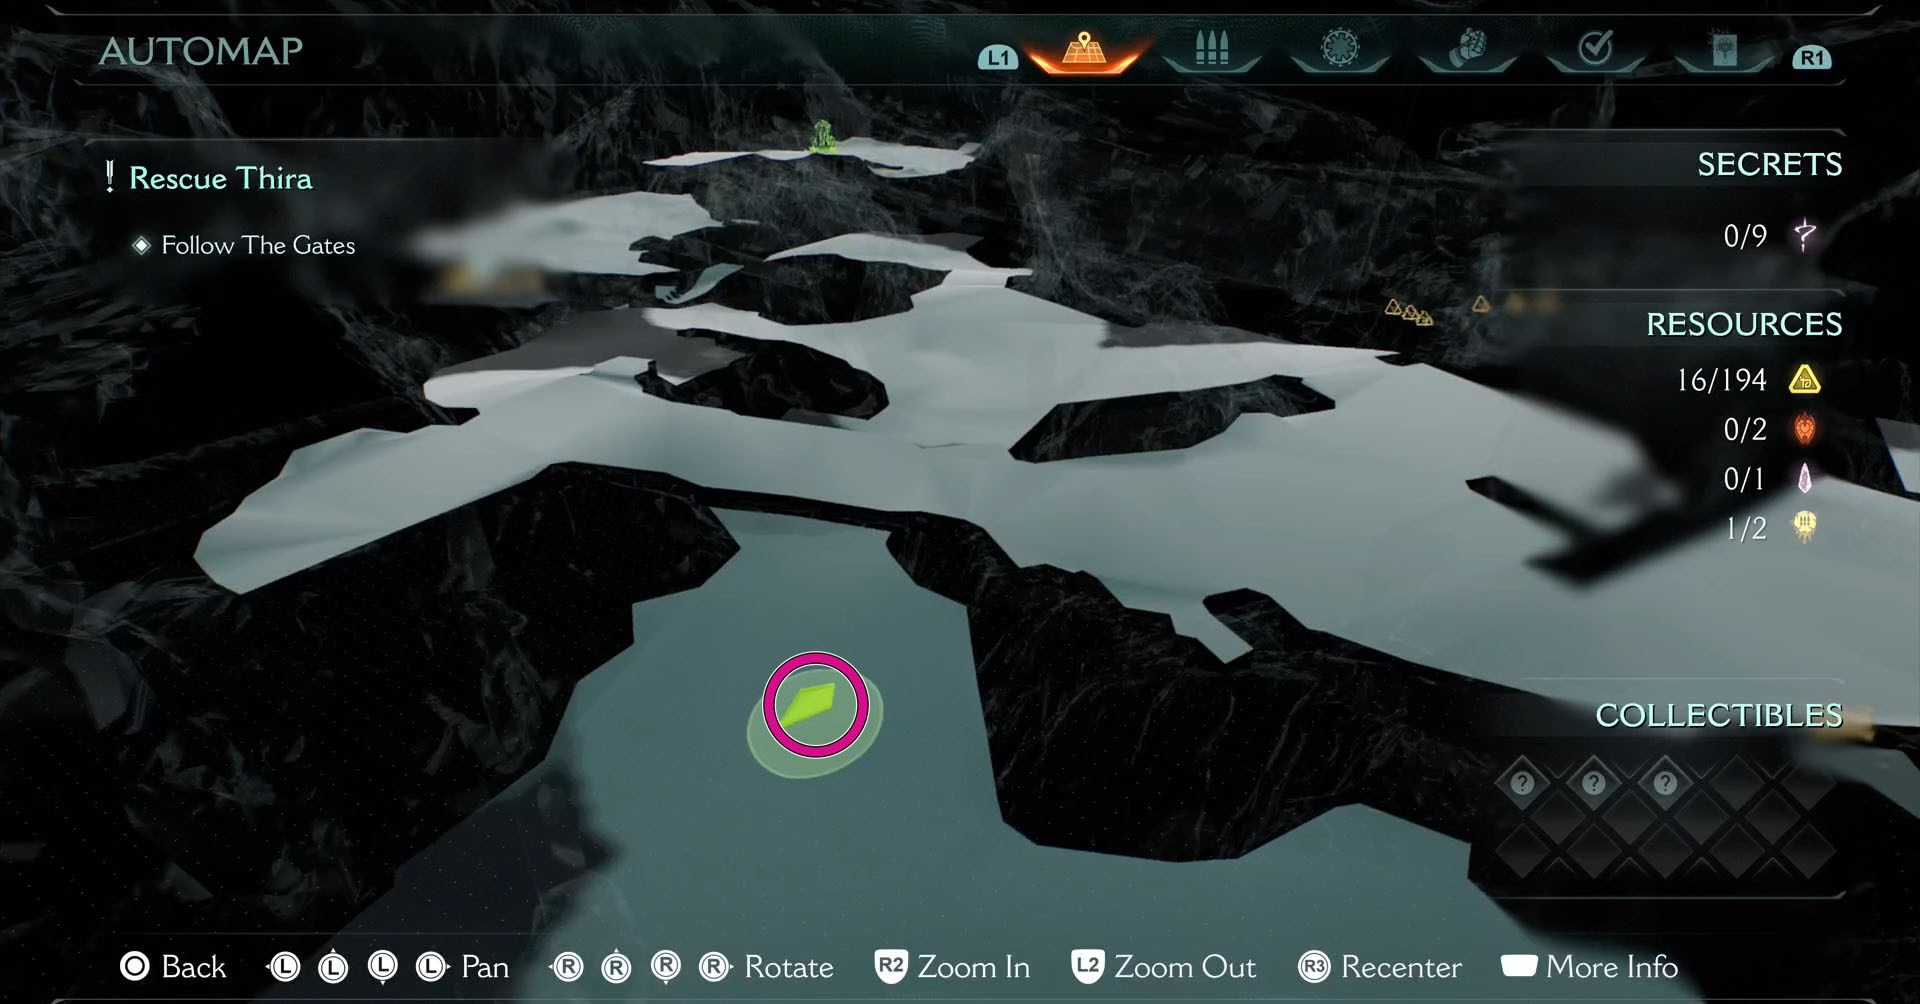
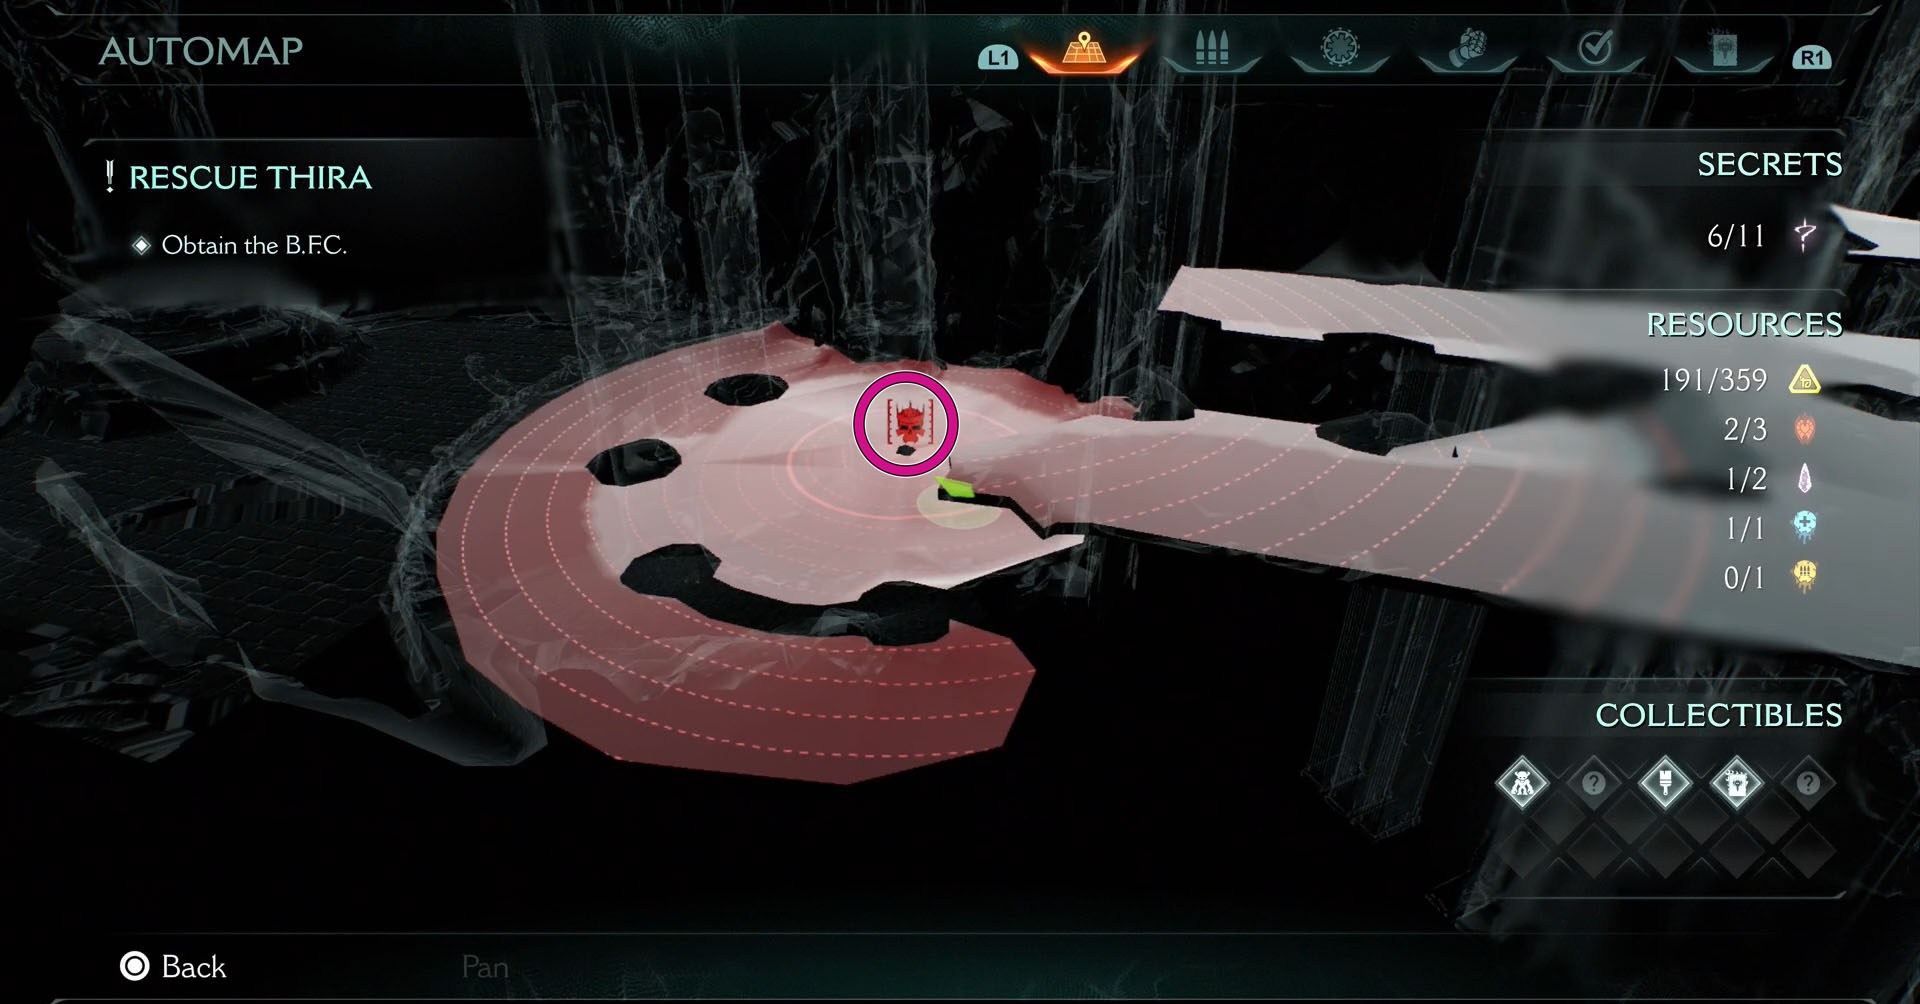
Chapter 17, the Temple of Lomarith is a quite confusing map and there are two leaders for you to chase. You find the first one as you’re trying to rescue Thira. The area has a huge gate in the middle so it’s hard to miss.
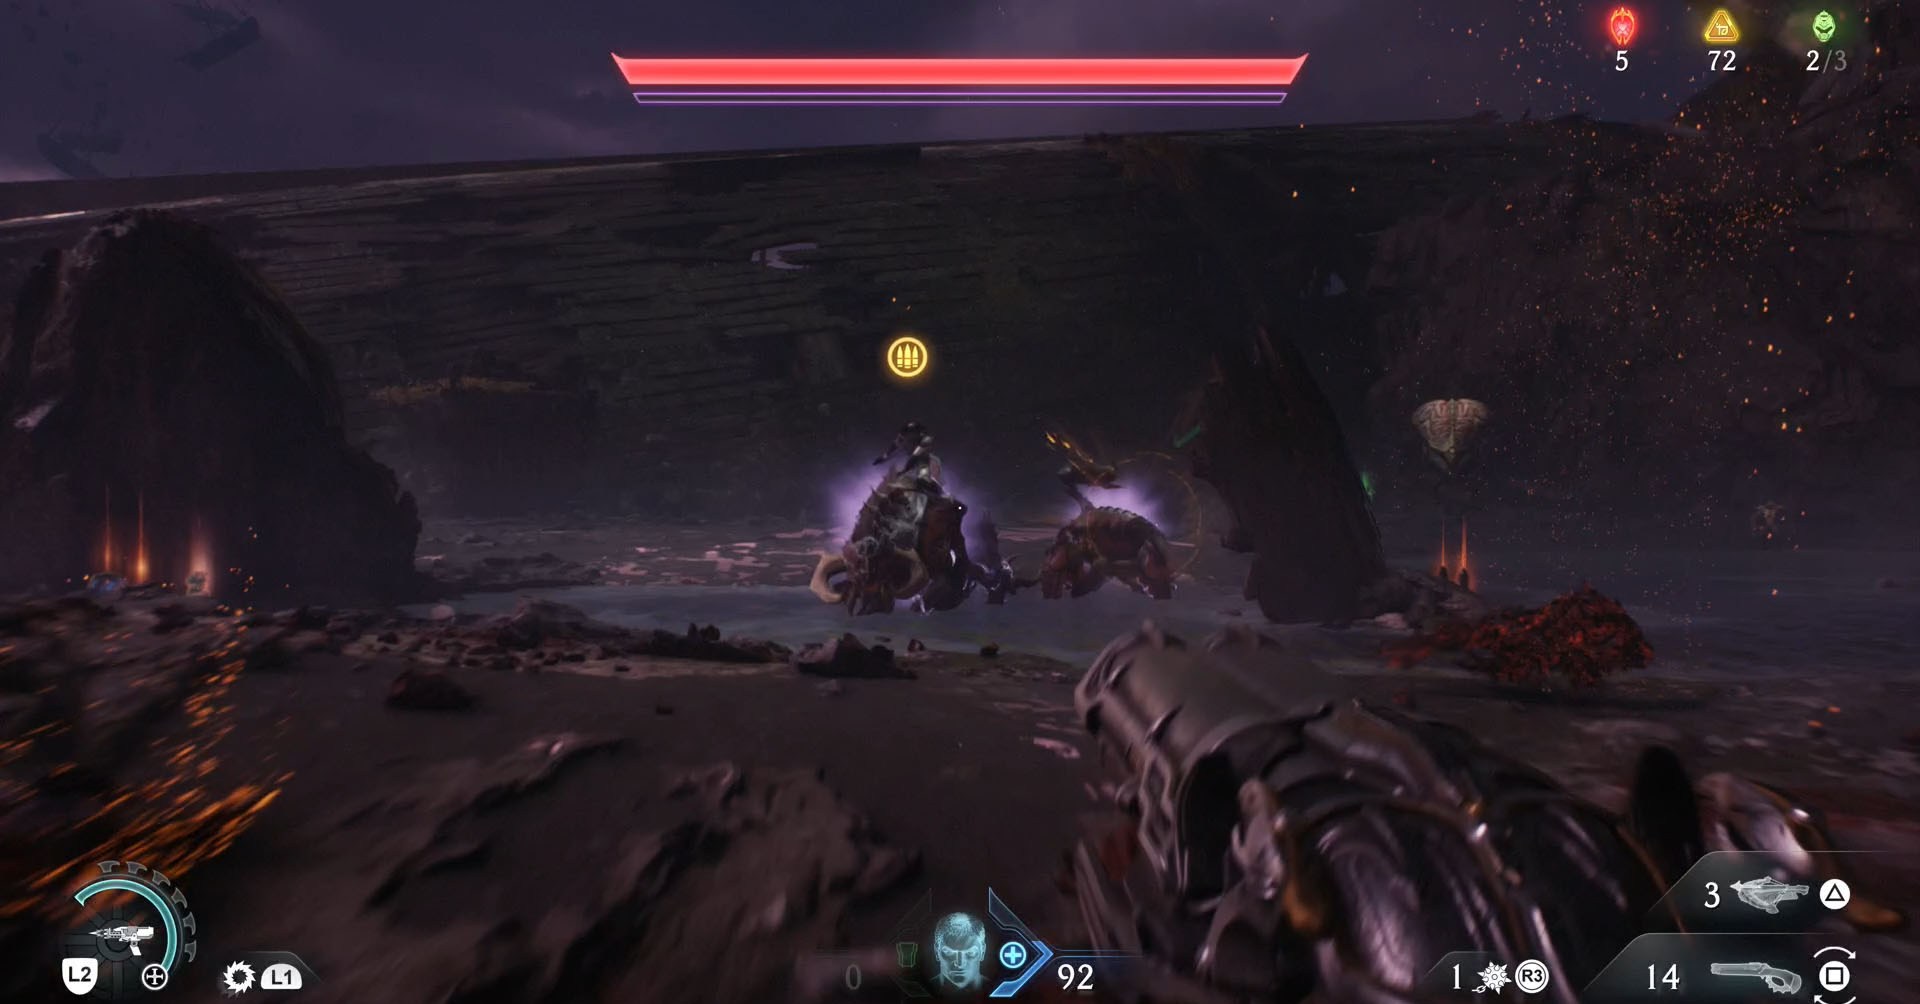
Be ready to fight your way through waves of enemies containing powerful ones like the Vagary before you can disable the leader’s shield. When their morale bar is completely depleted, you can look for the armored Pinky Rider, the first leader you fight in this chapter. Defeating them unlocks an ammo (Spike) upgrade.
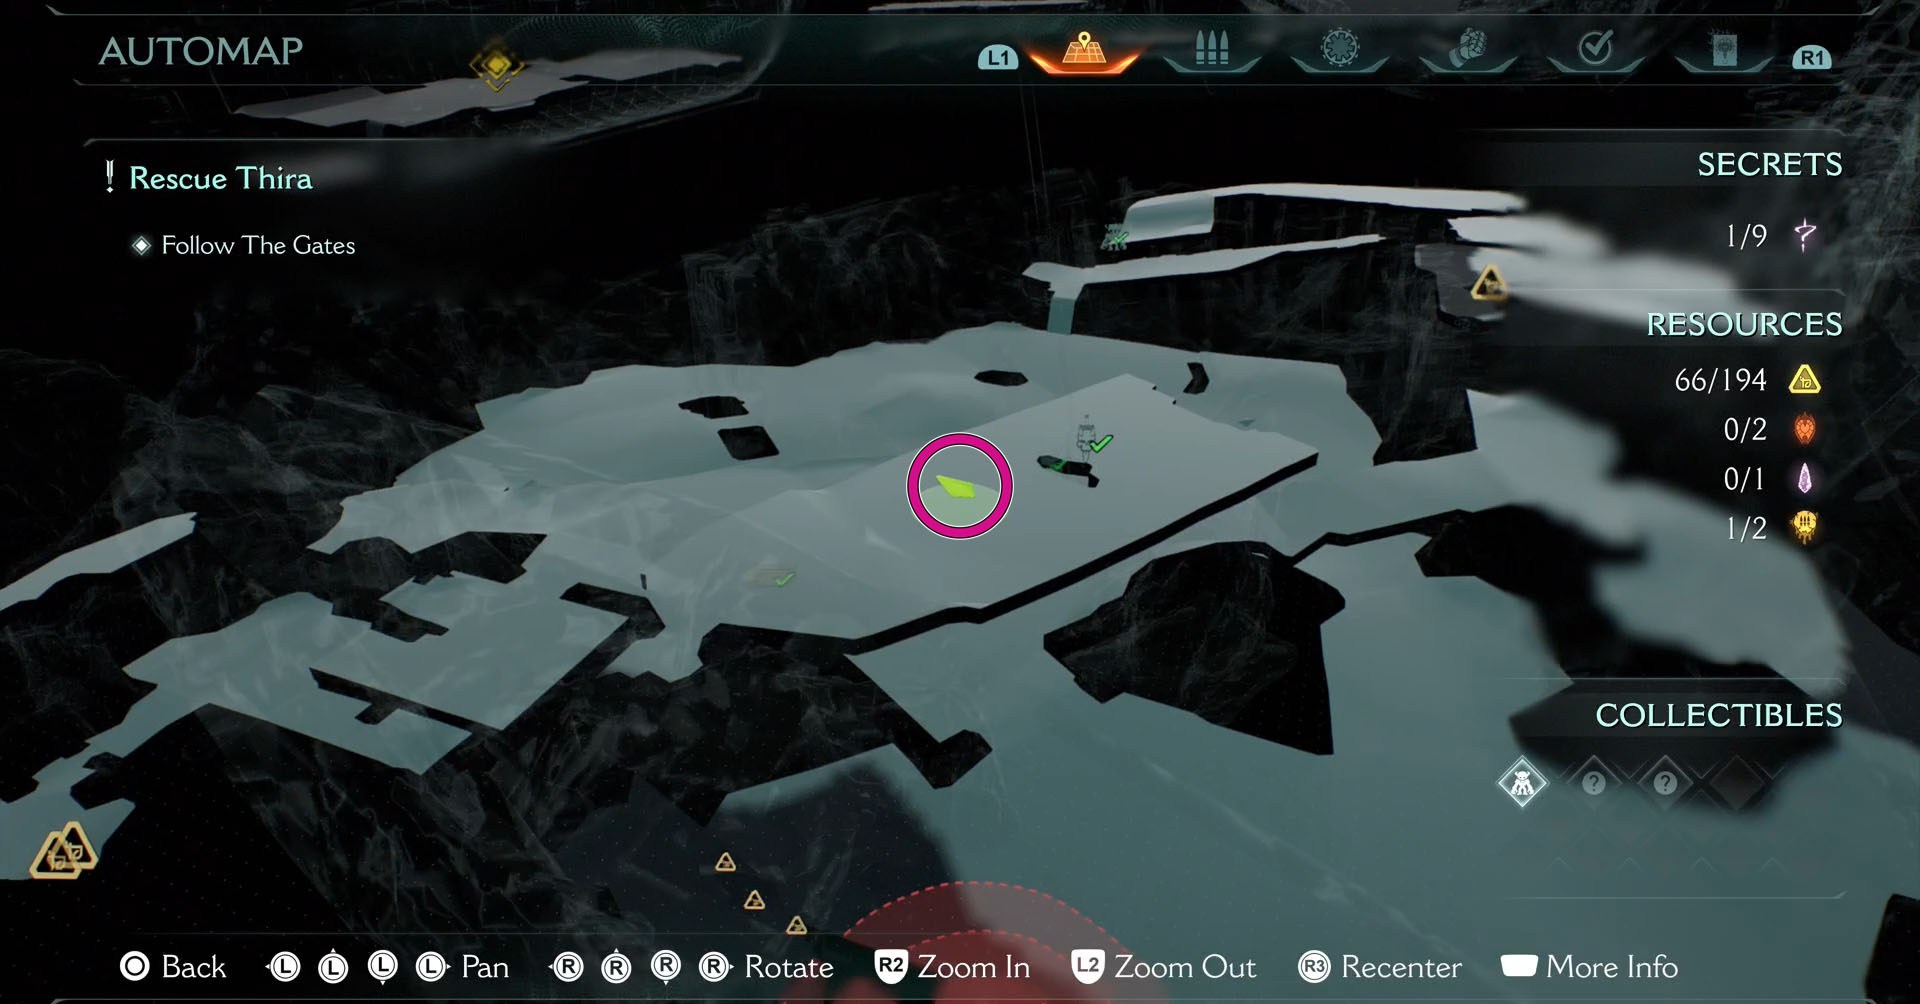
Now, the second leader is hidden. By following the main mission, you eventually get to a section where you use green gates to reach some floating wreckage of ships. Before you use the second gate, look to your left and you will see that you can dash to destroy a wall.
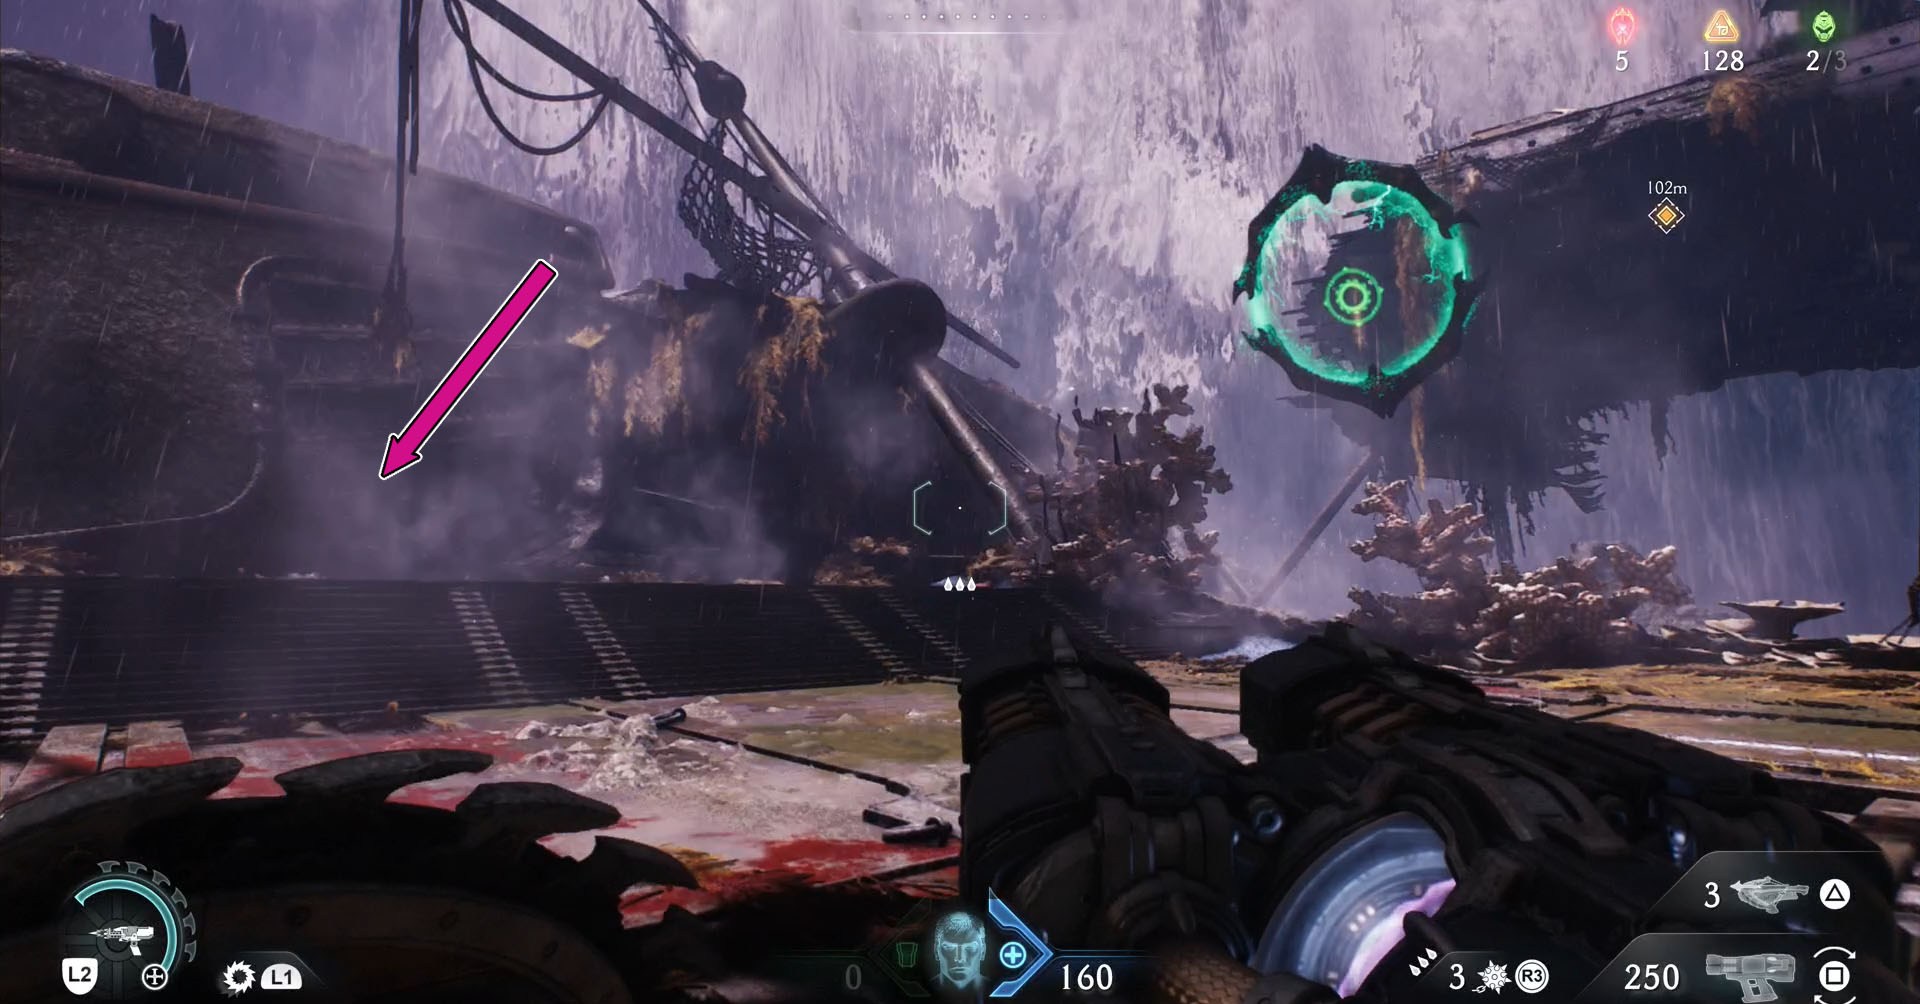
Drop to the level below and you will see a tree. Once you use your shield to destroy it, the room will be sealed and waves of enemies will start to appear.
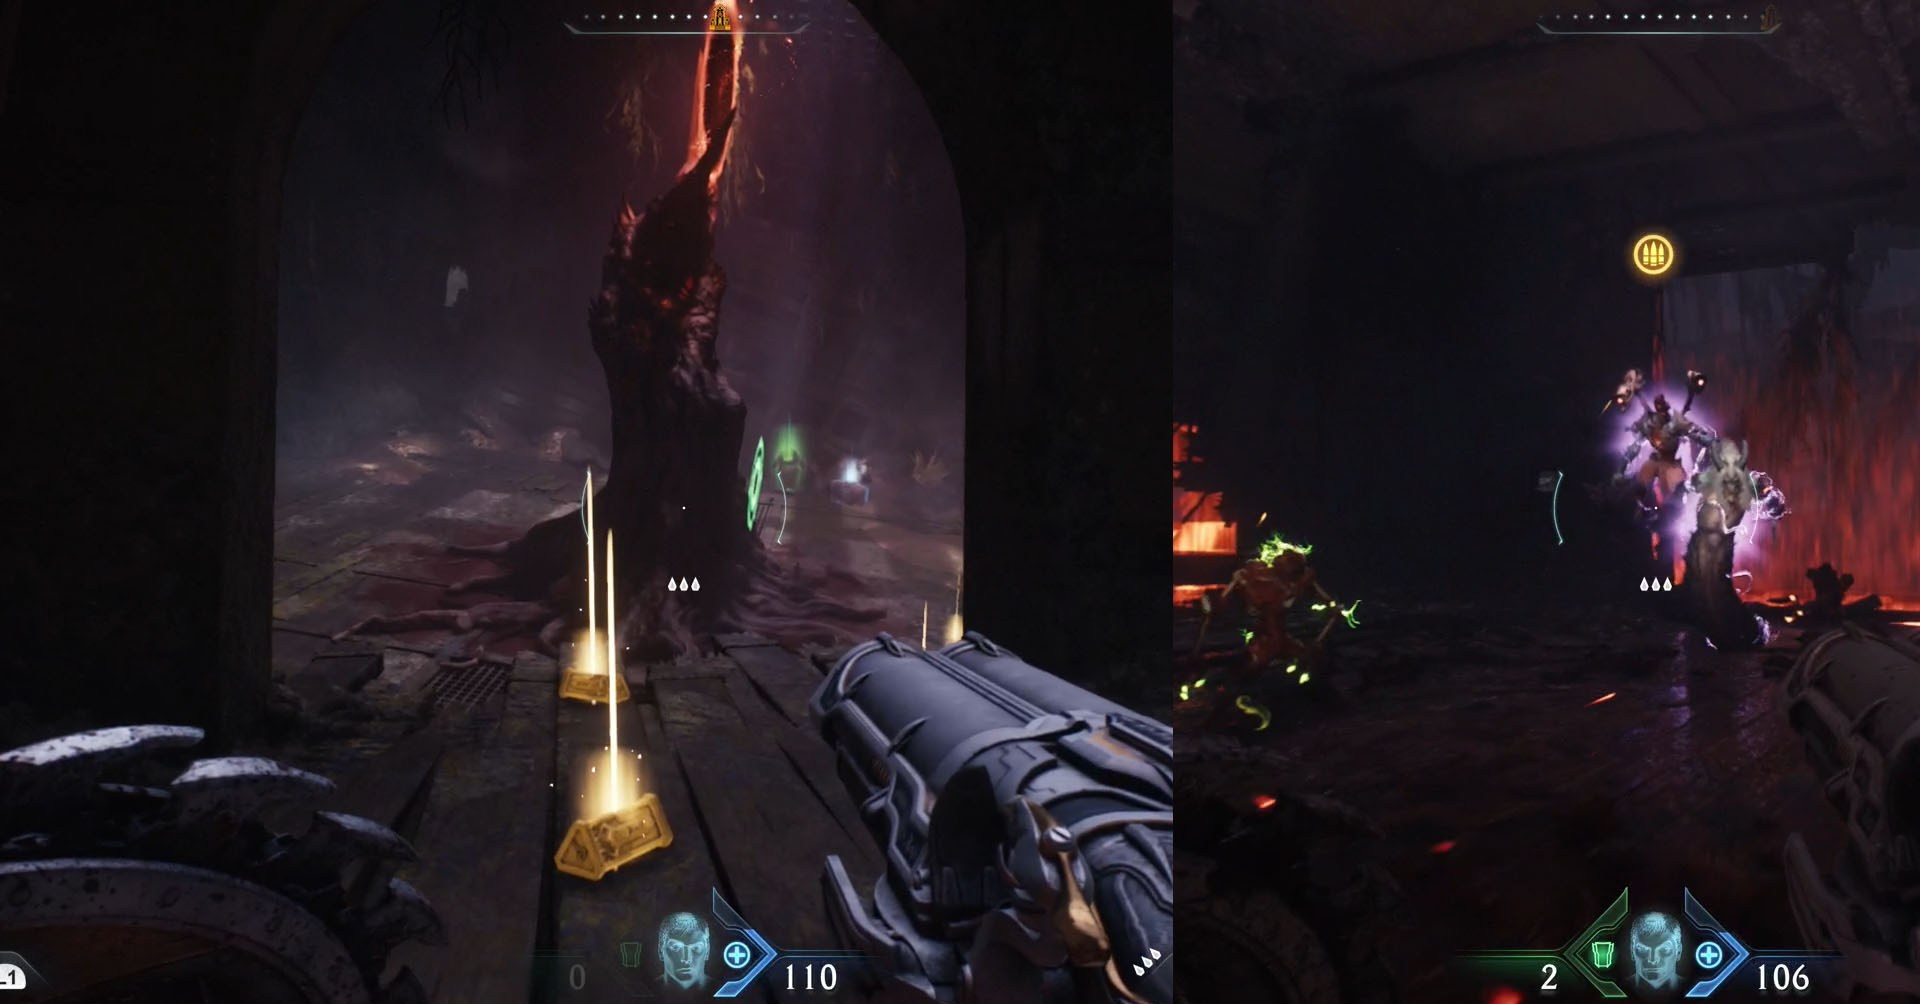
After killing some enemies, the leader, a Revenant, will come and you must defeat them to unlock an ammo (Cell) upgrade. You are already familiar with this enemy. Just be careful since the room is small and you will be fighting large enemies inside of it.
Harbor of Souls (Chapter 19)
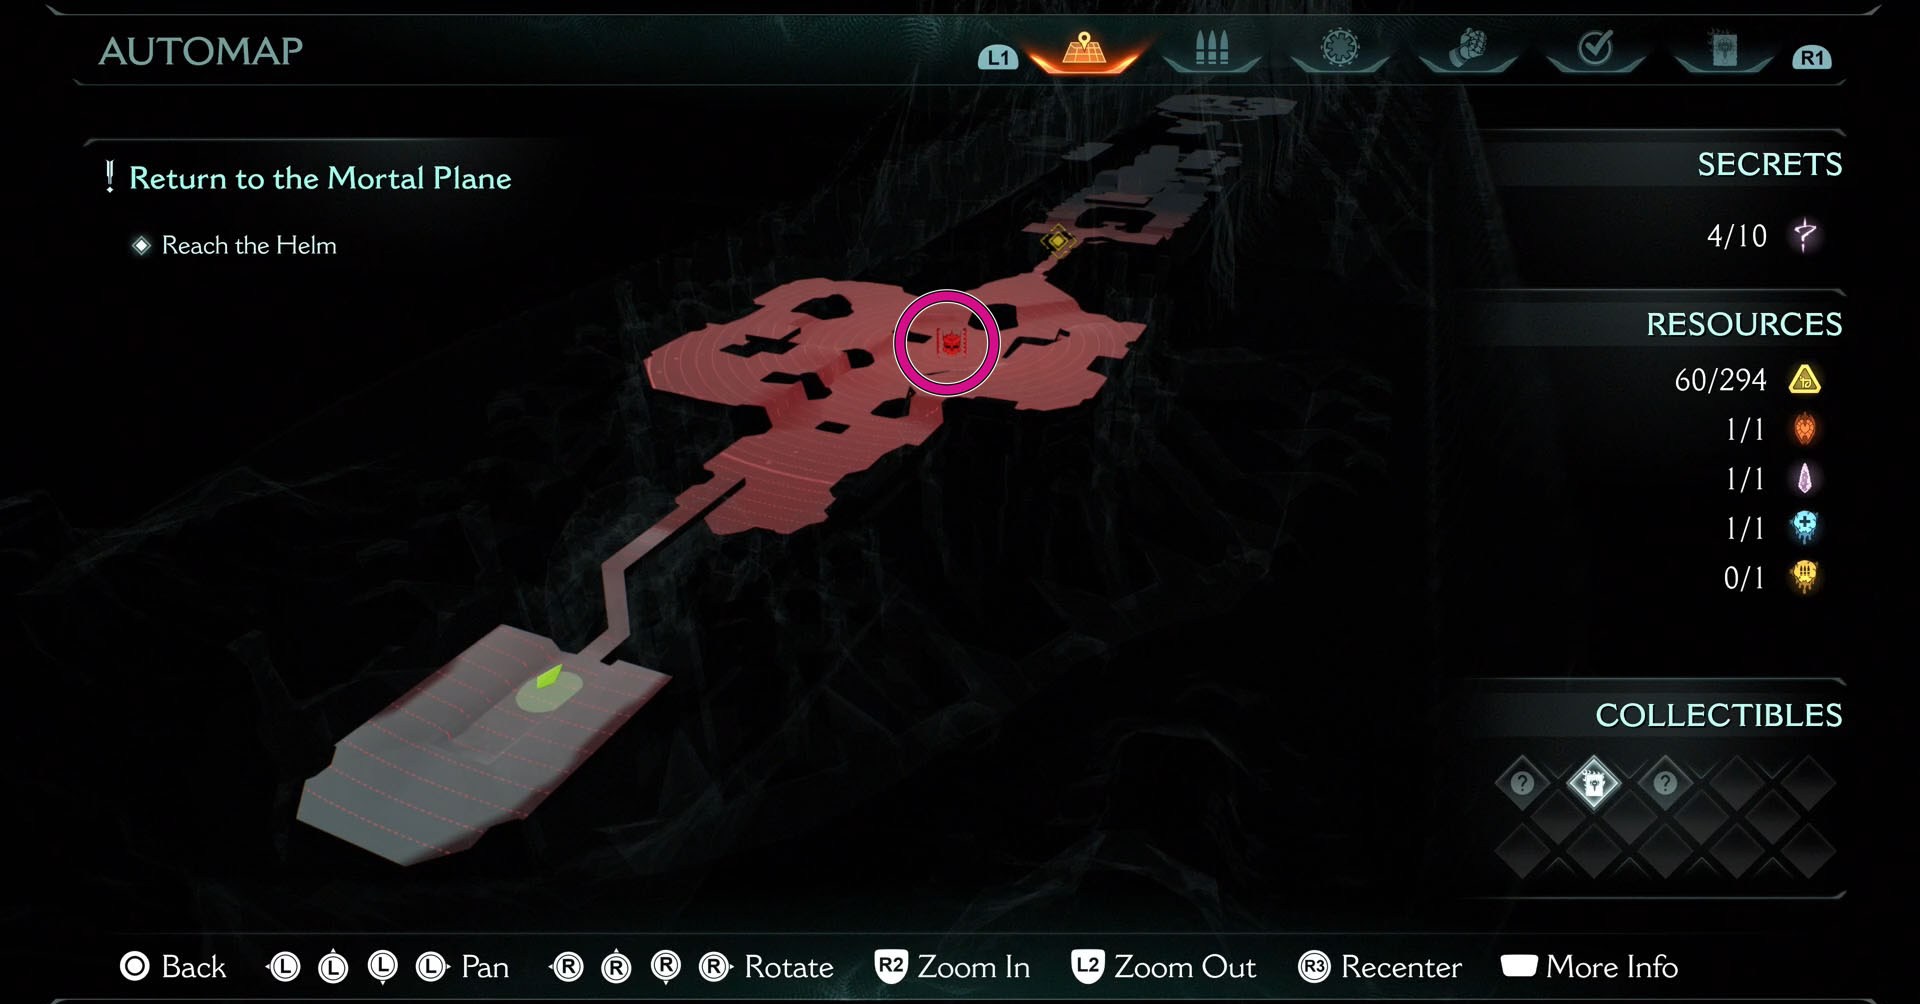
After one hell of a ride to the underworld, it’s time for you to find your back to the Mortal Plane. However, before you do so, there’s a leader you need to defeat and an ammo (Skull) upgrade to claim. Keep following the main mission and you will find it.
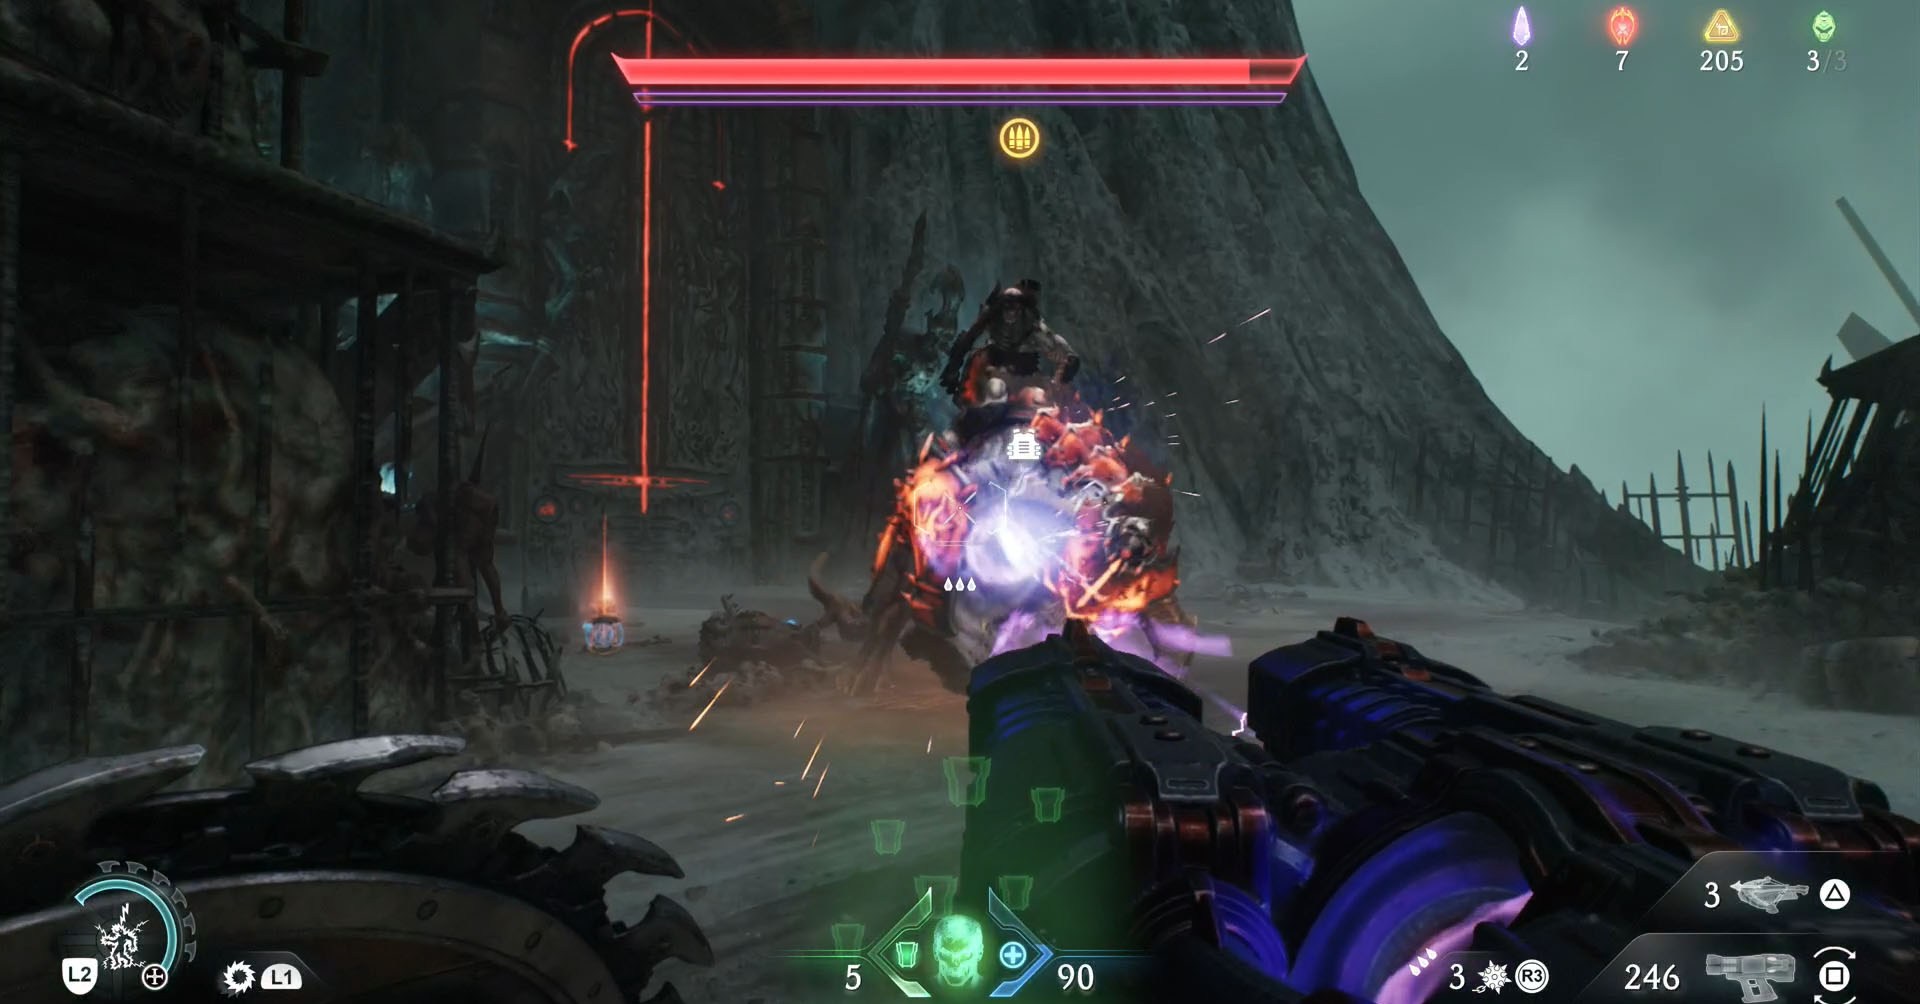
You face another armored Pinky Rider in this chapter, who has a morale bar. Take advantage of the Berserk cell in this arena to fight the strongest demons around. With them out of the way, beating the Pinky Rider is quite simple.
Resurrection (Chapter 20)
There is a lot to be done in Chapter 20, but luckily finding the leader — who gives you an ammo (Reaver) upgrade — of this chapter is not one of the most difficult challenges it offers.
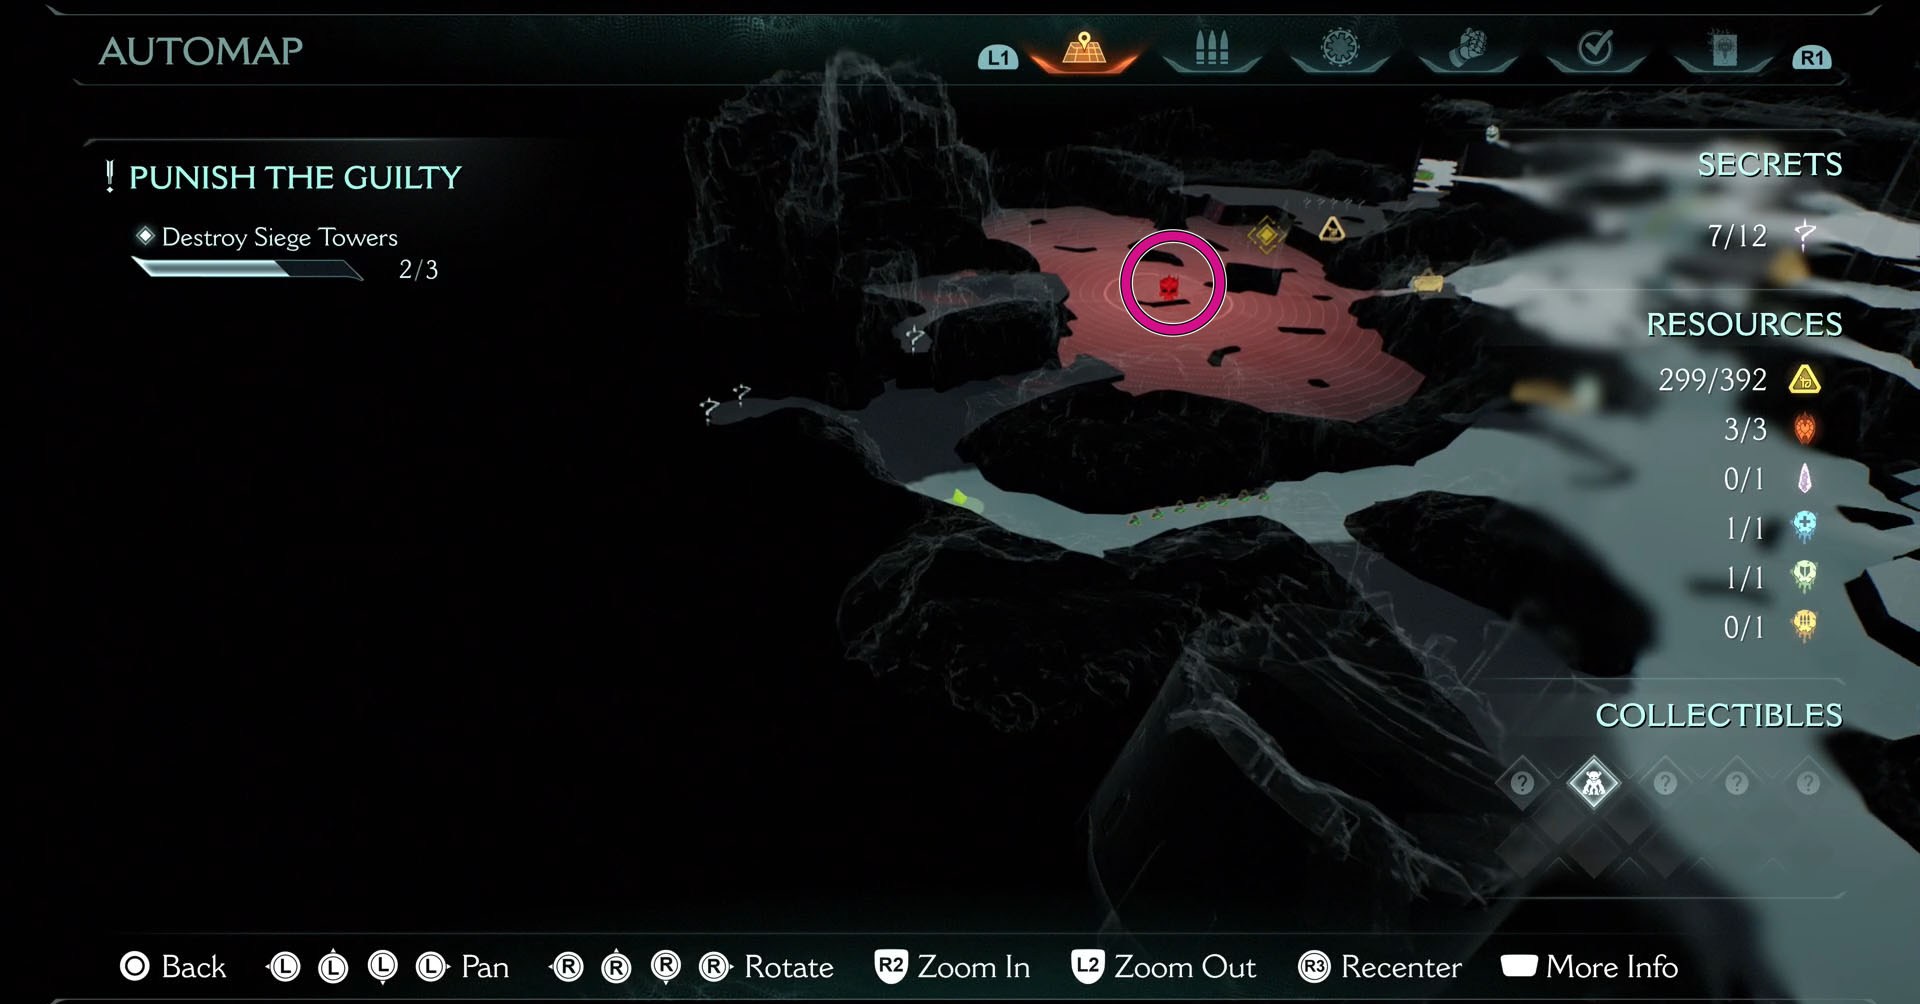
Your main goal in the first segment of this chapter is to destroy the Siege Towers. Following this objective will inevitably lead you to the left part of the map where there is a red zone with a crowned skull icon. By getting there, you will find the leader.
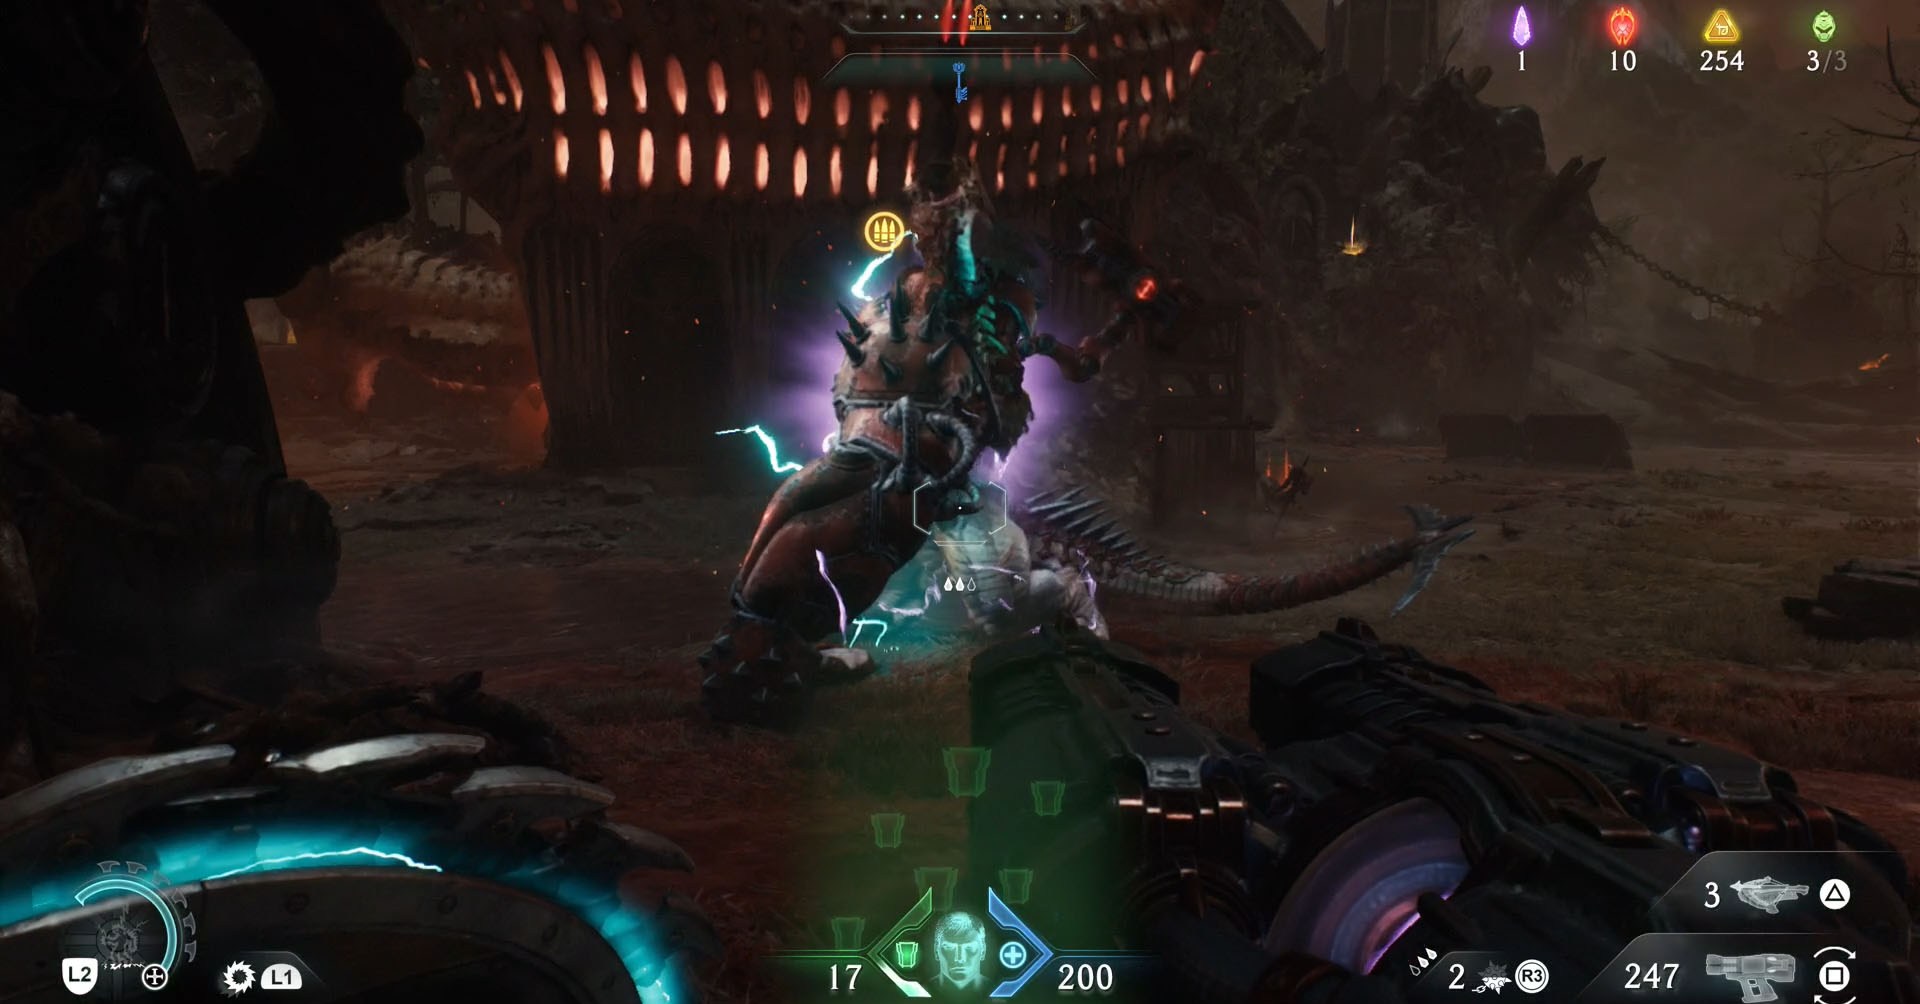
This time a Komodo is the leader, a quite challenging enemy to face. Focus on clearing the area of other large enemies and, when facing the Komodo, focus on parrying their attacks. They unleash long sequences of attacks so learn them to know the right moment to fight back.
Reckoning (Chapter 22)
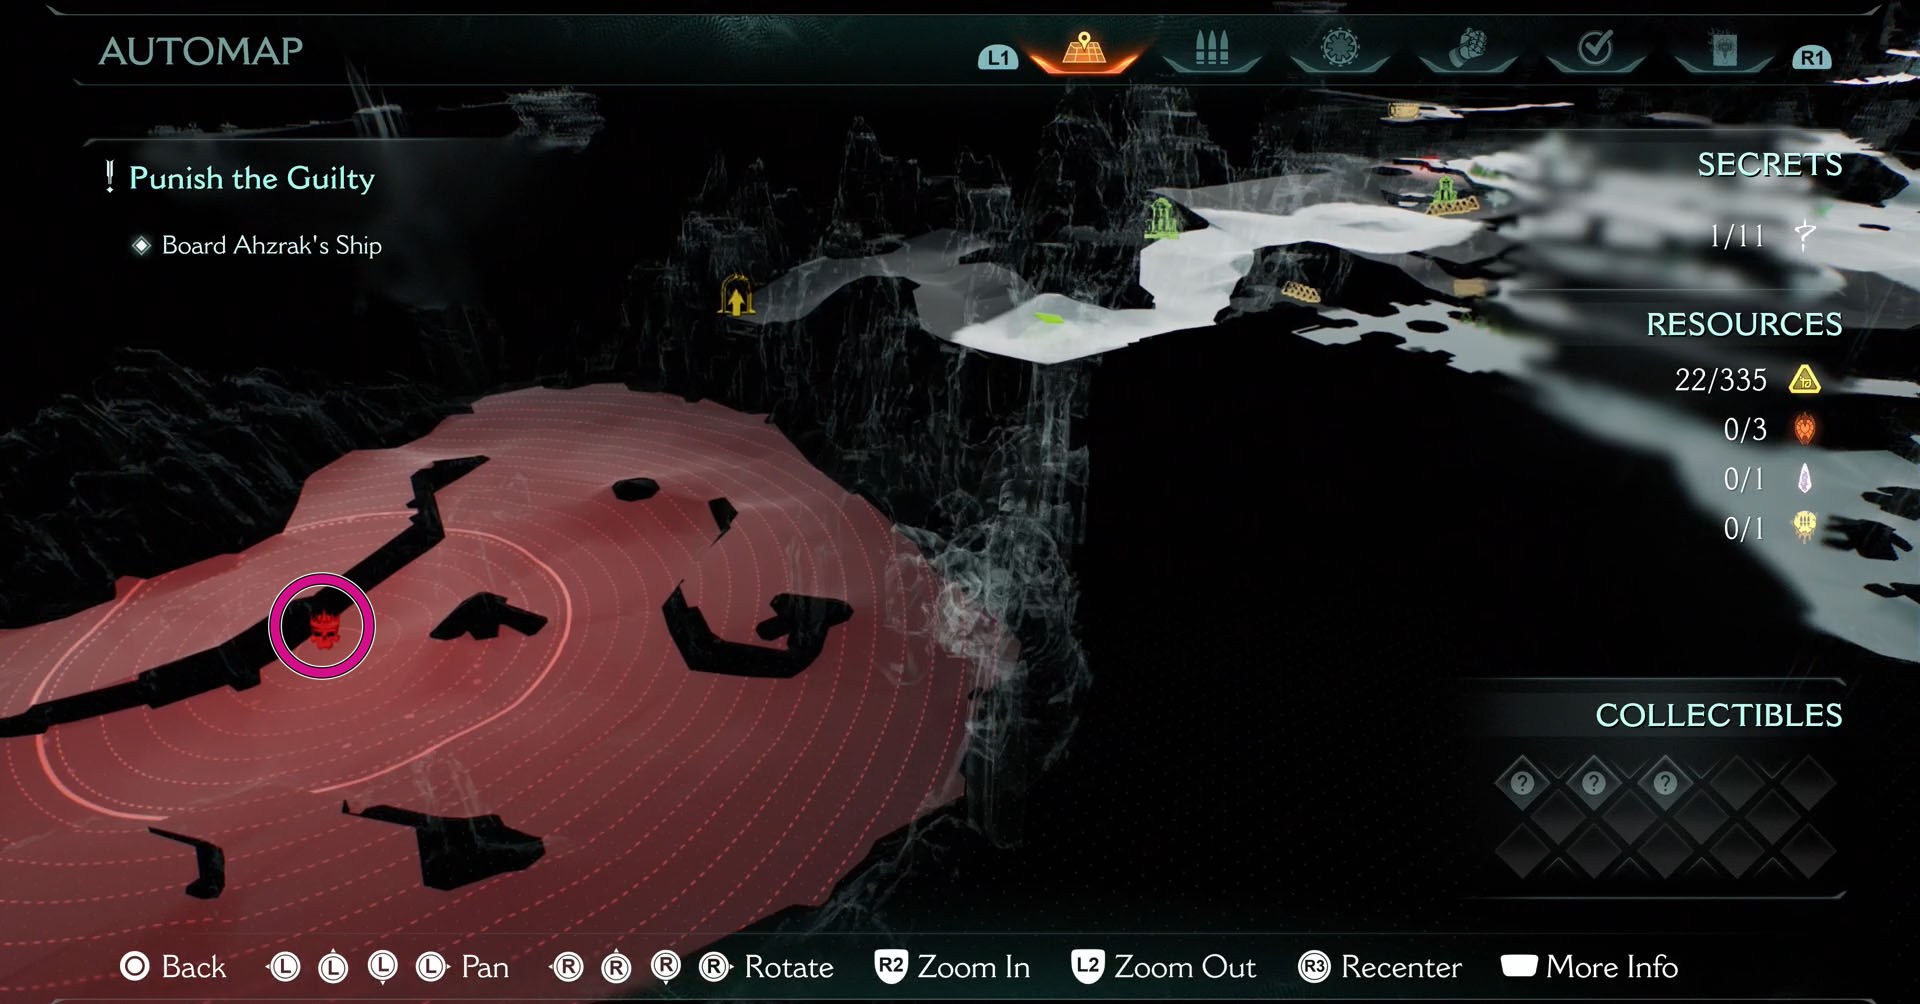
There’s one last leader in Doom: The Dark Ages for you to hunt down. You can find them by reaching the last red zone on the top side of the map. Once you claim their Demonic Essence, you will receive an ammo (Launcher) upgrade. There are some tough fights before you can reach the place, so be prepared.
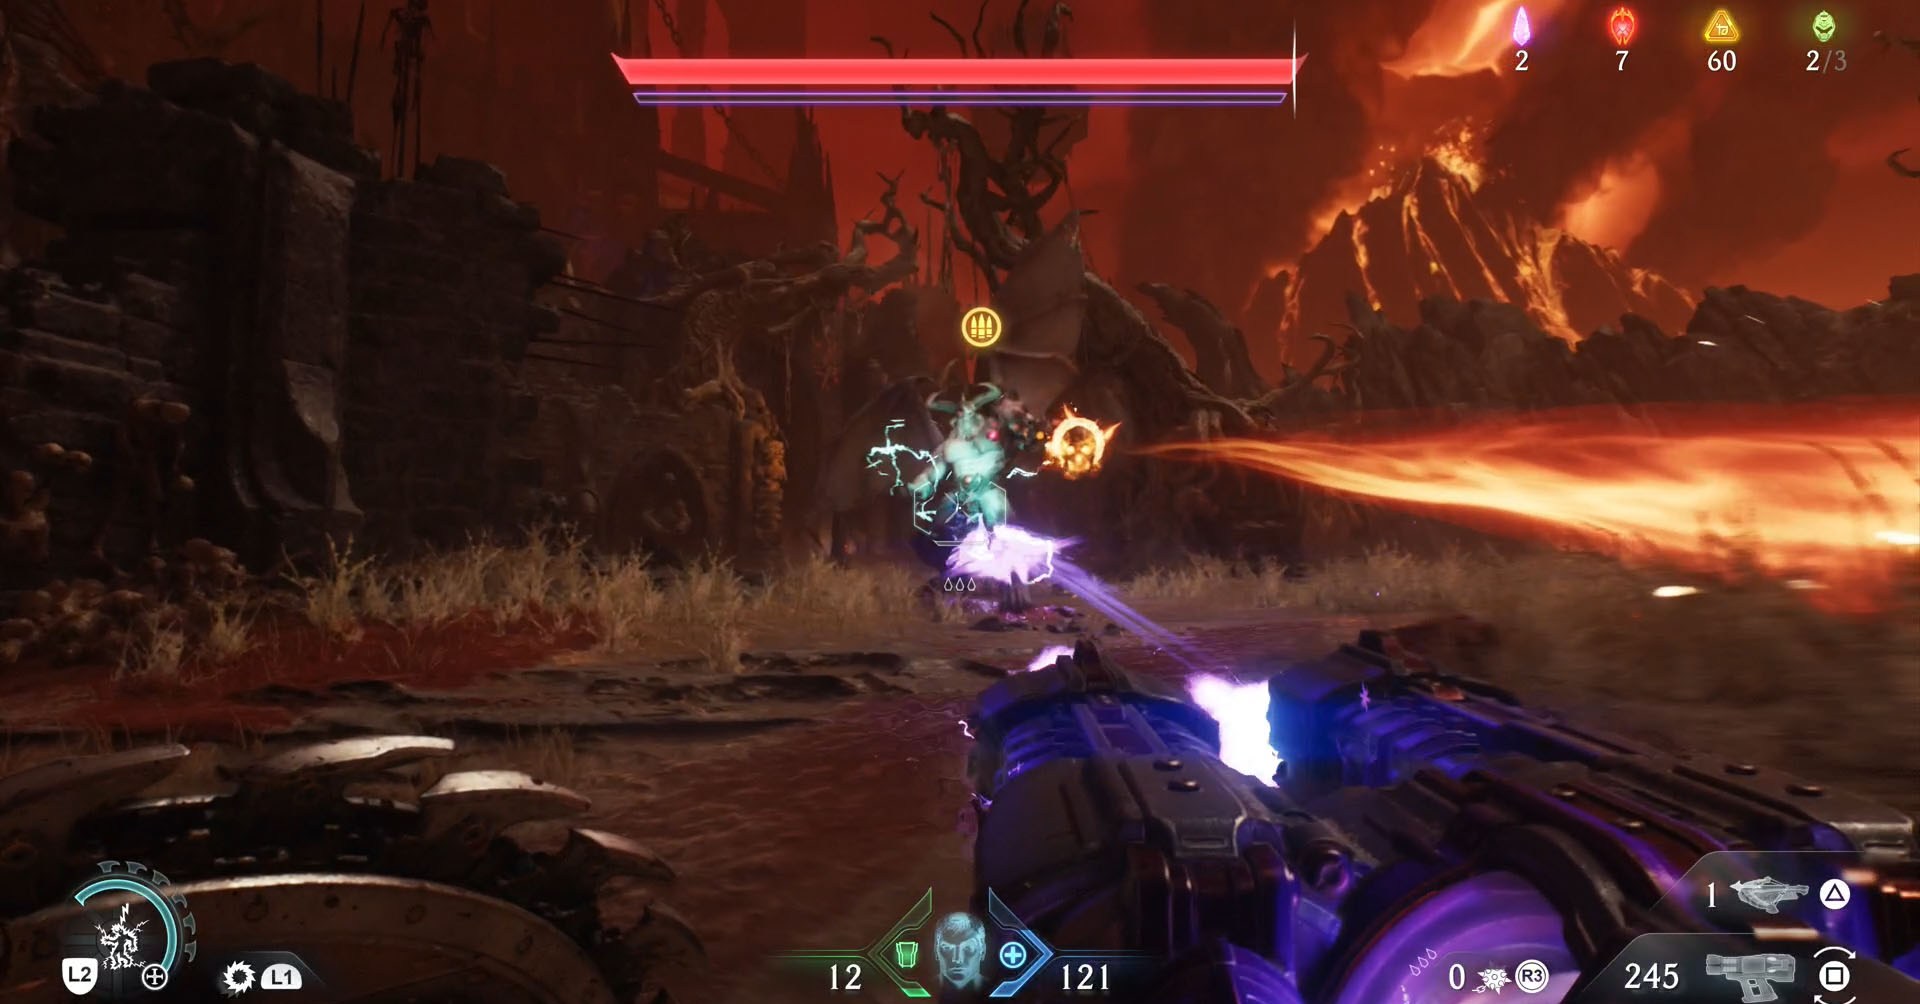
The leader of Chapter 22 is a Cyberdemon and they are in their regular version, so you know what to do. Get close to them, parry their attacks, and hit the Cyberdemon hard. They have a morale bar, forcing you to fight a Komodo and other strong demons before the final encounter.
The post All ammo upgrade leaders locations in Doom: The Dark Ages appeared first on Polygon.


