“Wisdom of the Ages” is a side quest in The Elder Scrolls 4: Oblivion Remastered that challenges the hero to be faithful to the teachings of Julianos.
By speaking with Sir Henrick, the hero can go to Fort Bulwark and retrieve the Shield of the Crusader — a powerful early-game shield. But you’ll have to navigate a series of puzzles to get it.
Our Oblivion Remastered gives you a full “Wisdom of the Ages” walkthrough, including where to start the quest and how to solve all Fort Bulwark puzzles in order to reach the Shield of the Crusader at the end of it.
How to start ‘Wisdom of the Ages’ in Oblivion Remastered
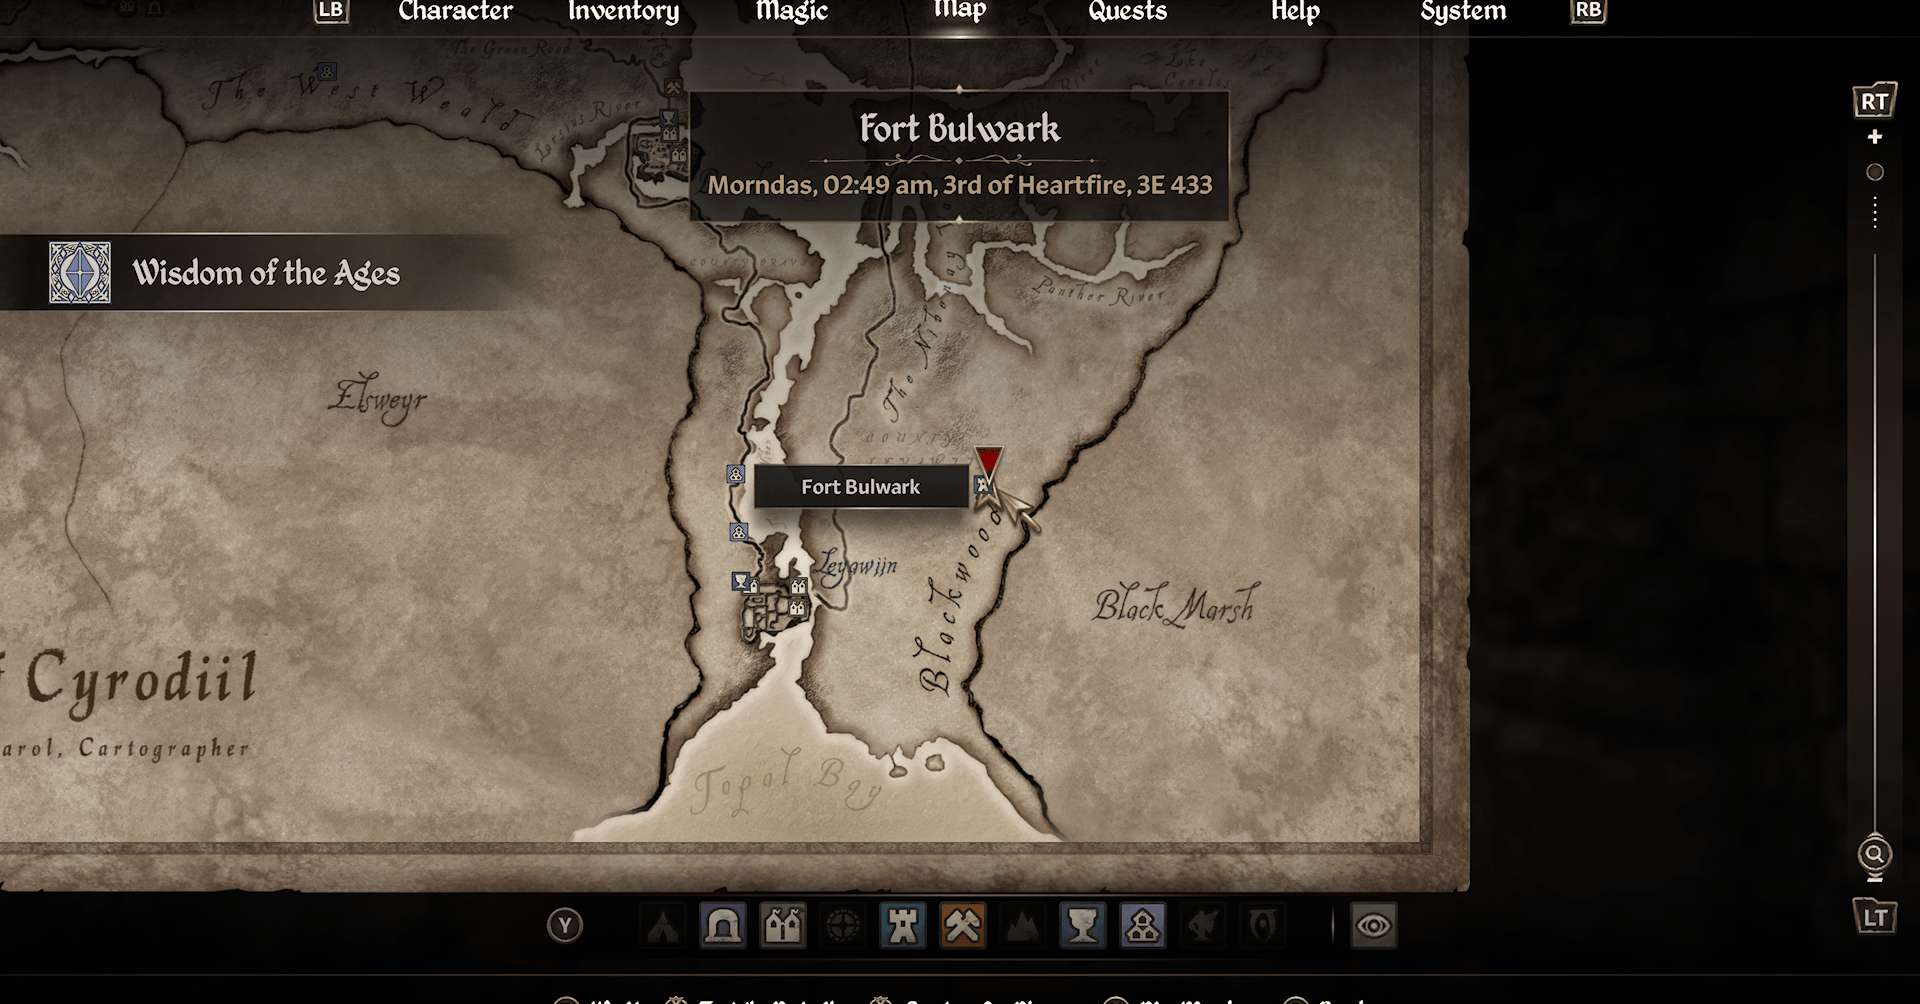
To start “Wisdom of the Ages,” you must complete the “Pilgrimage” and “Shrine of the Crusader” quests first. Once those two are complete, you can start the “Priory of the Nine” quest. Partway through “Priory of the Nine,” speak with Sir Henrick after defeating him, and he will give you the location of the Shield of the Crusader, which is in Fort Bulwark. “Wisdom of the Ages” runs concurrently with “Priory of the Nine.”
Fort Bulwark is near the southeast corner of the map near the Blackwood region. In the Quests menu, you can simply highlight “Wisdom of the Ages” and it will mark Fort Bulwark on your map, or you can look at the screenshot above.
‘Wisdom of Ages’ walkthrough in Oblivion Remastered
“Wisdom of Ages” consists of three puzzles, all of which are in Fort Bulwark. You’ll start by having to correctly step on a series of tiles. You’ll then need to make rotate statues into a particular order. You’ll finish with a puzzle that requires you to step on certain panels in a particular order to find items in various chests.
Below, we’ll show you how to solve all puzzles in Fort Bulwark so you can complete “Wisdom of Ages.”
Tile order puzzle solution in ‘Wisdom of Ages’
After entering Fort Bulwark, make your way to the middle where you’ll see two giant flames while fighting Conjurers along the way. Be careful, as there are some booby traps that’ll shoot arrows out of the walls.
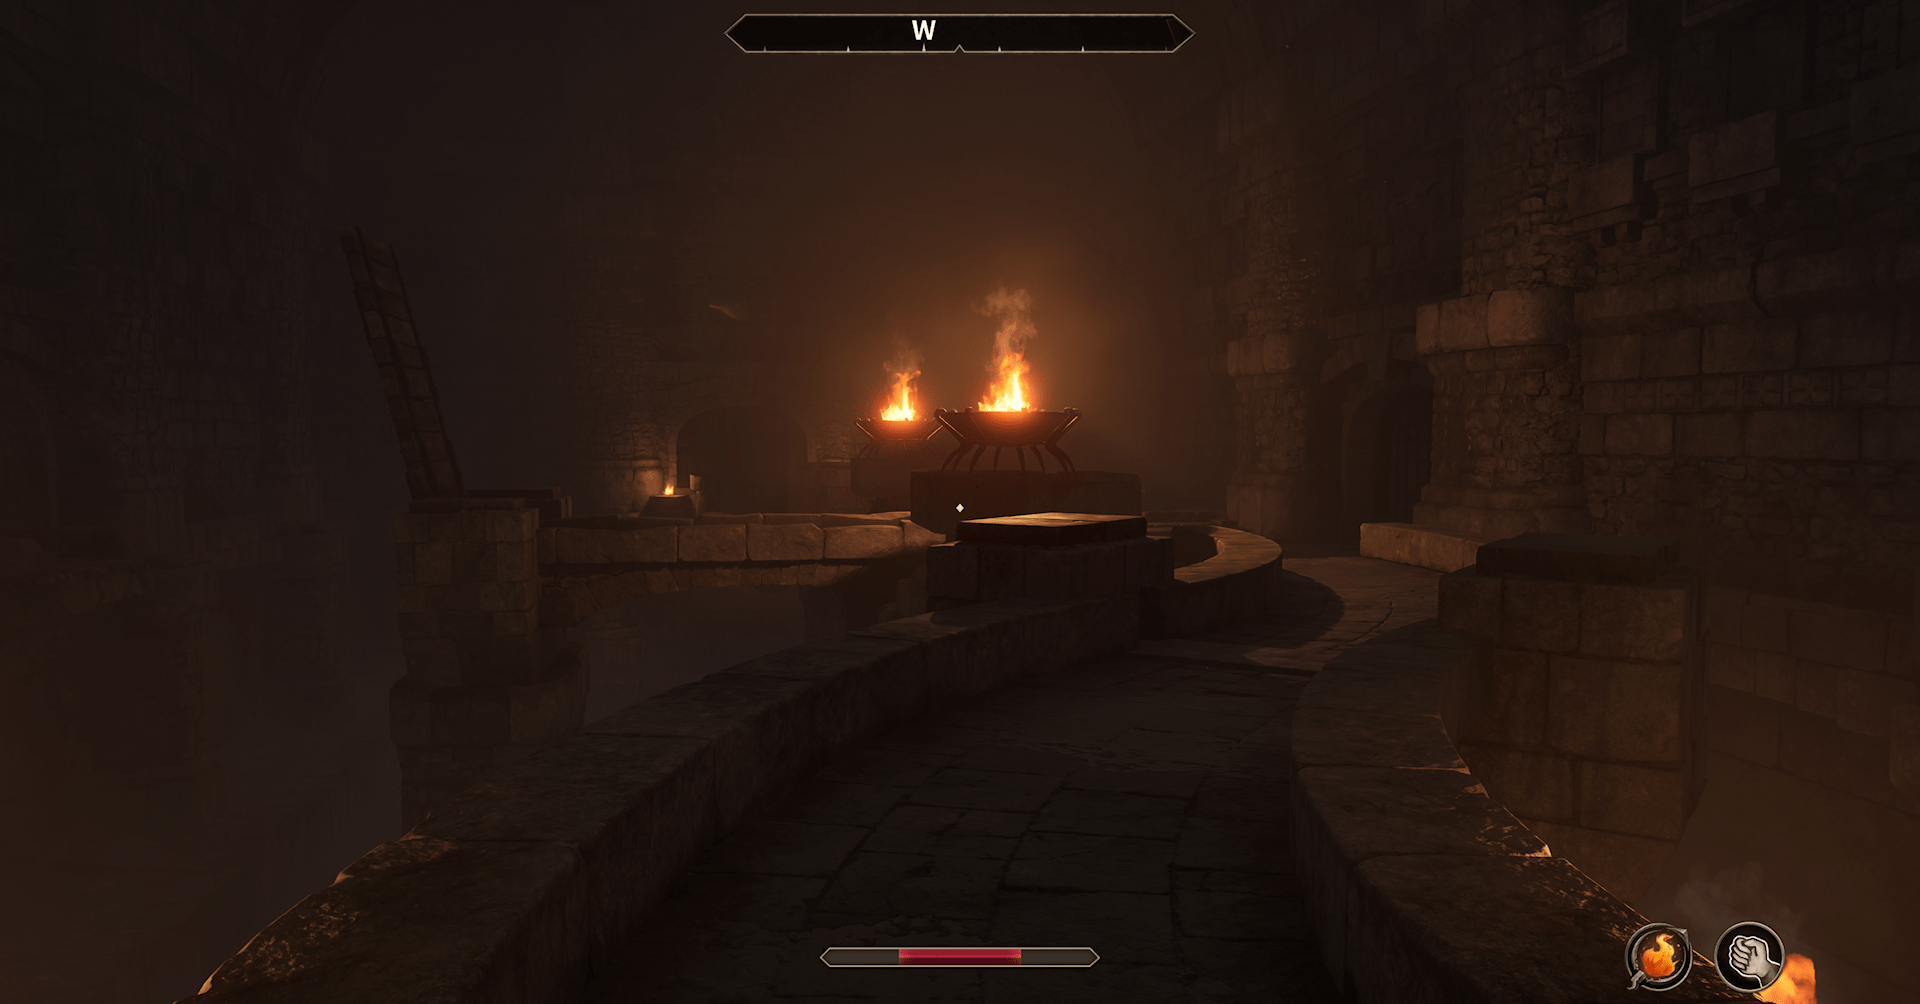
When you come across the room with the two giant flames, make your way across — you’ll then enter an area with two Conjurers. After taking them out, you’ll need to activate a handle at the back of the area to open up a gated door nearby.
Go through the newly opened path and until you come across another handle. Activate it to lower the drawbridge near the two giant flames. Go back to the room with the two flames and cross the drawbridge.
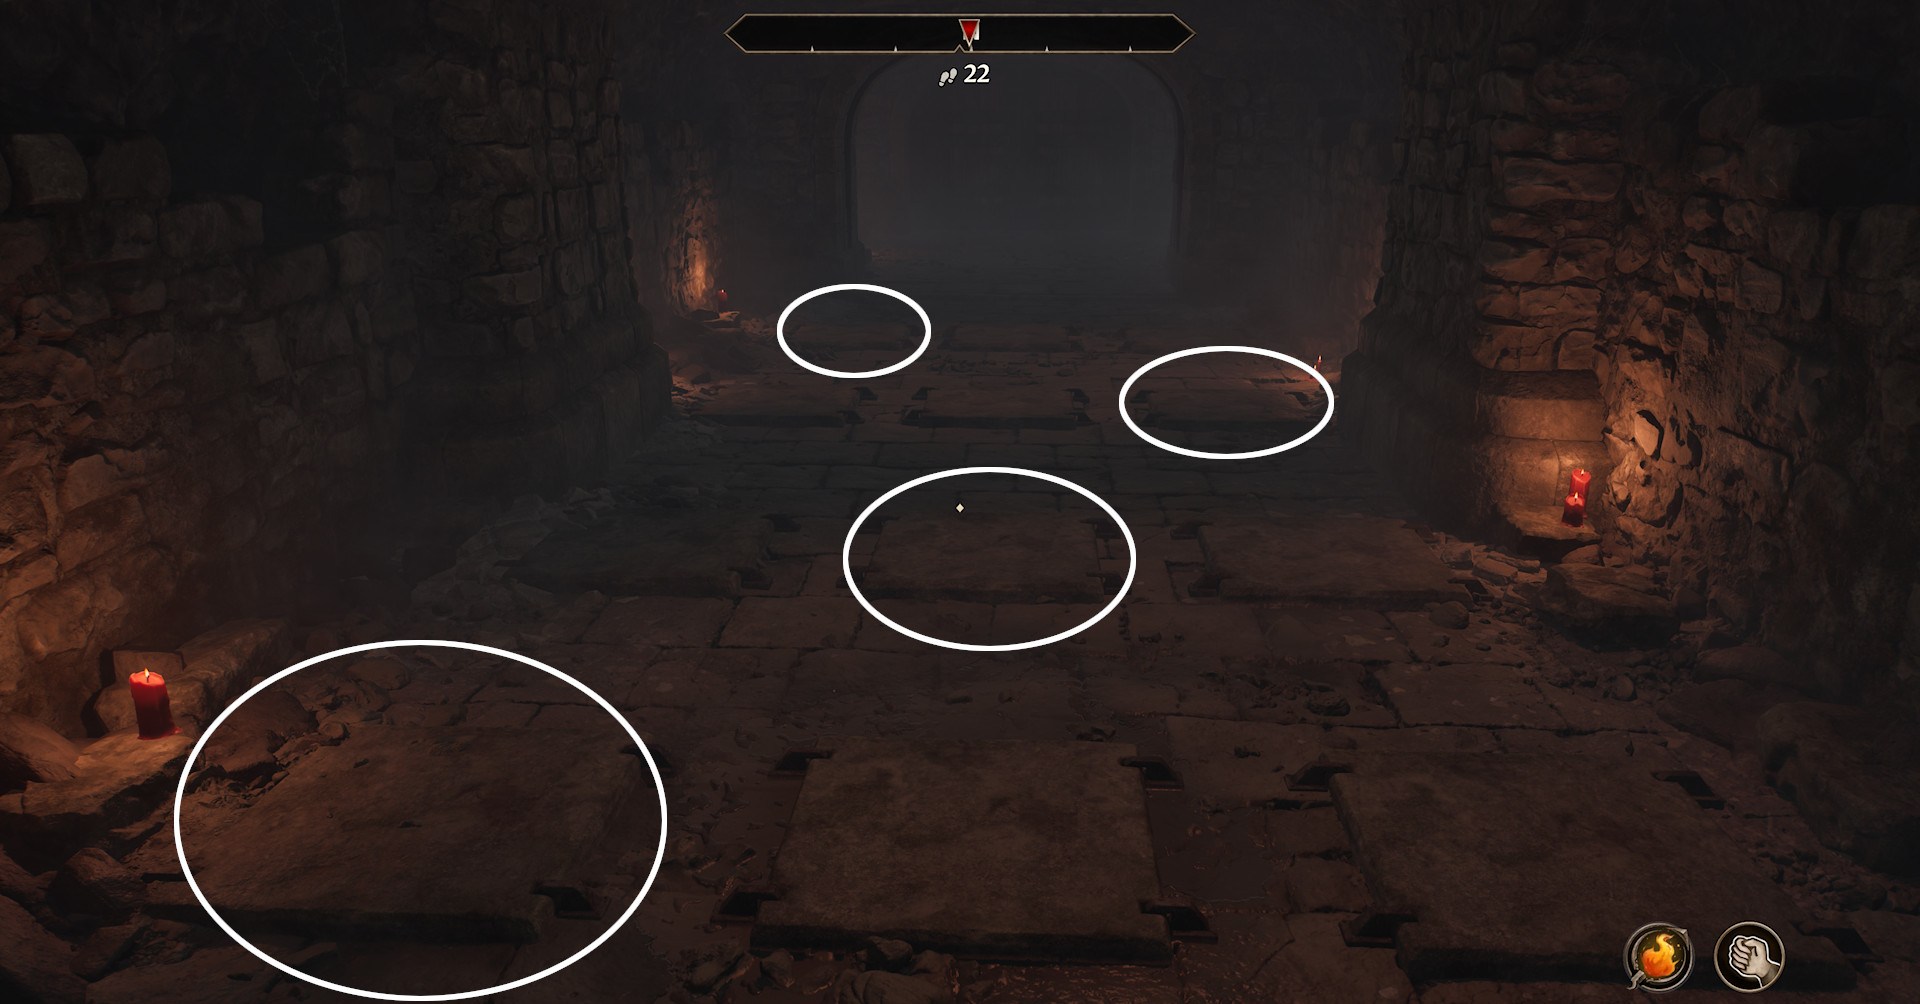
You’ll come across a puzzle with 12 tiles in a 3×4 fashion. You need to step on one tile per row. The correct order is listed below and pictured above:
- Left (first row)
- Middle (second row)
- Right (third row)
- Left (fourth row)
Statue puzzle solution in ‘Wisdom of Ages’
That will open up the door to the next area in Fort Bulwark. Upon entering, walk down a bit and you’ll hear a person speaking through a locked cell. This is Sir Therdret. Next to his cell, there’s a handle to set him free — do it.
After setting him free, go further into Fort Bulwark. It’s a simple path with some turning so you shouldn’t get lost. You’ll eventually reach a room with four statues. The solution here is simple: Just turn each of the statues using the crank of their faces so that they face the middle, looking at the icon in the center between them, like so:
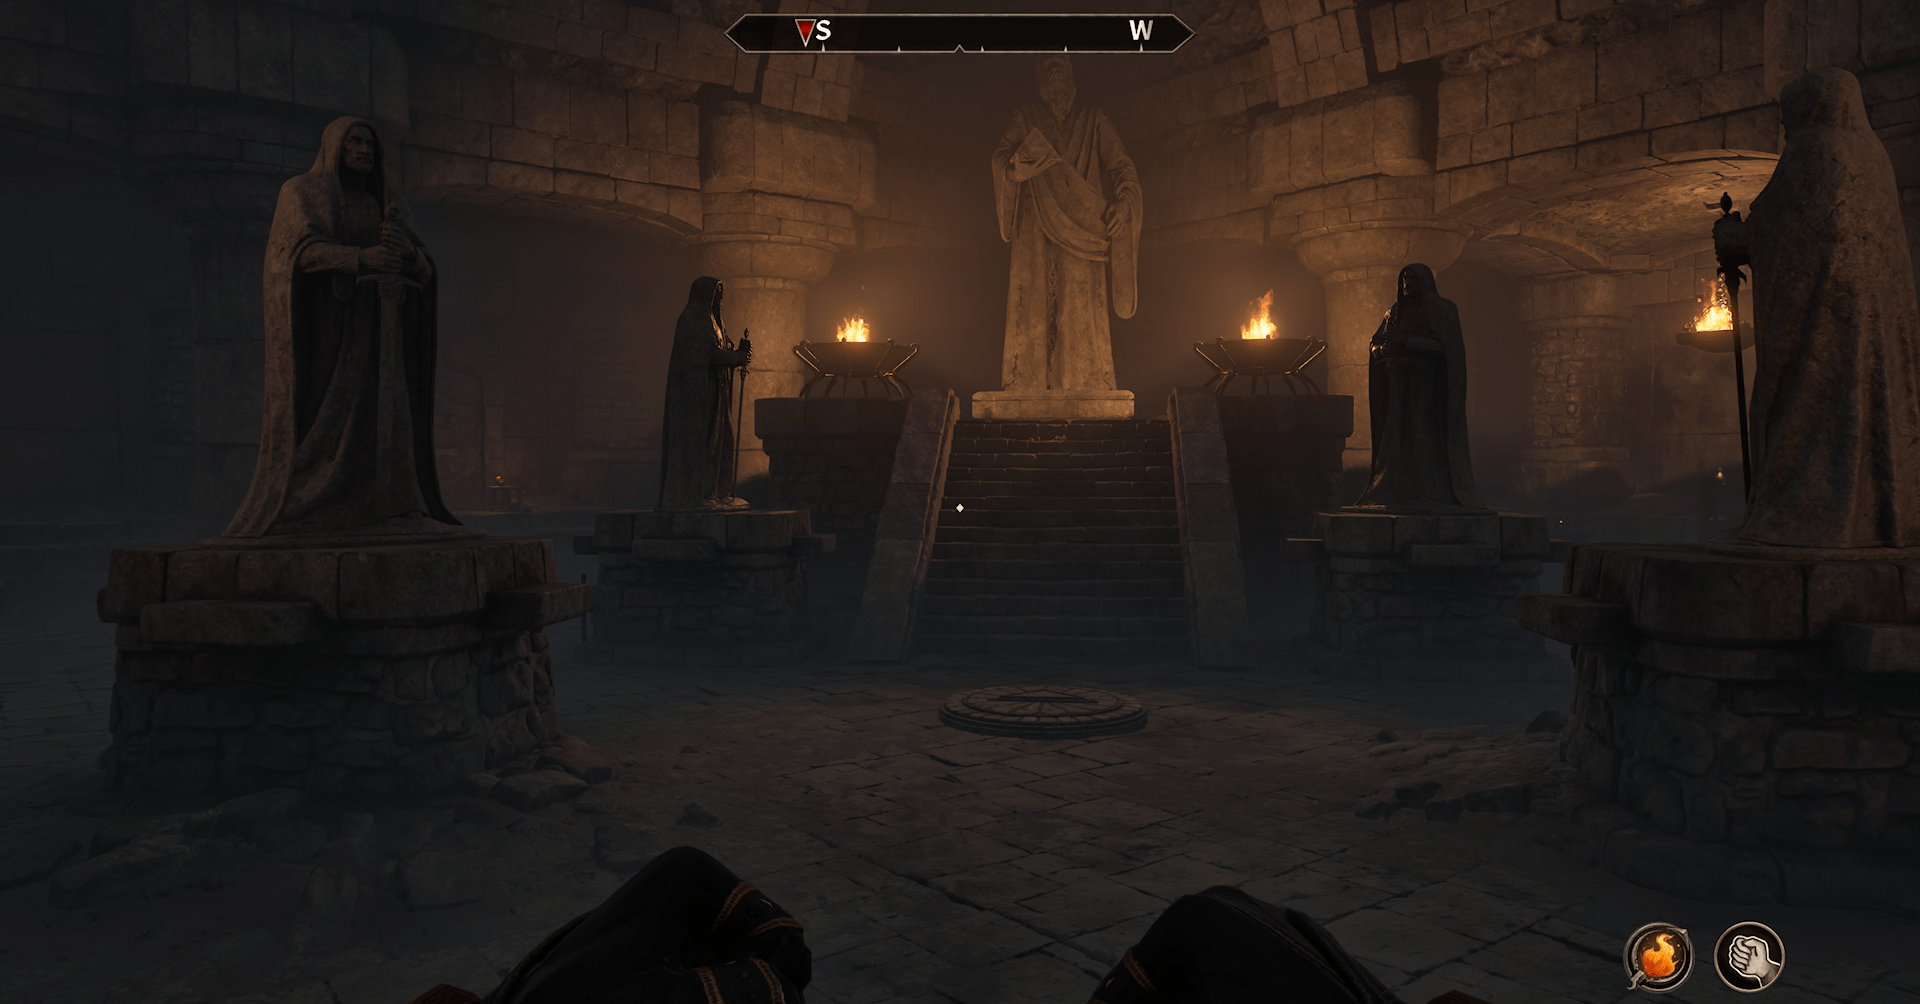
There are two Conjurers in this room as well so be sure to take care of them.
When that’s done, the flames in the room will extinguish, and a door at the back of the room will open, and the tunnel leads you to the last area of Fort Bulwark.
Rodgar’s chests puzzle solution in ‘Wisdom of Ages’
Good news first: there are no enemies in here. Bad news: you have one more puzzle to solve!
This puzzle is a bit more complicated. You’ll reach a room with a panel and a gold chest in the middle, with eight normal chests around the room. When you step on the panel, one of the eight chests will light up and display an item. The gold chest contains one of Rodgar’s eight items at a time; you have to take it, then match the appropriate item with the chest that lights up. Keep going until you’ve placed all eight items.
For example, Rodgar’s Skull goes into the chest that lights up and displays a skull. You’ll know you put the right item in the correct chest when the area shakes and your controller vibrates.
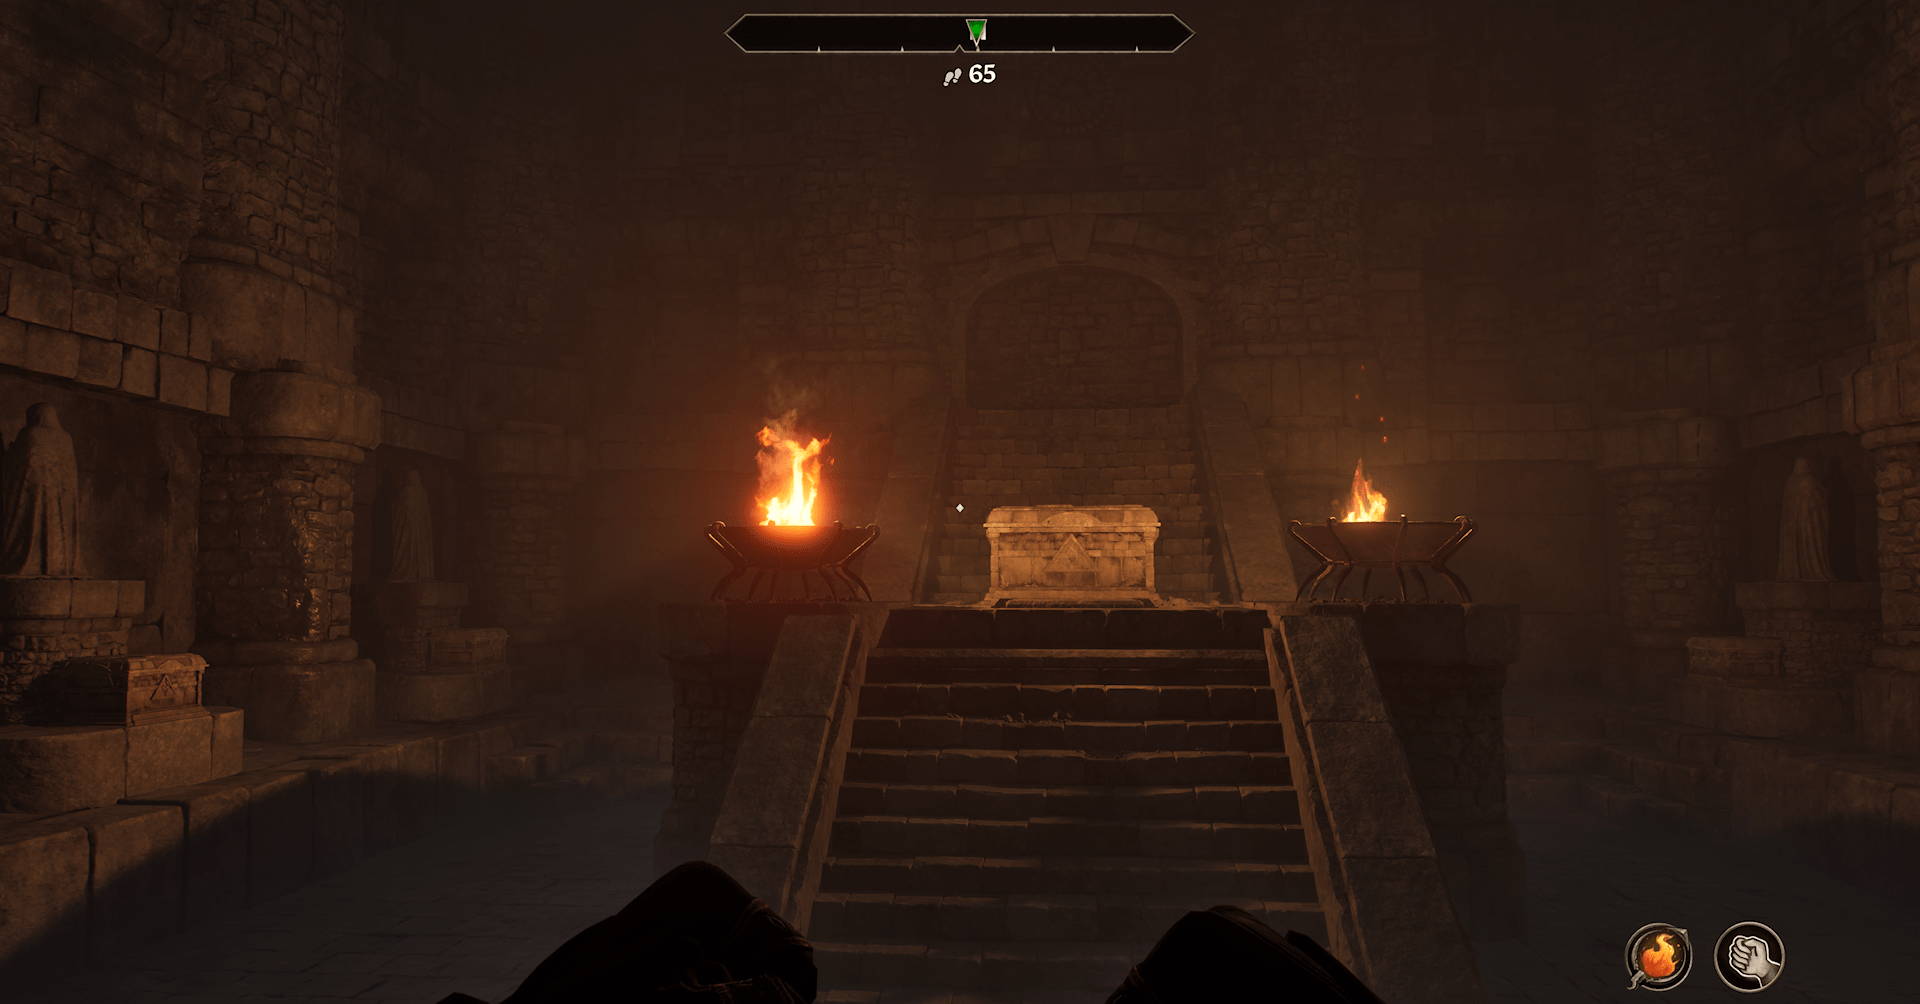
To make things easier, here’s the correct order in clockwise, from left to right, with your back facing away from the golden chest:
- Rodgar’s Stone
- Rodgar’s Helm
- Rodgar’s Goblet
- Rodgar’s Sword
- Rodgar’s Book
- Rodgar’s Hammer
- Rodgar’s Skull
- Rodgar’s Gem
Once all eight items are placed correctly, the flames will extinguish and you’ll open up the door to the Shield of the Crusader, as well as a few other items, including a few Potions of Insight, Potions of Sorcery, Restore Intelligence scrolls, and Restore Willpower scrolls.
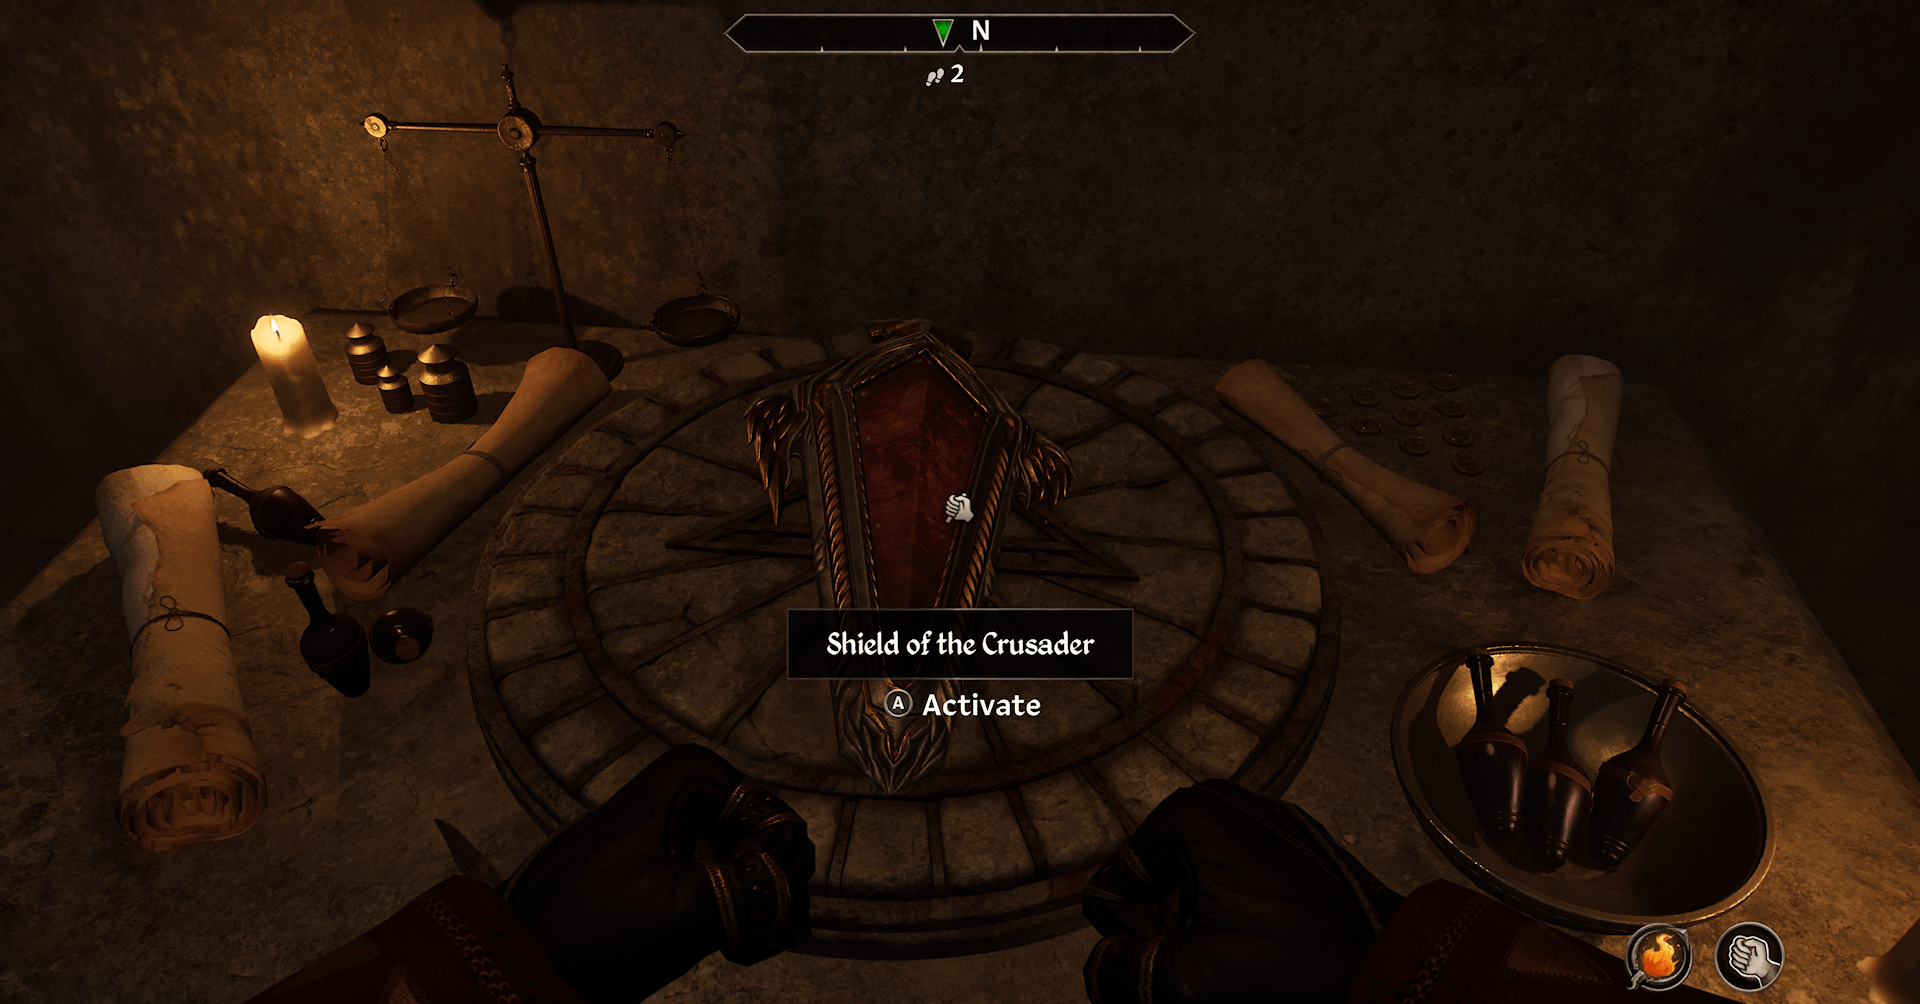
Once the shield is taken the quest is complete and there will be two entrances behind the altar that lead back to the first zone and back to the entrance. “The Priory of the Nine” quest will be updated as well.
What happens if you don’t free Sir Therdret in Oblivion Remastered?
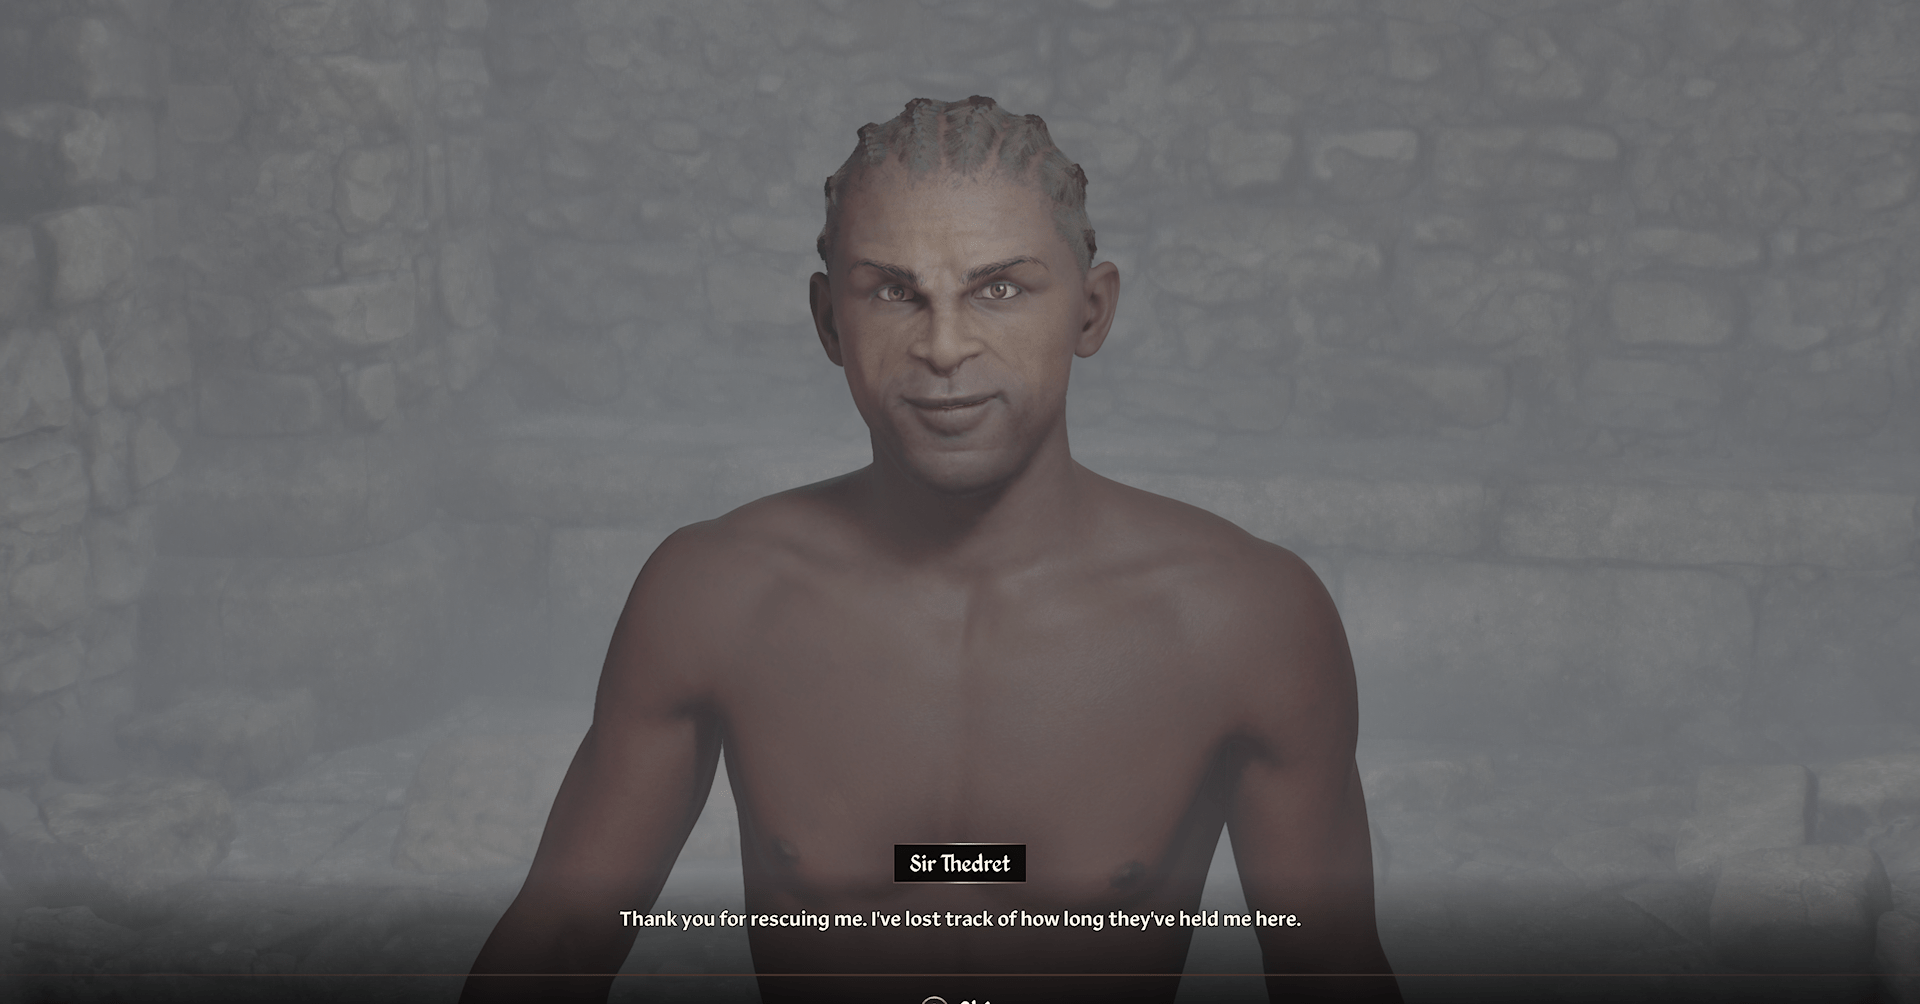
If you don’t free Sir Therdret, he will find his own way out. Regardless of your decision, he will meet with you later on during “Priory of the Nine.” However, if you free him, he feels indebted to you and will ask if he can become a knight.
The post ‘Wisdom of the Ages’ quest steps and walkthrough in Oblivion Remastered appeared first on Polygon.


